
Artillery Hornet, complete economic printer - Review and assembly
Share
Artillery is really making itself known for economic, quality solutions that meet the many needs of those who want a good 3d printer. We talked about the older sister there Sidewinder X1, from Genius and today we are with the latest born the Hornet. This printer turns out to be the cheapest, but in our opinion also the most interesting. Let's find out what this yellow hornet has to offer.
Packaging
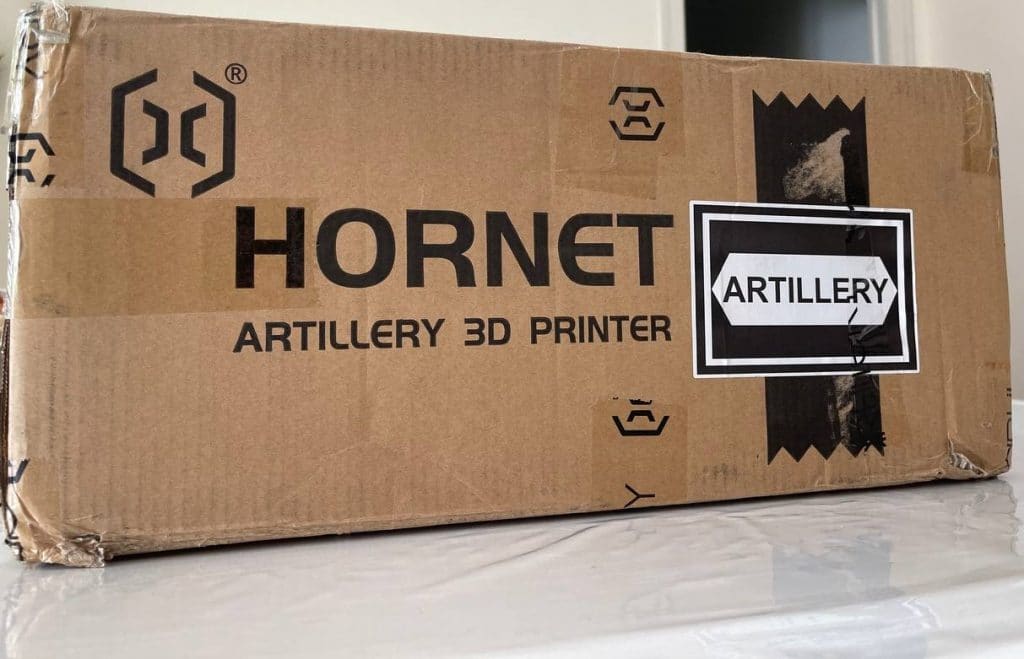
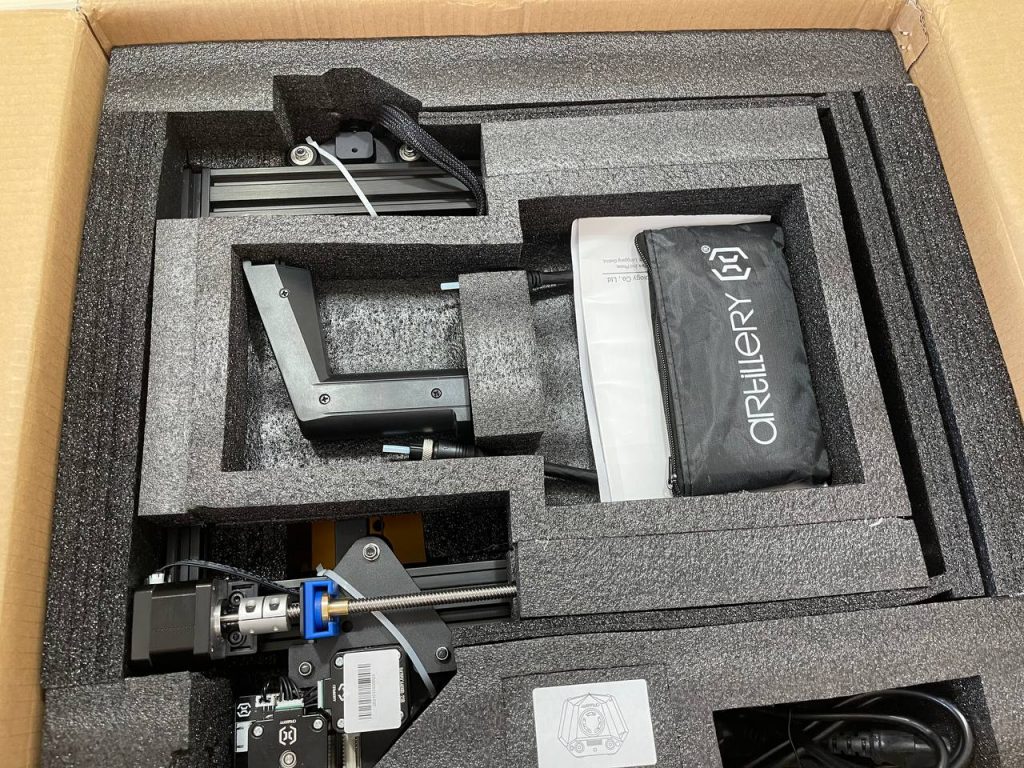
Like the other printers, the Hornet is shipped in a cardboard box with excellent padding. They are unlikely to break during shipping.
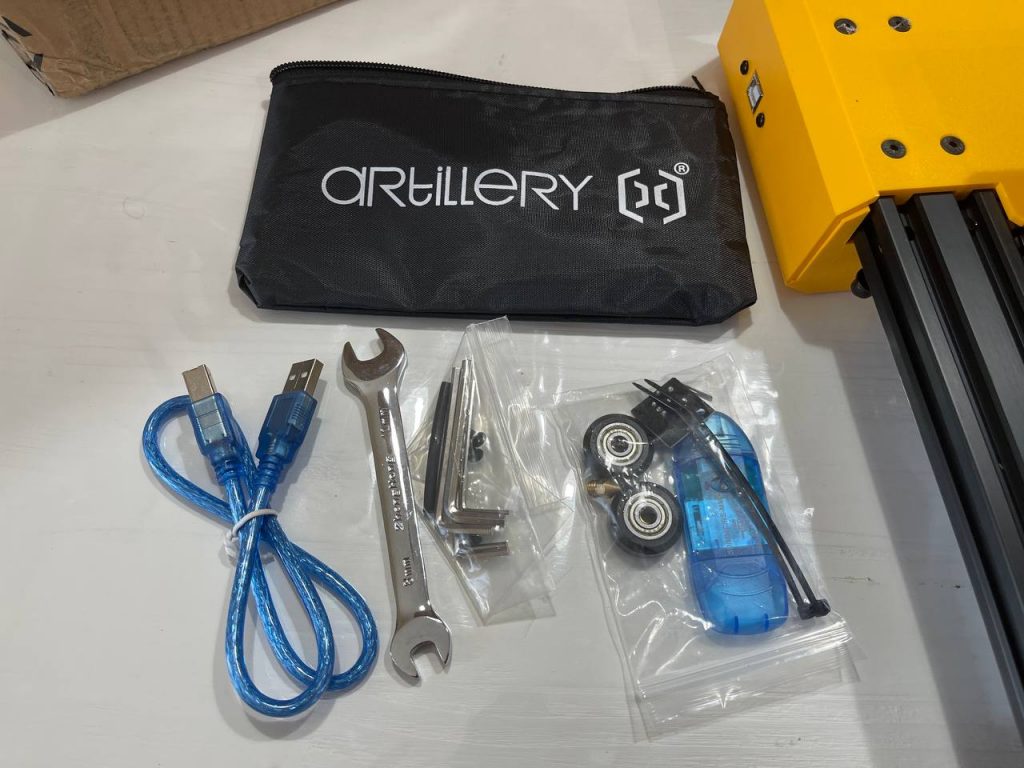
Inside the package there is everything you need to print. Like all other Artillery printers there is a small branded case with everything you need inside.

This is all you need available:
- Replacement nozzle
- Spare wheels
- USB cable
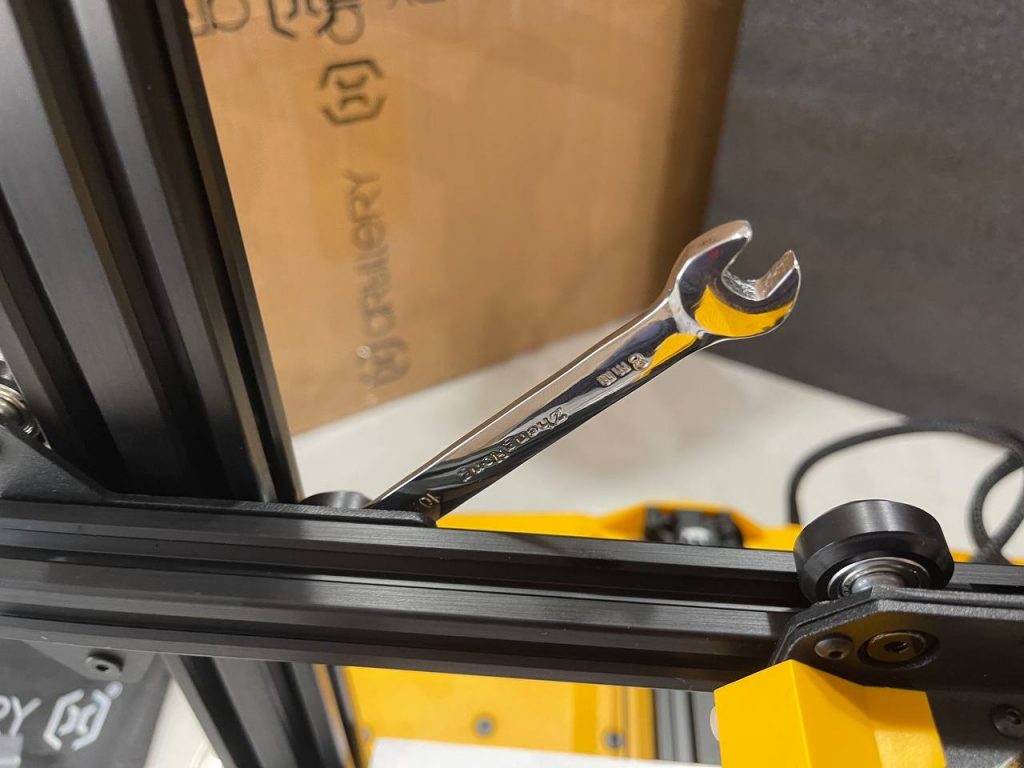
- Wrench
- MicroSD card with adapter
- SD card reader
- Hex keys
- Cable ties
- Replacement PTFE tube
- Screws
You will notice that the only thing that might be needed, but missing is a spatula. Using a card reader, rather than a card and USB like the big sisters, reduces costs. Too bad as the custom USB was a really nice plus.
You may need to buy some filament for your first prints and don't know what to buy. Ask us for advice on which filament to use by contacting us!
How to assemble the Hornet Artillery
By now, the assembly of these printers is always the same and really simple. There is not much to say and when the printer arrives you will have a really complete manual that shows you step by step what to do. If you want visual support there is also a video, produced by Artillery, which shows all the steps. The video also illustrates how to level the bed and how to load the filament.
As you can see, the video is very quick and easy to follow. Assembly in normal times takes about 20/30 minutes. We leave some photos taken during the assembly.
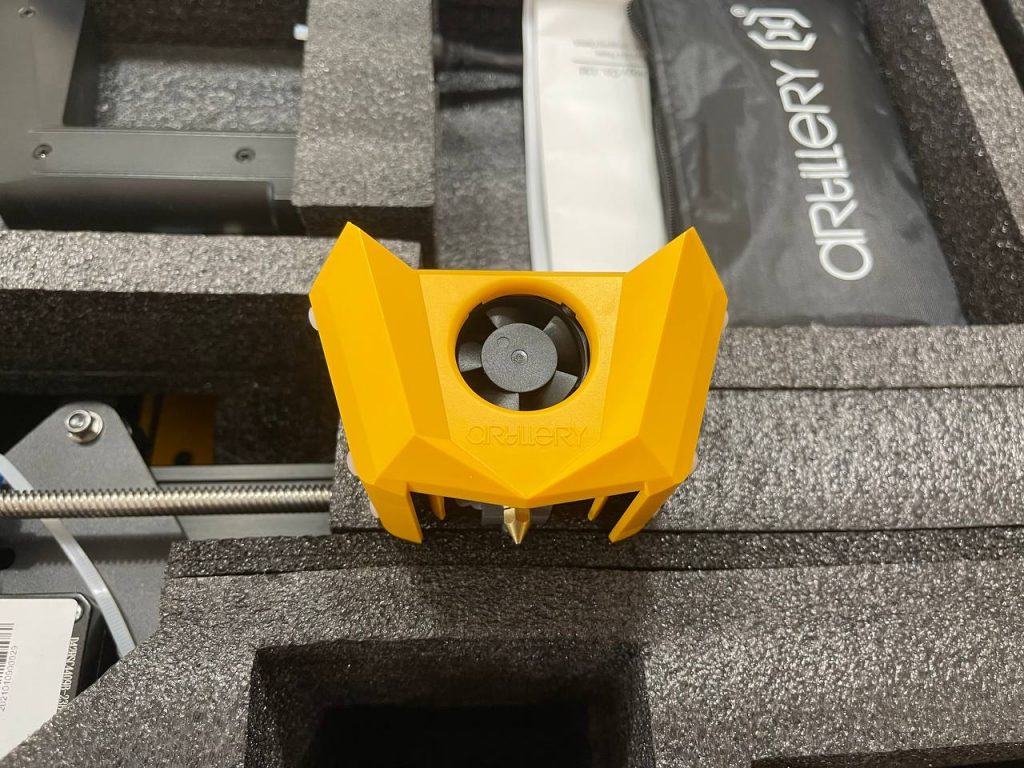
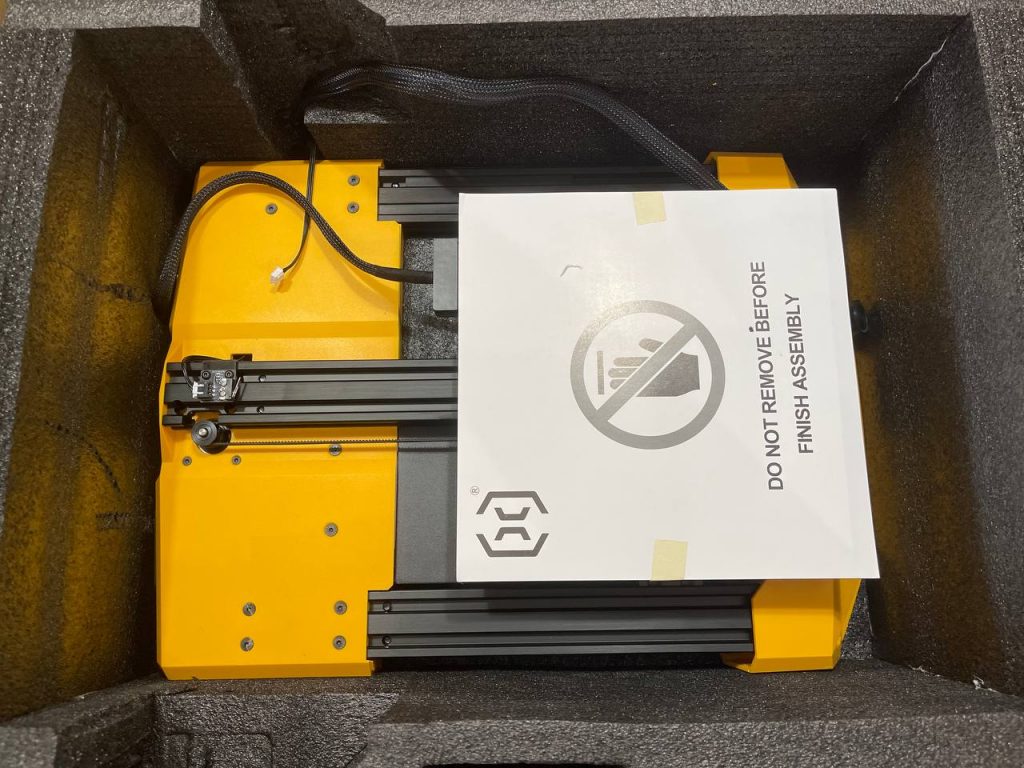
Here are some photos taken while opening the box.
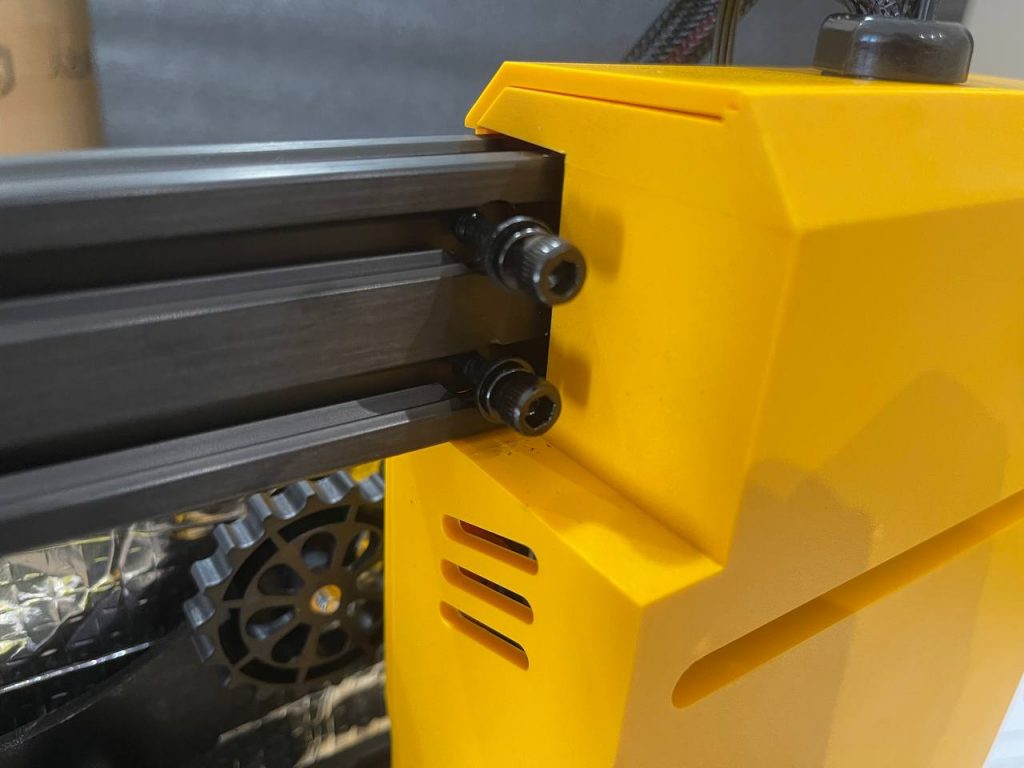
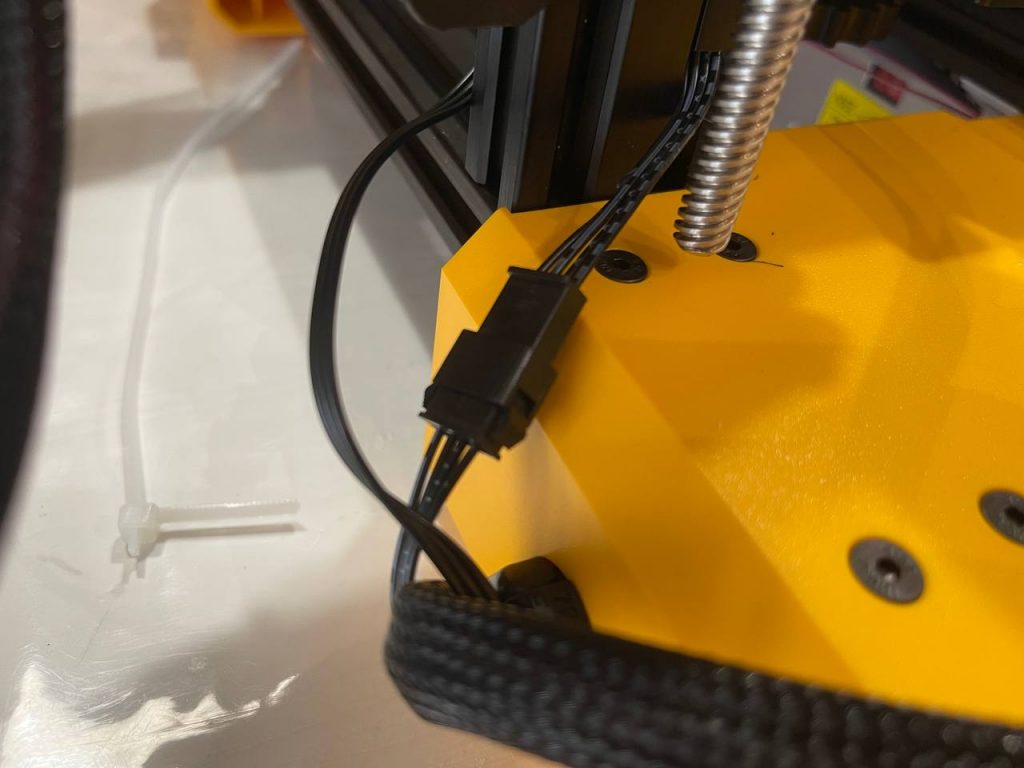
We always start by mounting the XZ axis bars, also making sure not to damage the cables.
Once the bars are mounted, assembly is almost complete. The next steps will be to mount the spool holder and connect the various cables to all the motors and sensors.
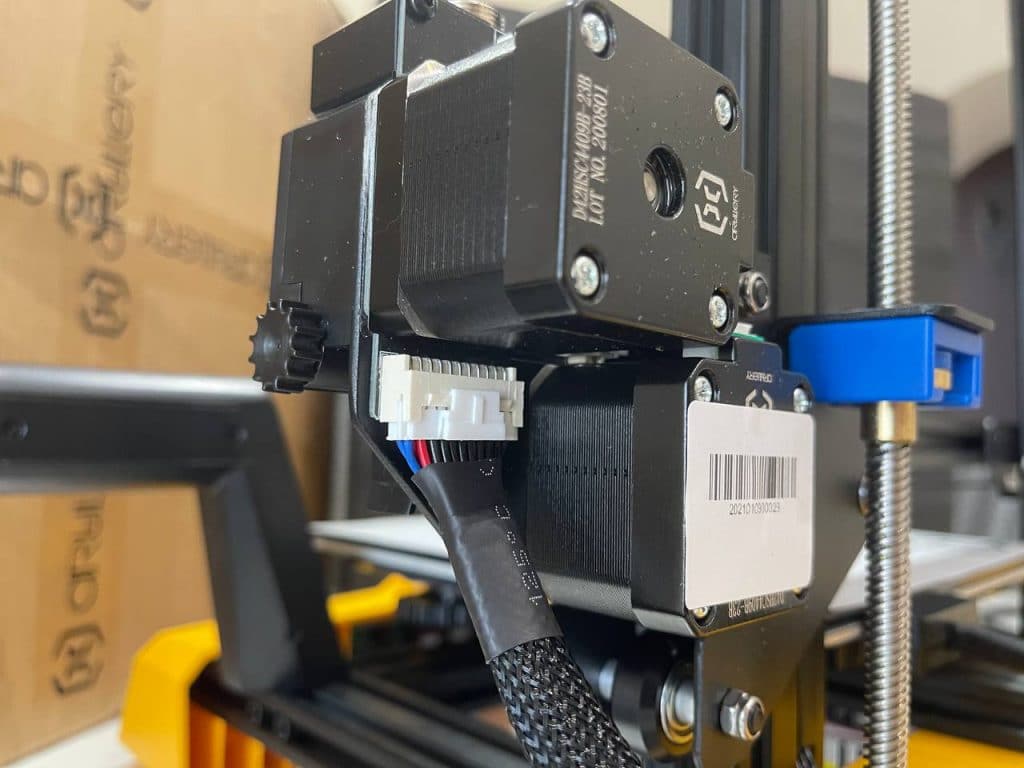
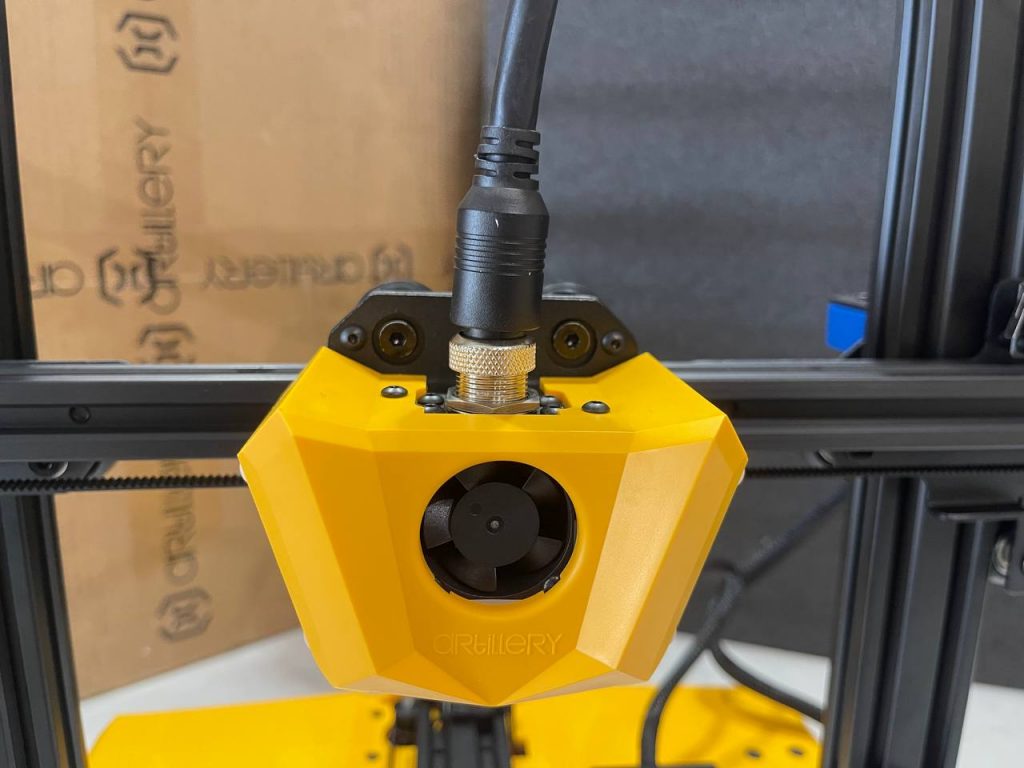
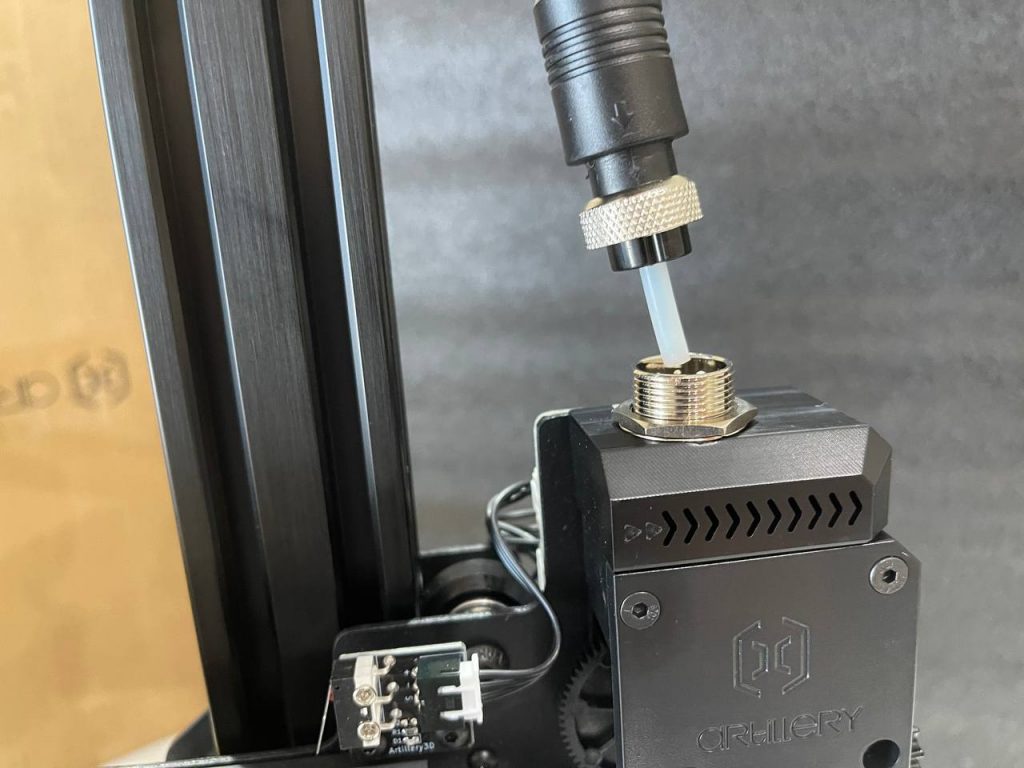
We then move on to hook the cable to the extruder and to the hotend. Make sure you tighten the various wheels correctly by levering the eccentrics.
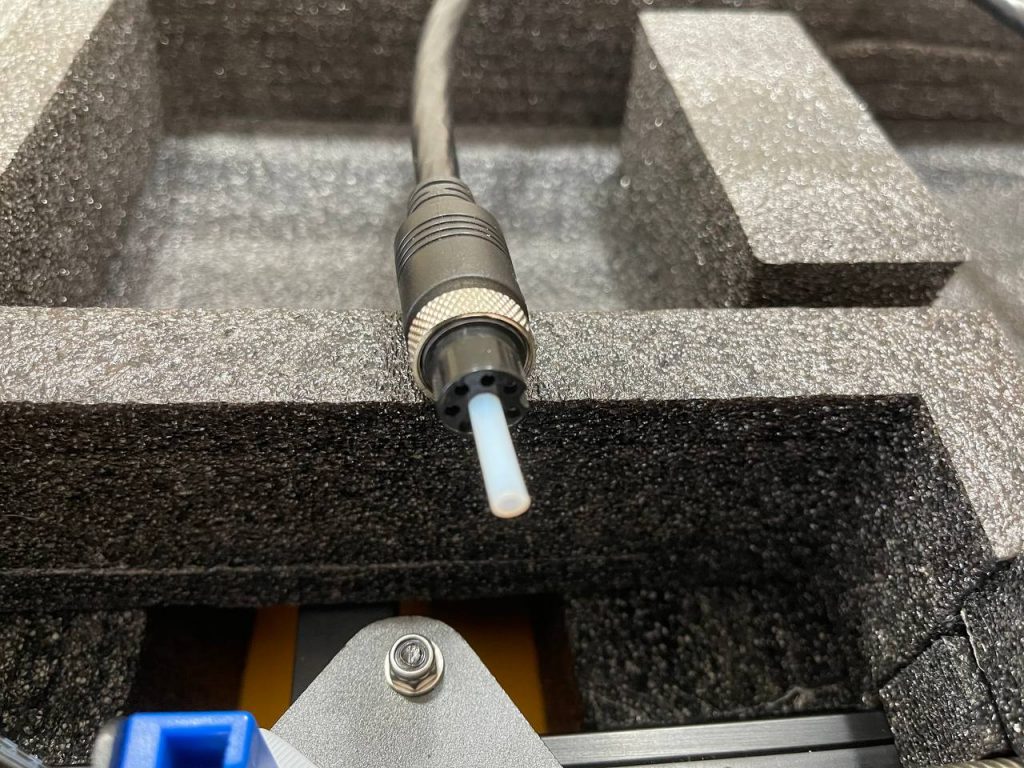
You have therefore finished assembling the Hornet in a few moments. Note of merit for the choice of integrating a connection system between the extruder and the hotend with a single cable that allows the electrical connection but also the passage pipe for the PLA.
Hornet design
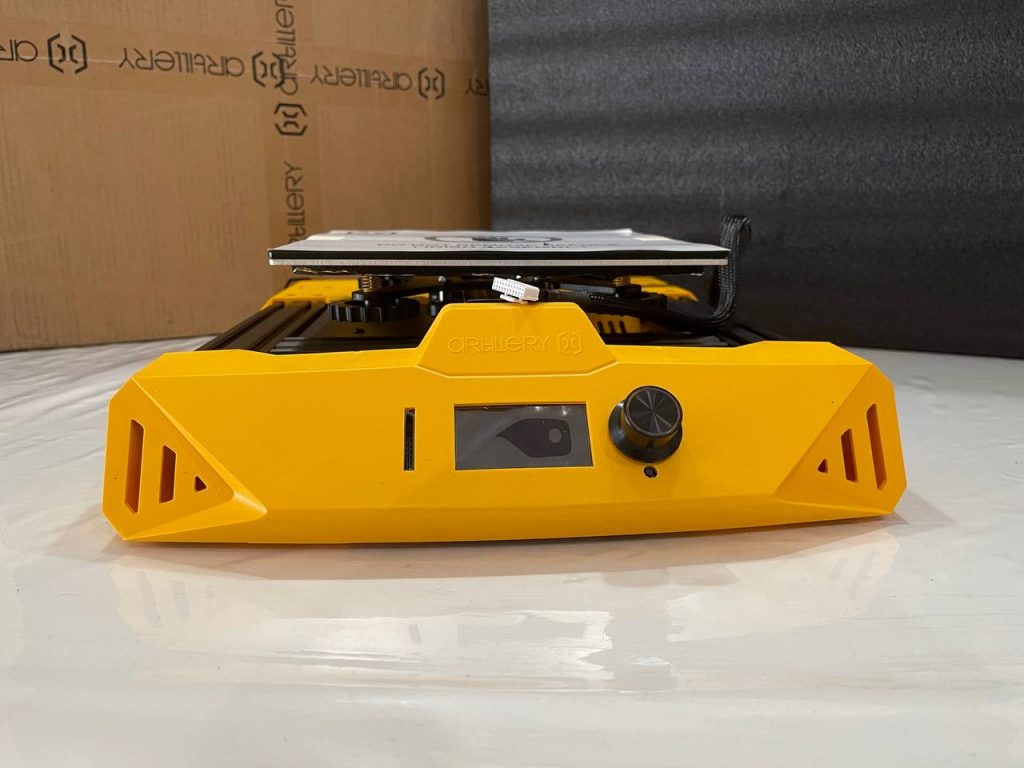
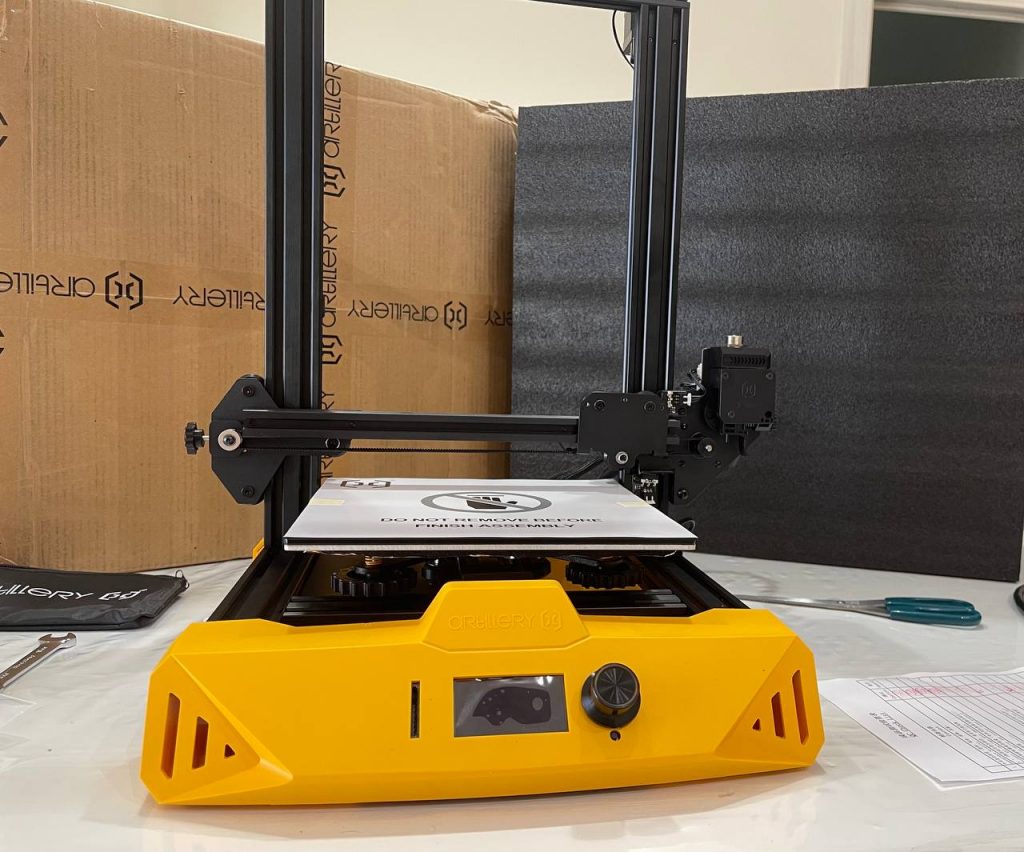
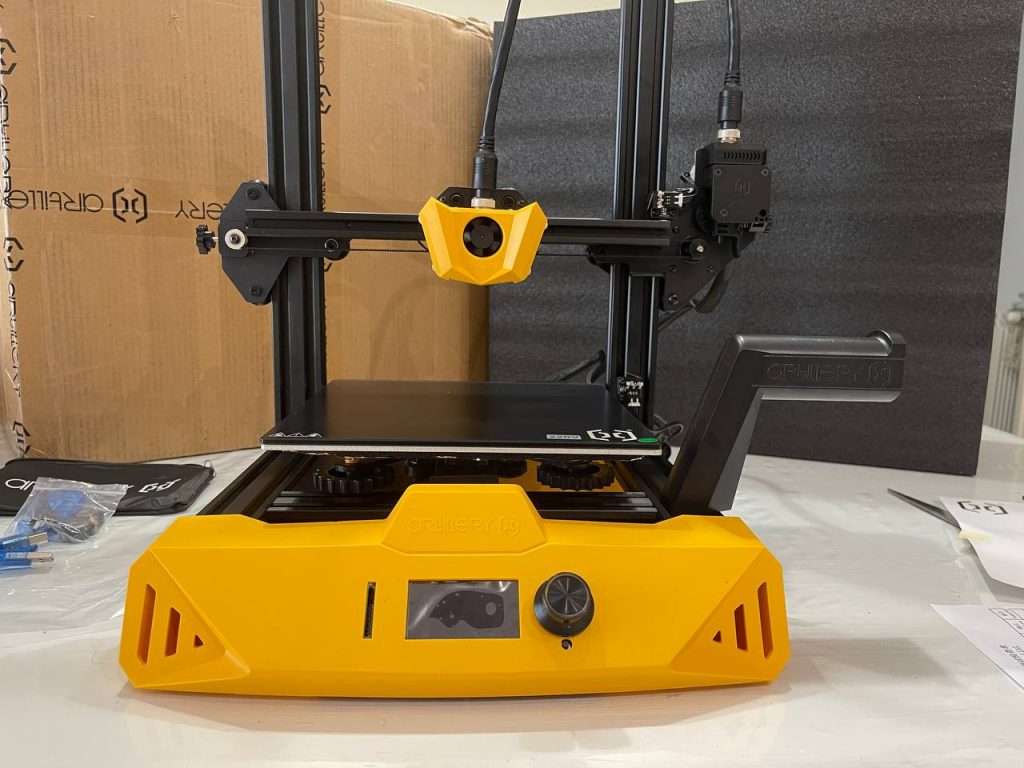
Aesthetically, there are no particular distinctions to be made on other models. Let's start by saying that all the ABS parts have a beautiful yellow color that reminds us of the hornet. Personally I find it really beautiful also from the point of view of the colors present. Here is a front view of the Hornet.
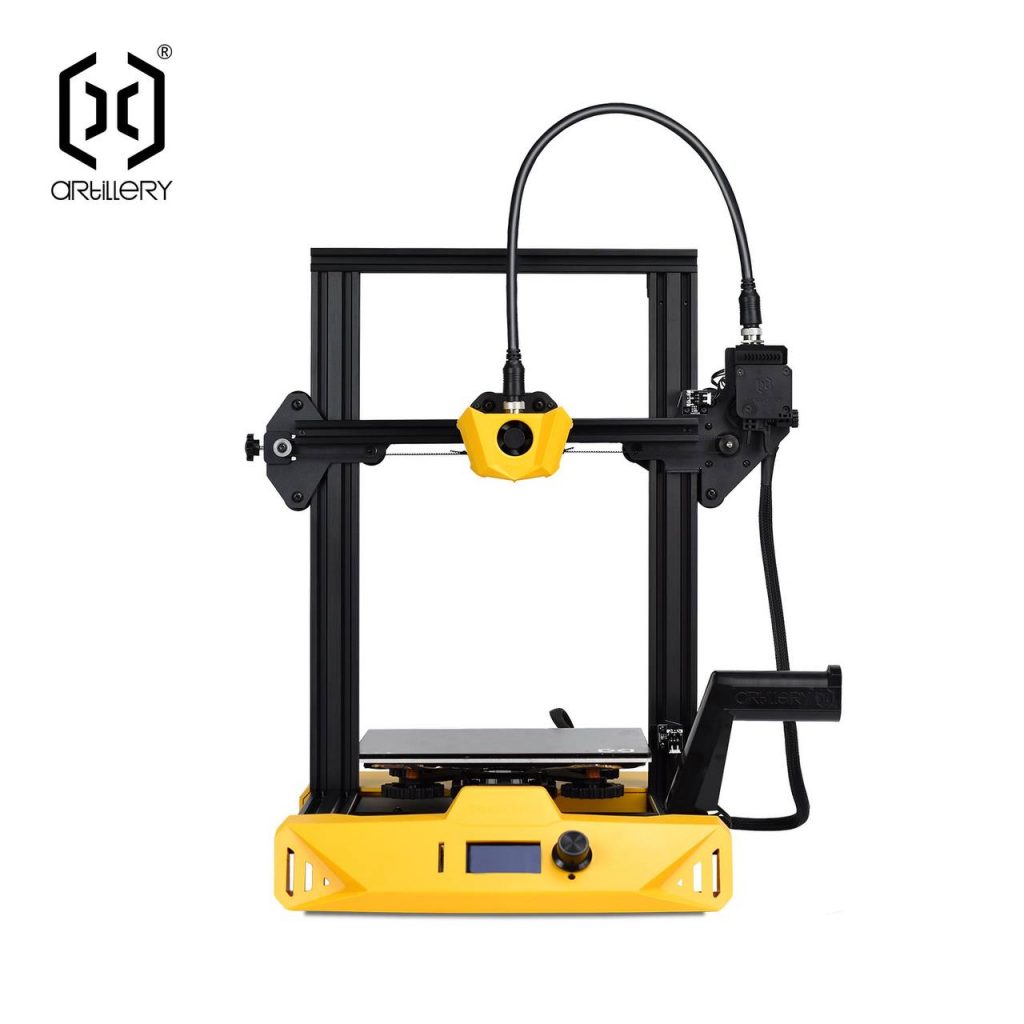
As you can see, the printer is really similar to many others. There are just a few really interesting details to point out that you might miss.
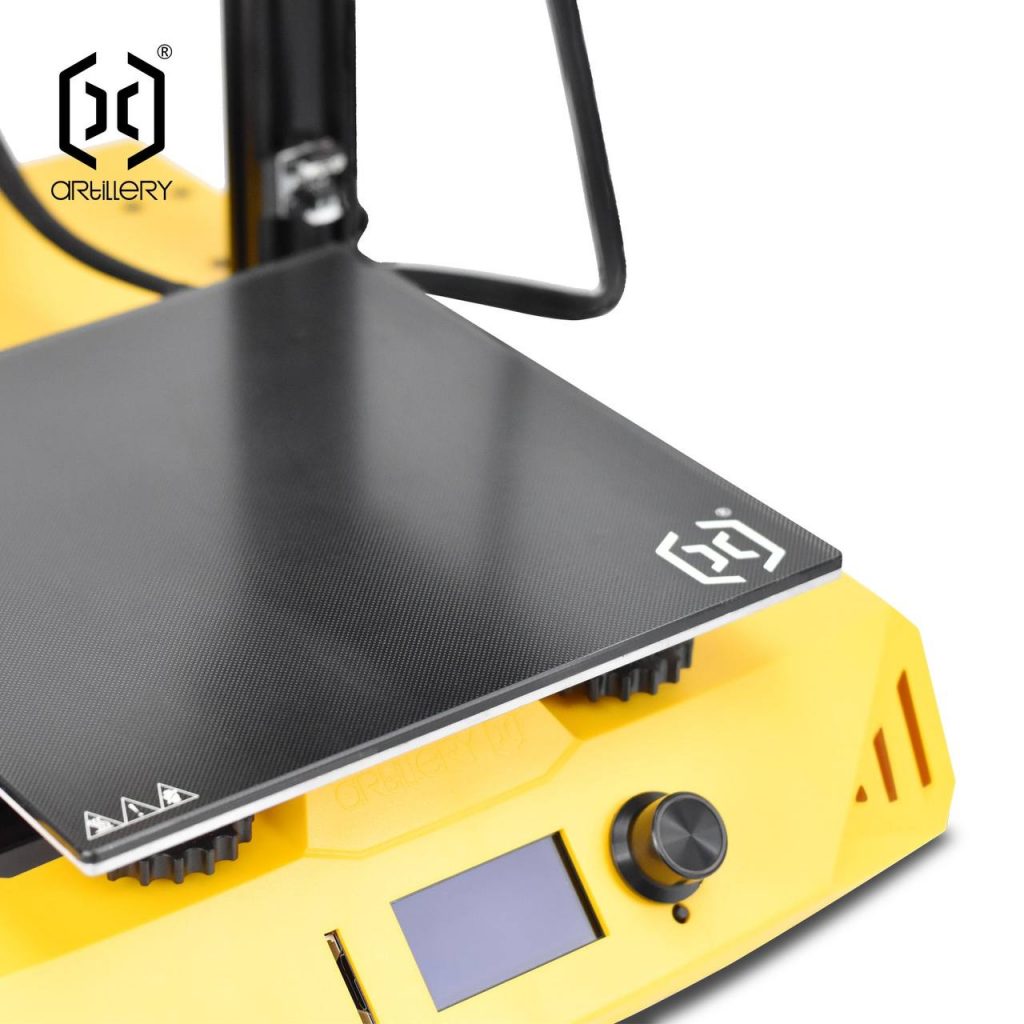
Glass plate, micro-perforated to make prints adhere better and avoid easy detachments during printing.
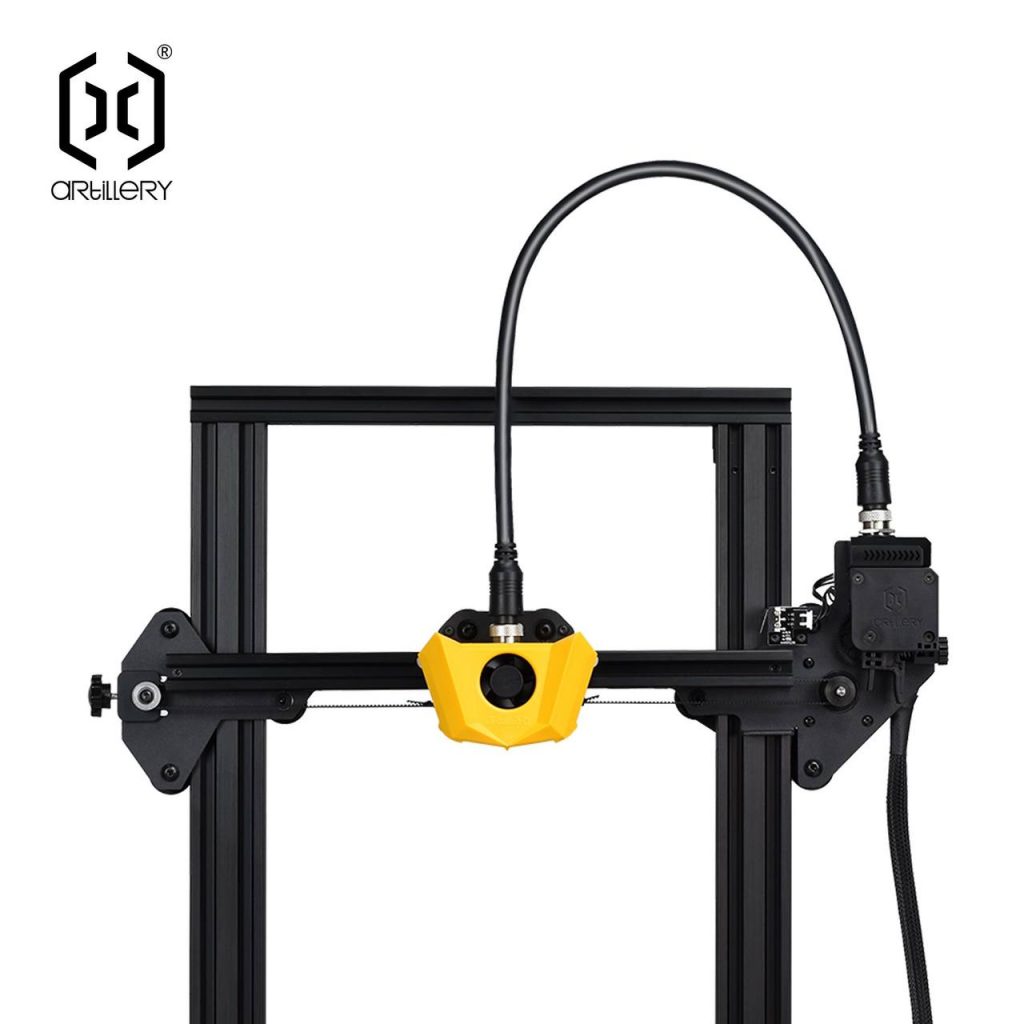
Customized ptfe tube and which does not make it possible for it to detach or not to attach properly. However, giving a cleaner view, also integrating the electronic part, losing a whole series of wires, but limiting oneself to one. It must be said that an important modification was the position of the Z axis motor changed.
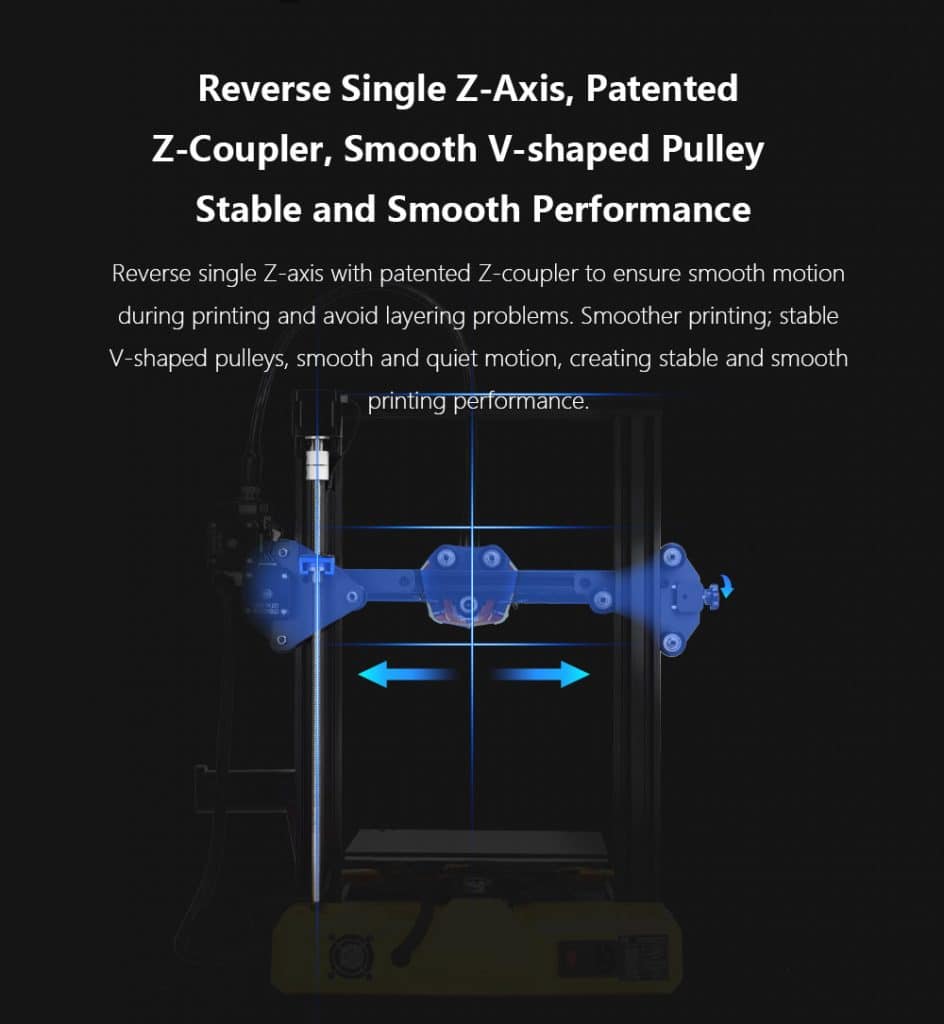
Artillery noted that changing the position of the Z-axis motor on the Hornet improves overall print quality by avoiding layer printing problems.
Unlike the other two models, the Hornet does not have a color touch display. The Hornet has, in fact, only a knob and a monochrome display.
Hornet Technical Specifications
| First name | Artillery Hornet |
| Print area | 220 x 220 x 250 mm |
| Frame material | Aluminum and ABS |
| Nozzle | 0.4 mm |
| Nozzle temperature | 240 ° C |
| Plate Temperature | 100 ° C |
| Print accuracy | 100-300 microns |
| Maximum print speed | 60-100 mm / s |
| Printing materials | PLA, PETG, TPU |
| Material diameter | 1.75 mm |
| Print file format | .gcode |
| Software | Cura, Slic3r, Simplify3D, IdeaMaker, Prusa |
| Entrance doors | SD |
| Screen | Monochrome and non-touch |
| Dimensions and weight | 470 x 450 x 510 mm, 8Kg |
Functionality and features
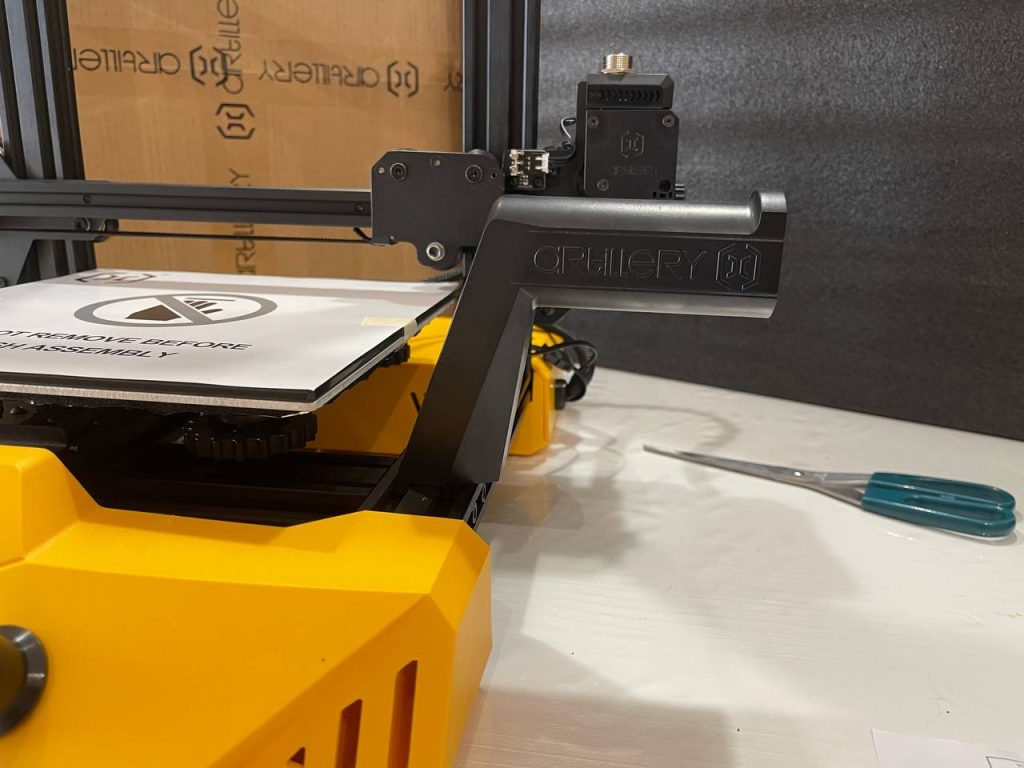
Solid, a lot. There are no movements and we do not notice structural problems. It must be said that there are some changes to the classic structure that we have appreciated. The Hornet spool holder can be changed in distance, but its position, plus the extruder put "backwards" than usual. With the entry of the filament going from the bottom to the top. It greatly improves the flow of the wire and the distance is reduced so much that it is really difficult to do more. If you were to buy a larger PLA spool you can always move the spolder holder further away and the central axis will always be at the right height with respect to the extruder.
The motherboard is 32-bit and it must also be said that the hotend is compatible with E3D v6, so if you want to upgrade it is feasible in a simple way.
The cable that connects the hotend with the extruder is perhaps the thing that struck us most, positively. This cable may be difficult to replace, perhaps, I don't know if the PTFE tube can actually be removed. However, it also seems difficult to think that it can break, although it is resistant.
Quite fast heat-up times, the hotend reaches 200 degrees in about a minute and a half. The slightly slower plate, the base temperature, for most prints is set to 60/70 degrees and reaches this temperature in about 2 minutes. If we were to set 100 degrees, however, we could have to wait up to almost 7 minutes. Difficult to use the bed at 100 degrees, in the case of more particular materials (PETG for example) but it is important to know what to expect.
Quiet, a lot. The fans are two and we had the doubt that there were problems with noise. Almost total absence of noise. We are extremely surprised at how quiet it is.
Other interesting features, from the structure, are the integrated belt tensioners. It may happen that with the passage of time the belts loosen, with the belt tensioner it is easily solved. Also changed the way of attachment of the power cable of the bed, which on the genius and artillery was too little resistant. In this case it should hold up more movement, avoiding breakage.
Conclusions
Hornet is a good printer. We are surprised from so many points of view. I start with the proprietary cable and the 32-bit motherboard. Surely for the proposed price it is not high, for what it offers you, but for a small difference I would bet on Genius Pro. The improvements over the Genius are there, the different bed attachment, motherboard and cable. However, the Genius features a color touch display, different bed feed, dual Z axis and more solid structure.
We therefore advise you to keep an eye on the price. Any drops in the price of the Hornet or the Genius could make both attractive. Approaching the price of the Genius to the Hornet or the Hornet at a much more attractive price.
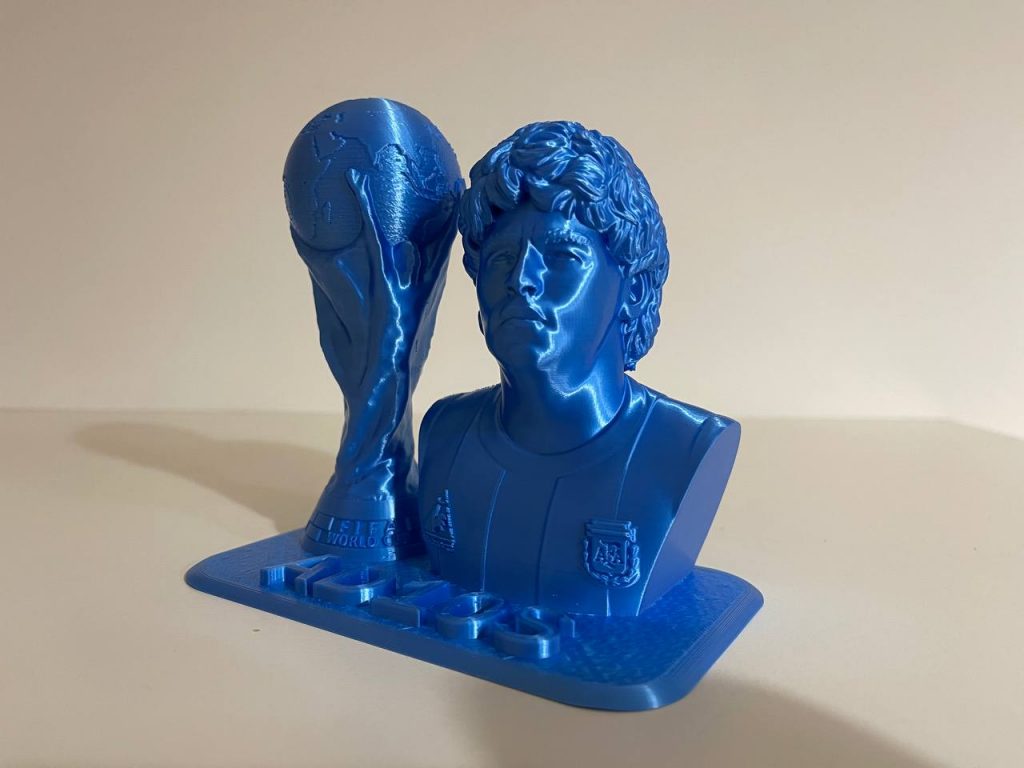
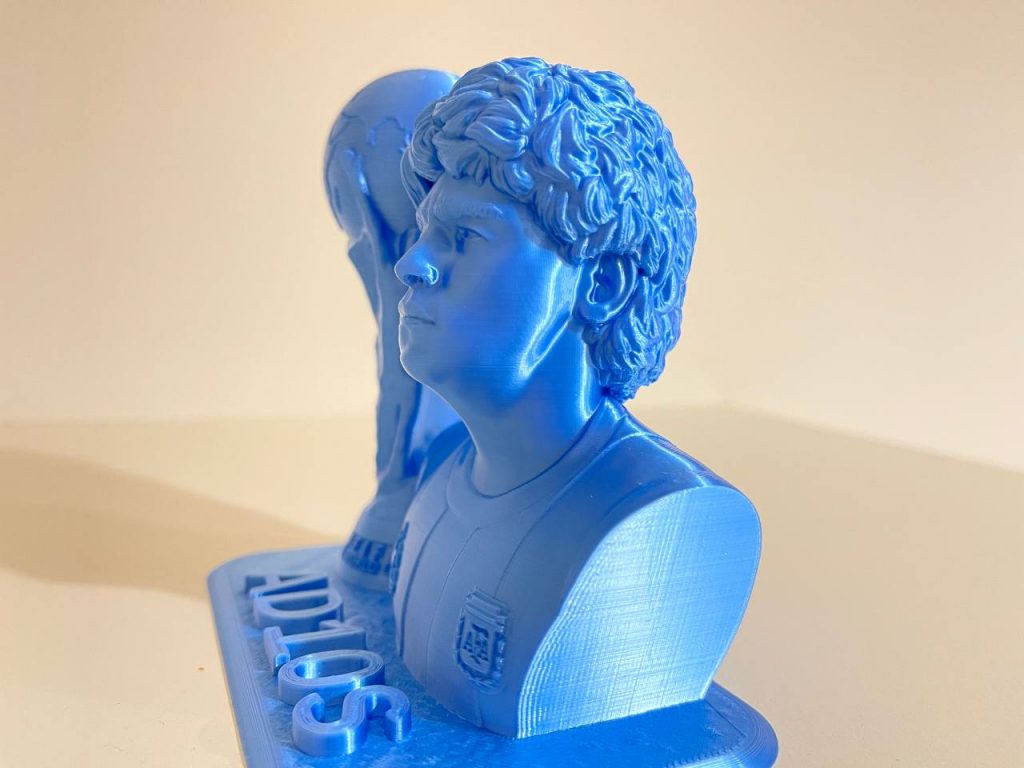
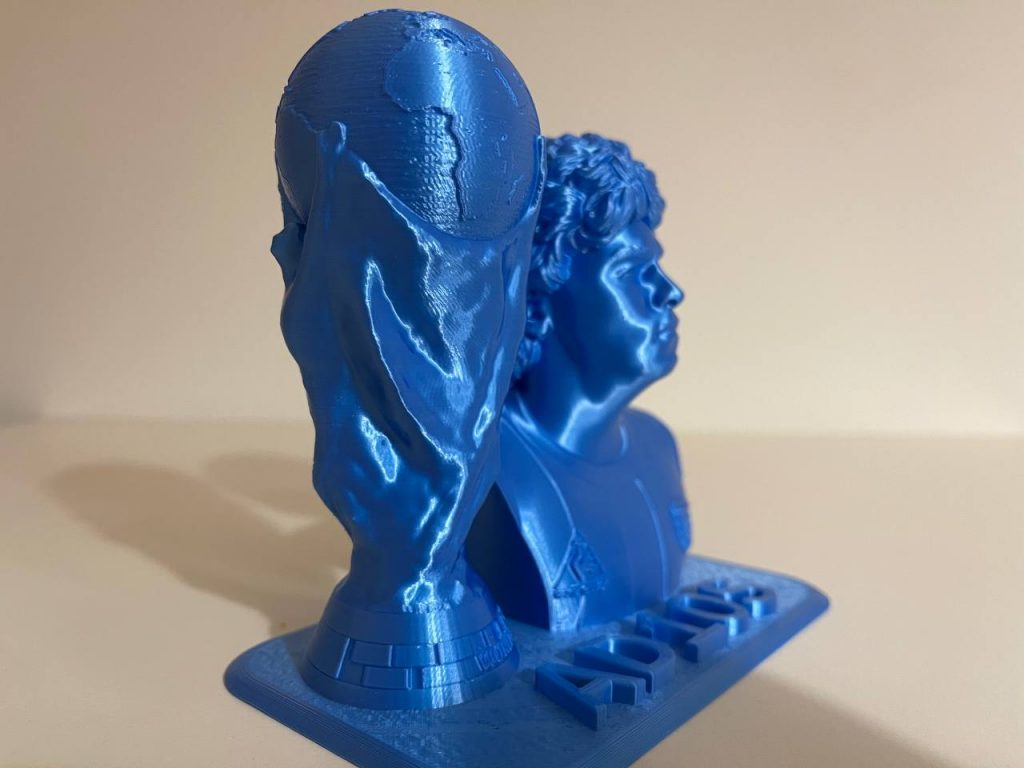
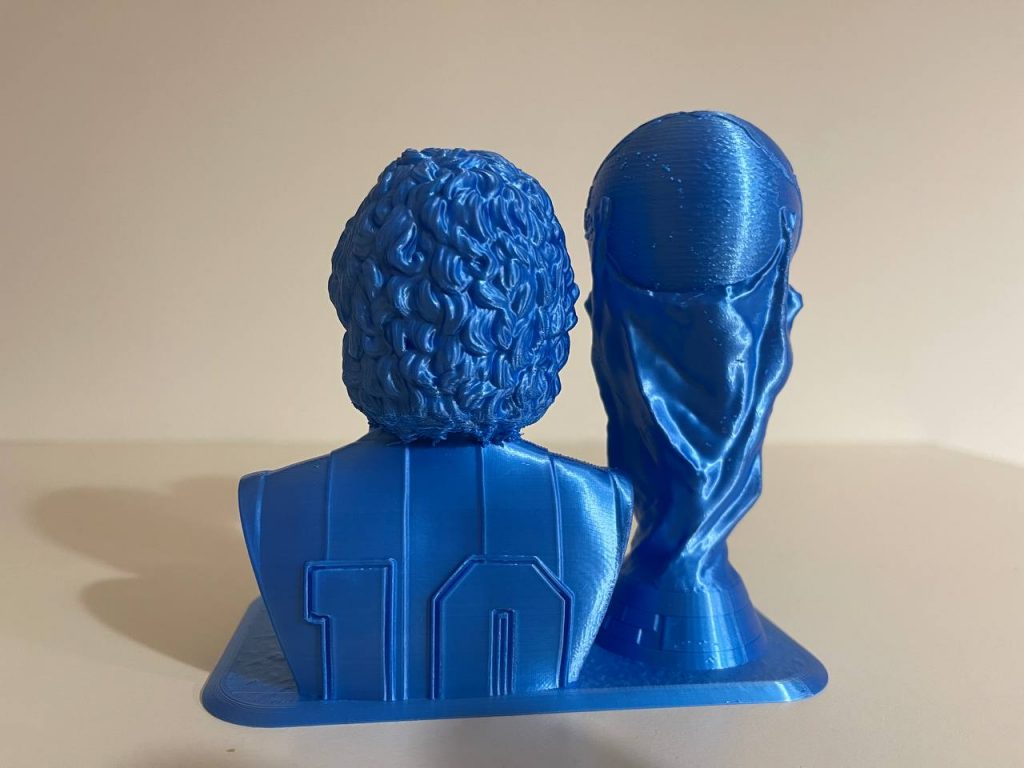
We did a test print with a bust. For this test we used a PLA that we find very beautiful both in terms of color and ease of printing. The bust was printed with 0.12 layer and the quality of the print is evident. Here are some photos.
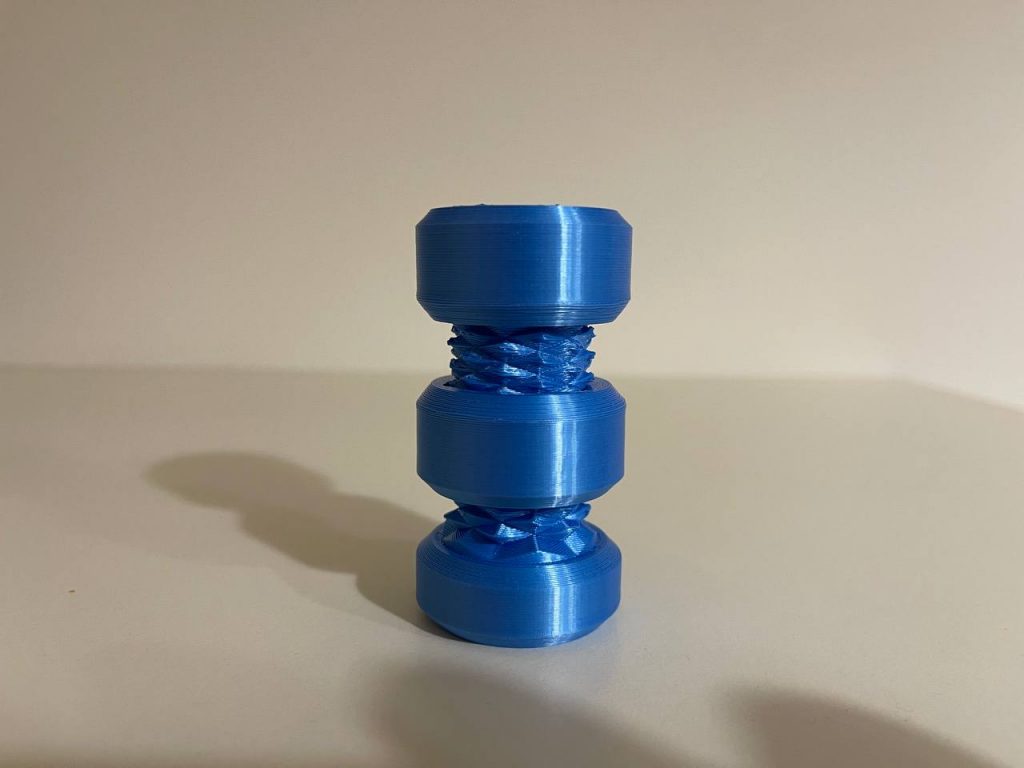
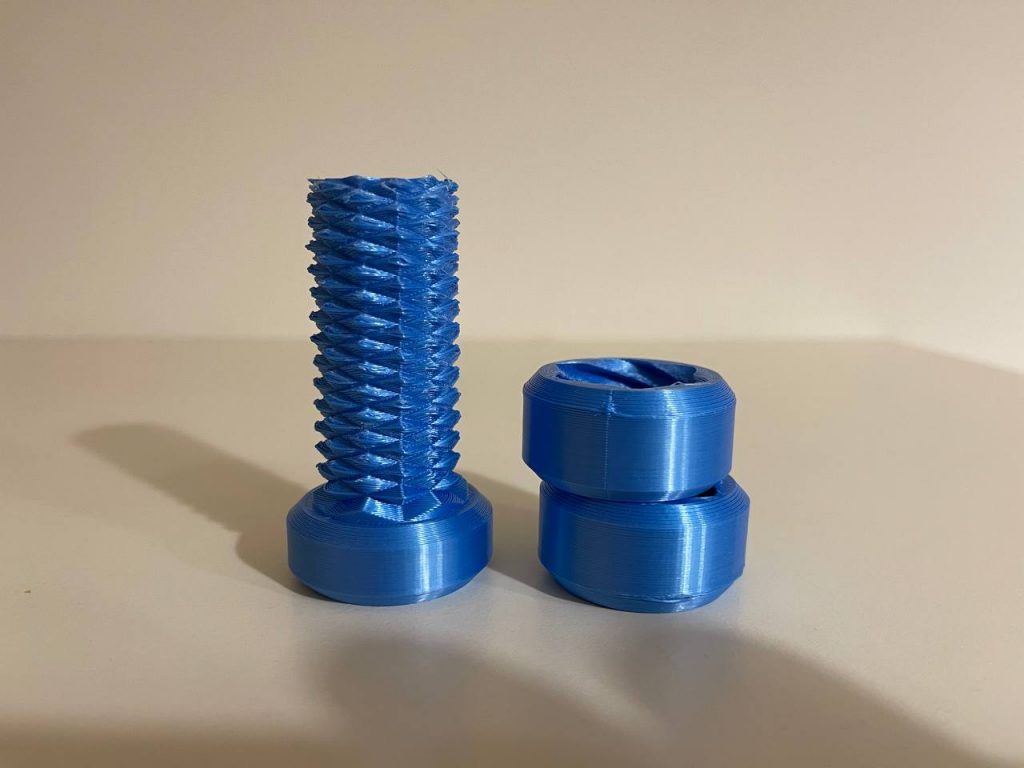
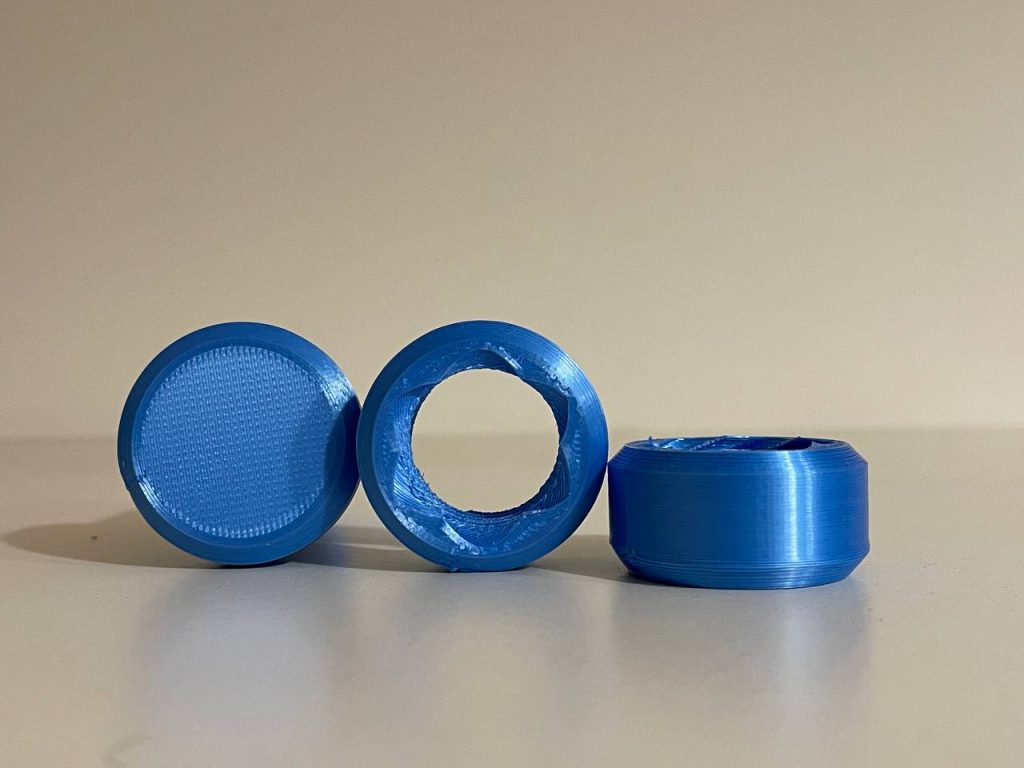
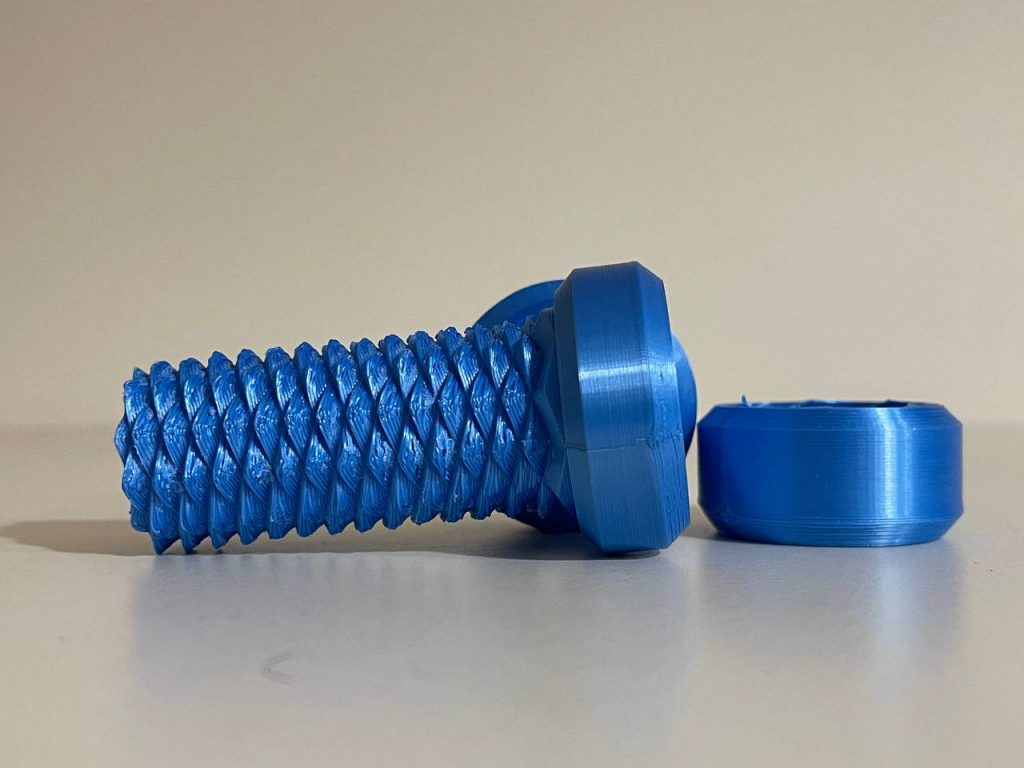
The second press tested is a double threaded bolt. In this case the print is at 0.24 and although a lower layer would have been needed here to have less resistance during rotation. However, the print convinces and despite the fact that the layer height does not help everything turns correctly.


 https://www.instagram.com/3digital.tech/