Flux Ador - La prima taglierina laser per stampa a colori al mondo -3Digital | Droni e Stampanti 3D

Flux Ador - The world's first color printing laser cutter

FLUX Ador 🎨 - Guides to deepen your understanding of Ador

Thinking about creating a marketable product, but running out of ideas? Follow this quick guide to make your product profitable using the Ador Print Module and 2W Infrared Laser Add-on Module!

Creating marketable laser products with the FLUX Ador 2W infrared laser

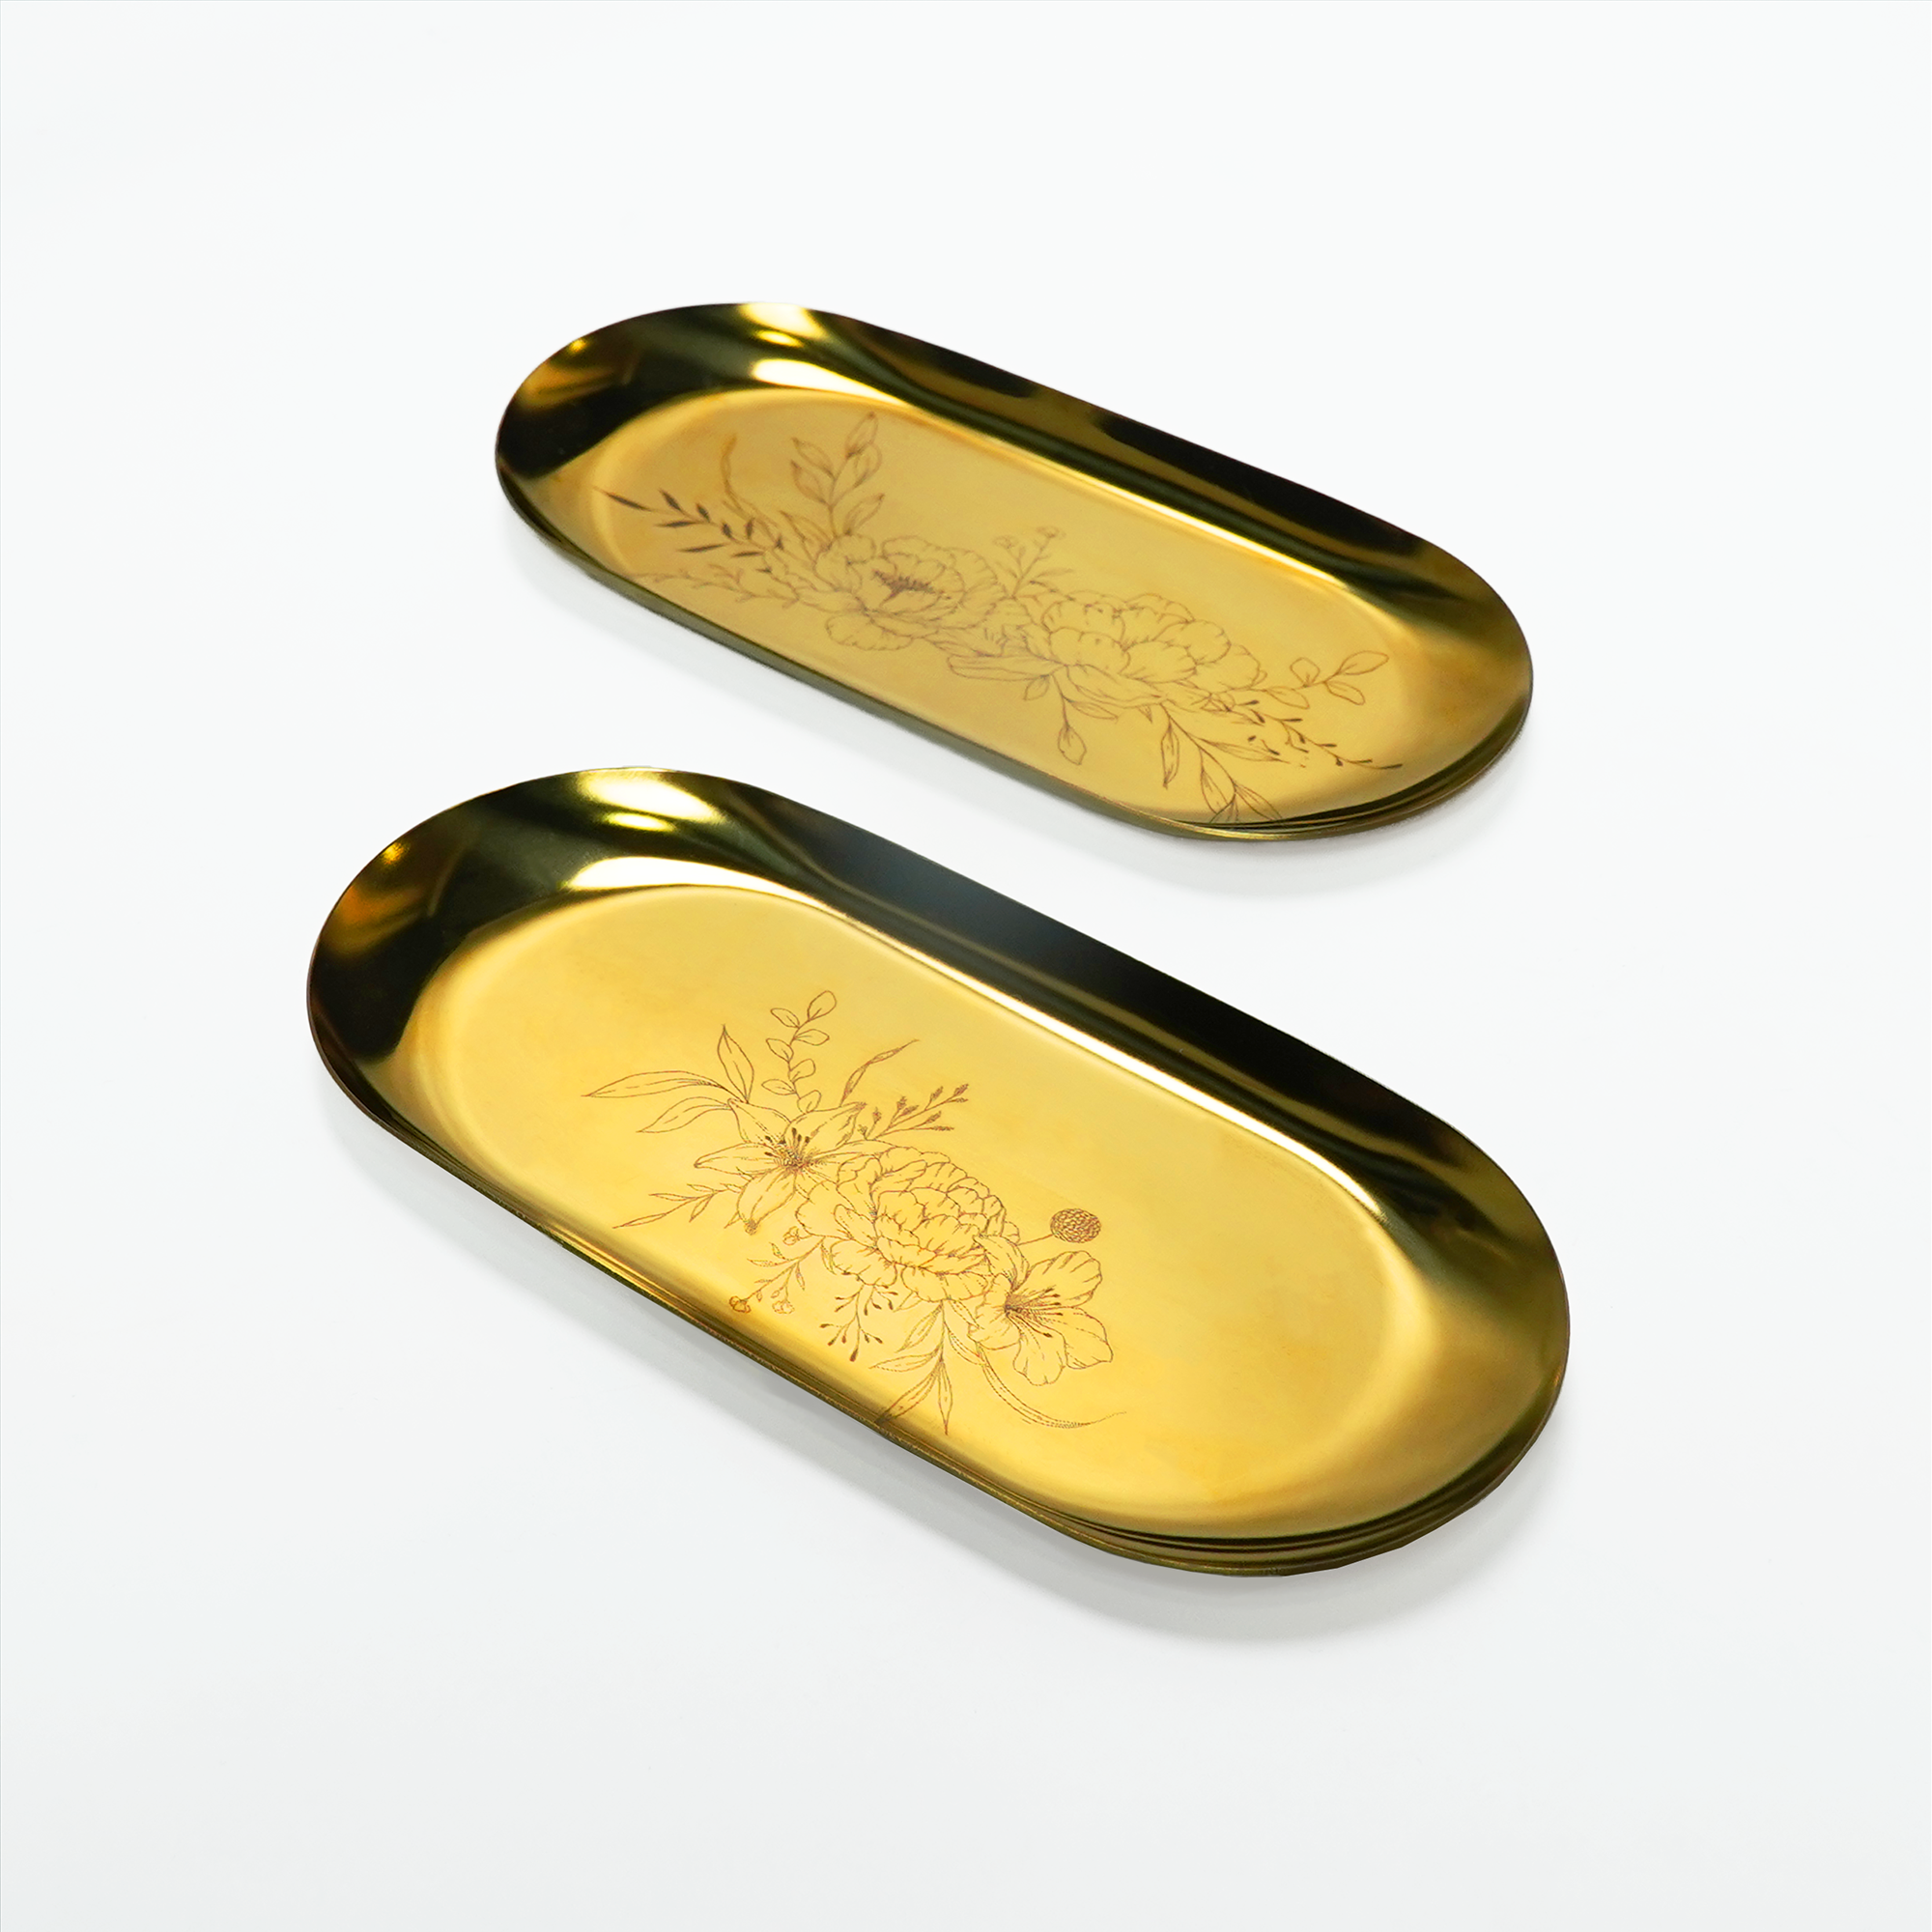
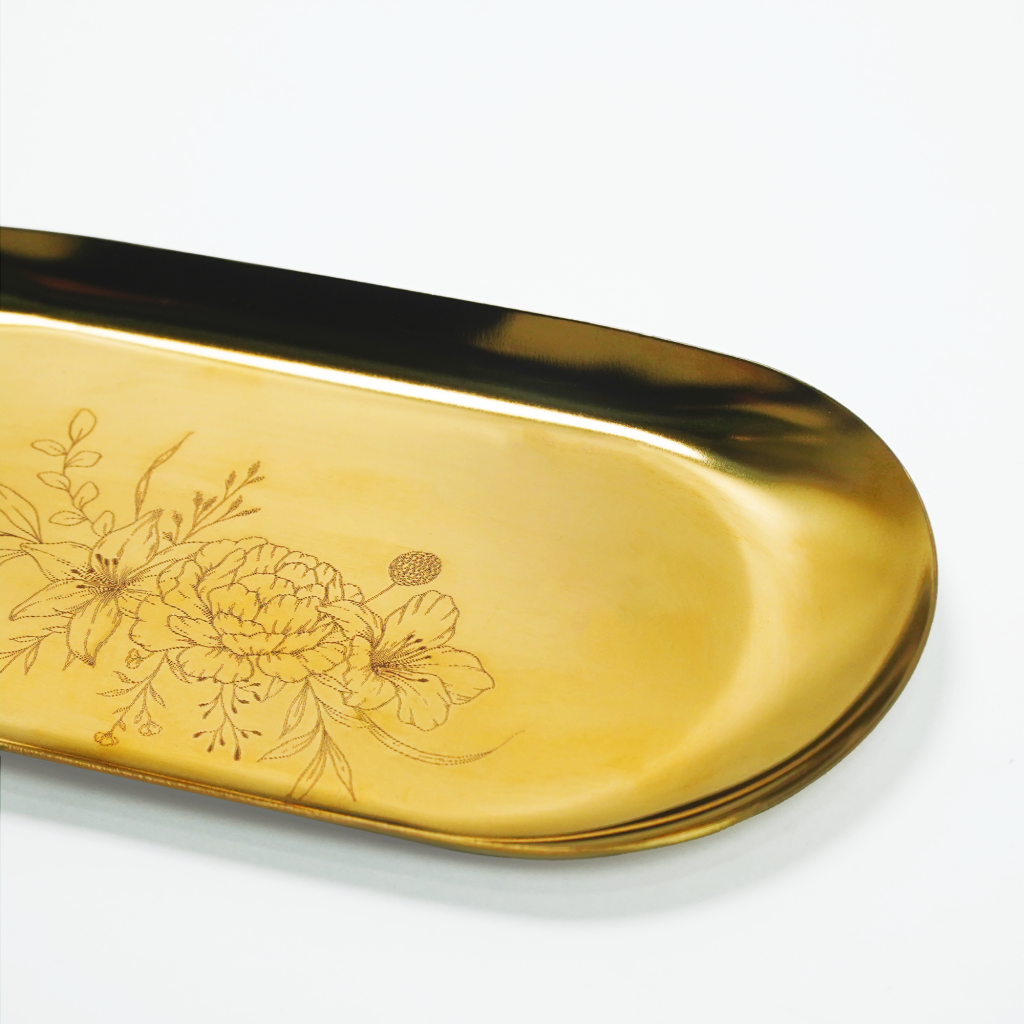
In the laser engraving community, metal engraving is always a hot topic to discuss. Unlike wood, acrylic or fabric, these materials can simply be engraved with different types of lasers, and people who require metal engraving often have to spend more time and money. find specialized machines for laser engraving of metal. Makers who need to engrave both metal and other materials typically need to purchase two separate machines: one dedicated to metal and another for various materials.

However, the advent of Ador elegantly solved this problem for creators. Ador features a 3-in-1 modular design, including a diode laser, a red light laser, and a printing module. This design allows creators to switch modules based on material and creative requirements, significantly expanding their creative possibilities.

Laser cutter 3 in 1

10W/20W diode laser

Print module

Add-on 2W infrared laser

Deep dive into Ador's 2W infrared laser add-on

The Ador 2W infrared laser operates at a wavelength of 1064 nanometers, making it ideal for engraving metal surfaces. The beam's greatly reduced diameter allows for complex designs and sophisticated engravings on various metals, revolutionizing the way you approach metalworking projects.


Metal engraving

To illustrate how the infrared laser add-on works, let's take stainless steel as a practical example. This will walk you through the process and help you understand how the infrared laser add-on works. Follow these steps to get a clearer view of how it works.


Step 1: Calibrate the infrared module

Whenever you use an Ador module for the first time, or if your machine has been moved, or you notice a discrepancy between the camera preview and the actual engraving position, it is essential to perform camera calibration. For detailed instructions on how to calibrate your camera, please refer to the step-by-step guide available in the Help Center.

Step 2: Position the material and autofocus

Ador features a large workspace measuring 430mm x 300mm, with a depth of 30mm, providing ample space to expand your creative reach. Make sure your materials do not exceed these dimensions. Additionally, for lighter materials, it is advisable to use paper tape for stabilization to prevent them from being moved by the airflow from the air assist while the infrared module is operating. Next, long-click the AF button to focus on the material.

Step 3: Preview your camera

Ador features an 8MP high-resolution camera, allowing you to quickly preview your materials with just one click. After previewing the materials, place your image on top of them. The infrared module will then print precisely over the area where you placed the image.
Step 4: Setting parameters and starting engraving
After previewing the material, place the design file in your preferred area of ​​the material. Beam Studio's sidebar lets you adjust gradients and curves to your liking. Once you've made these changes, simply hit "Start" to send the file to your machine. The camera's preview of metallic materials may cause reflections, making it difficult to align the material correctly. In this case, select the layer where the image file is located in the "layer" section of the workspace on the right and choose a brighter color. This will help achieve more precise and efficient alignment of the image file.

Simple creation in 4 steps

Complete your artwork effortlessly in just four simple steps to bring your custom project to life with vibrancy.

Now available

We are happy to announce that Ador is now available for purchase! Take advantage of our special launch offer and secure your Ador at the most attractive price!

In-depth analysis of the Ador printing module

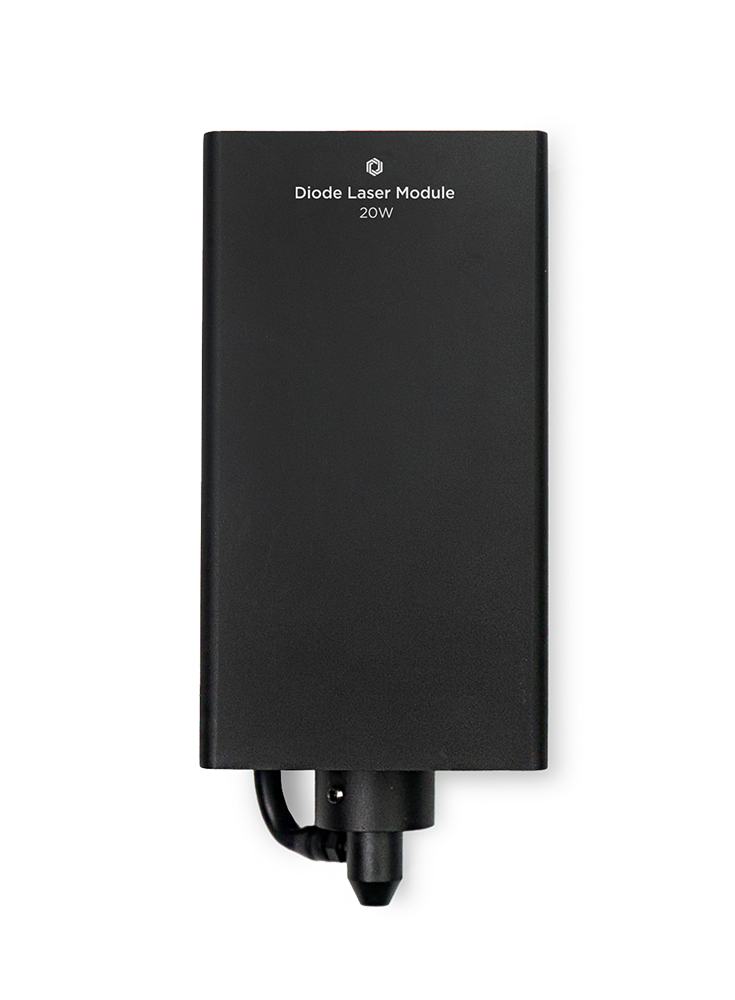
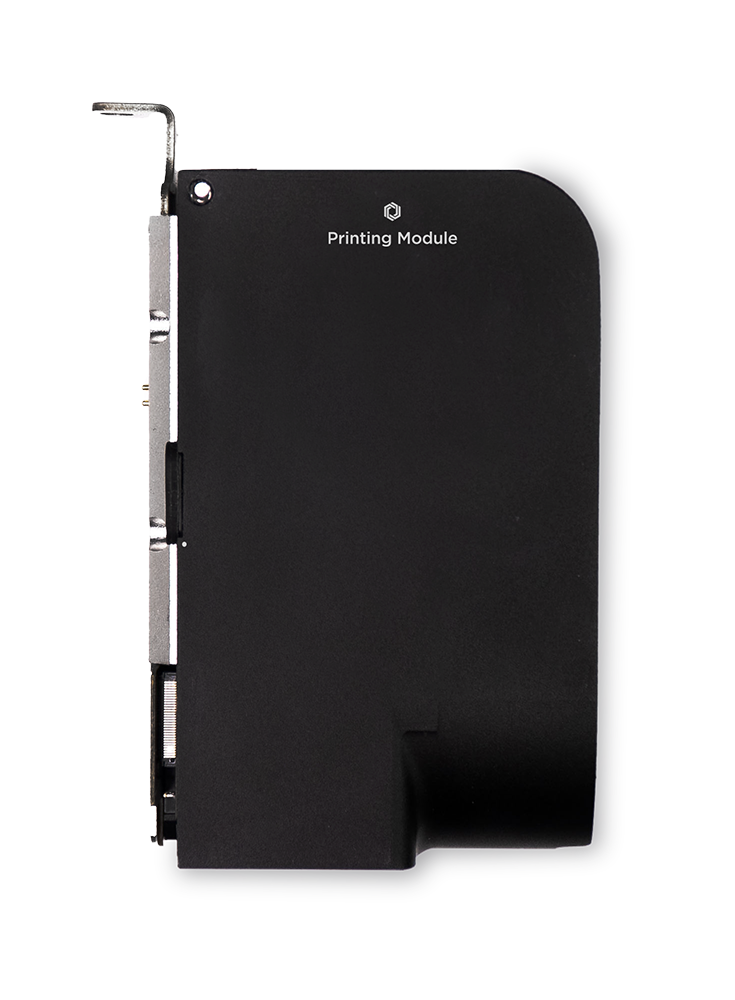
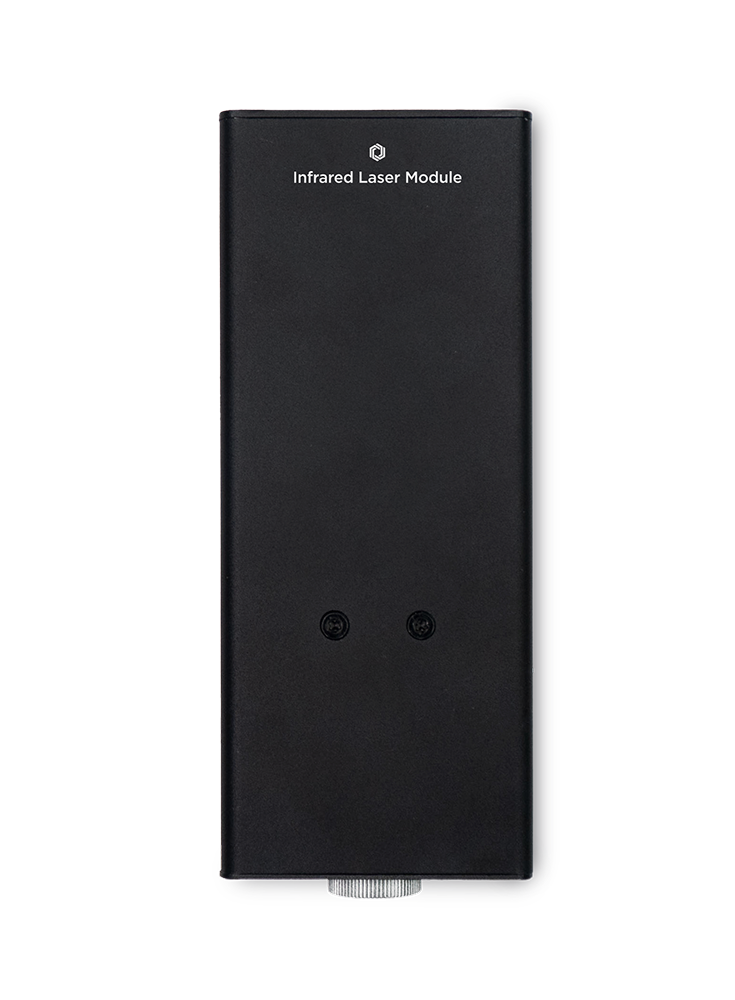
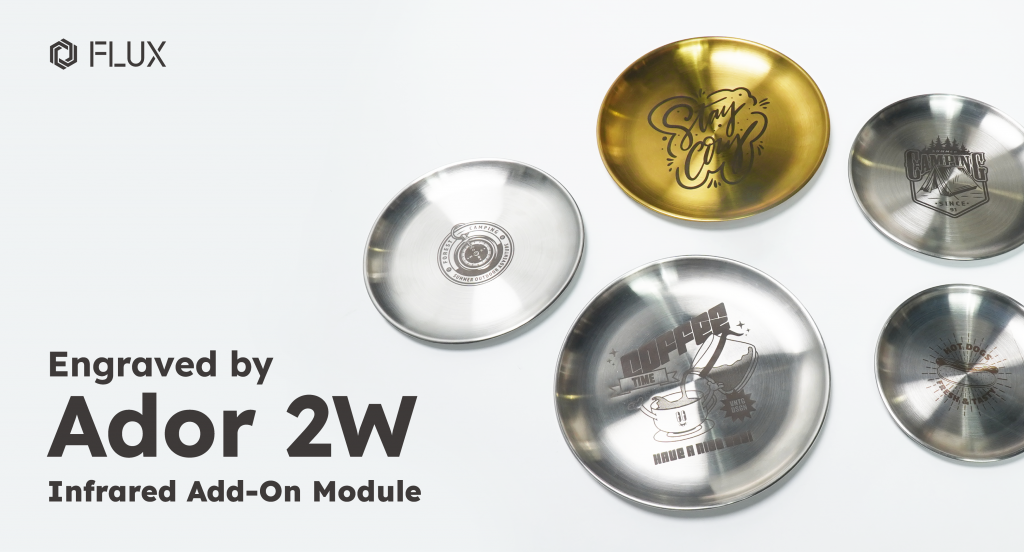
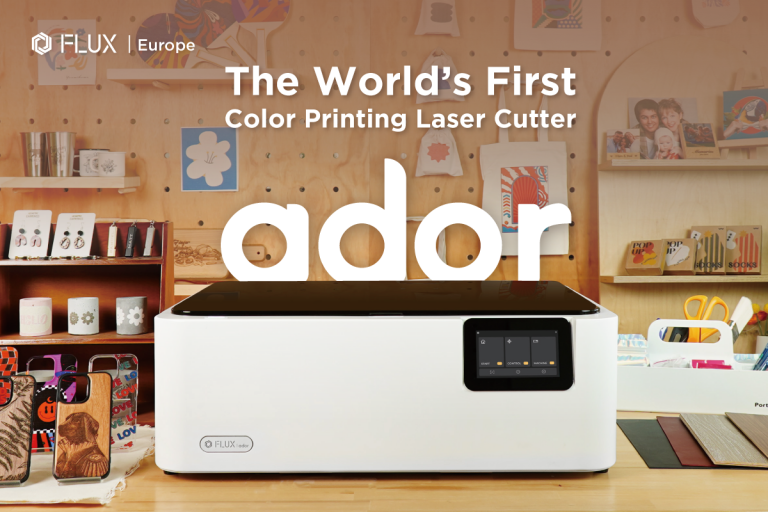
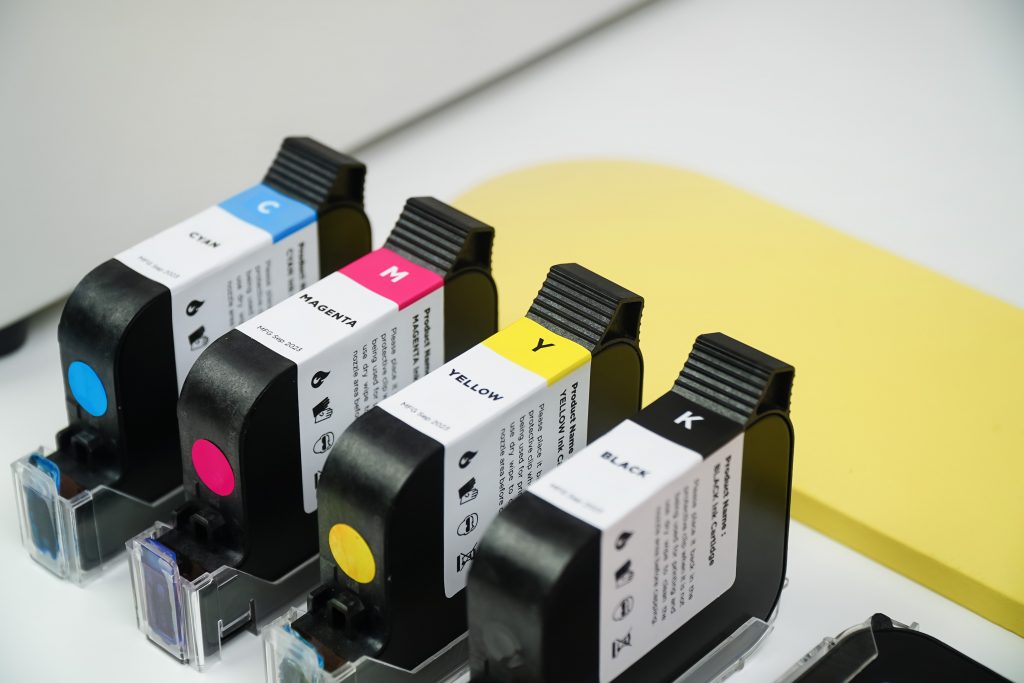
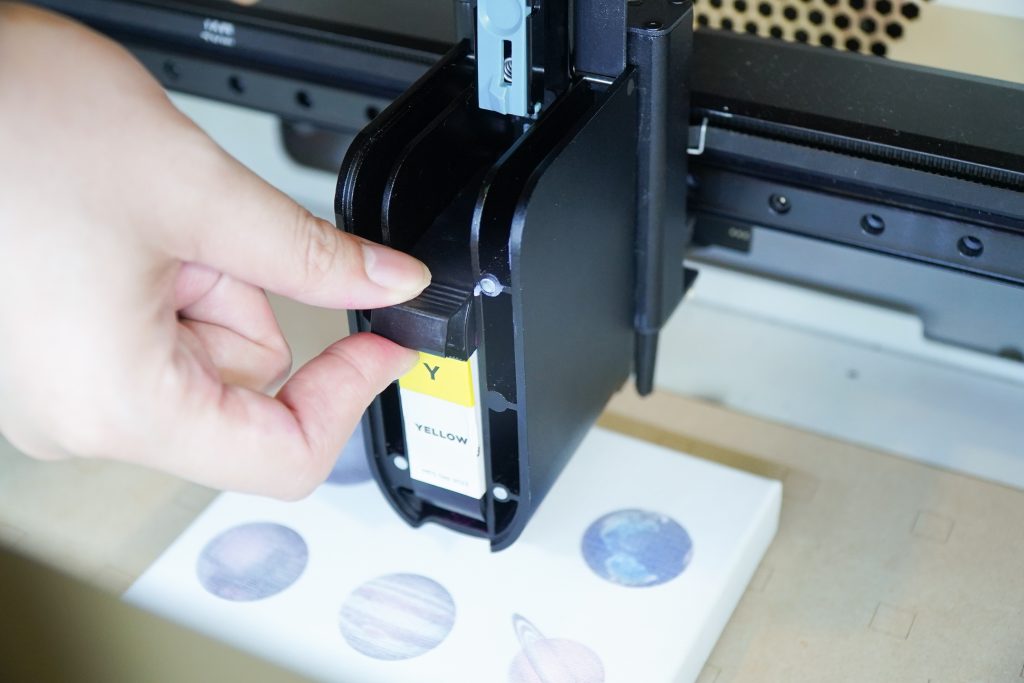
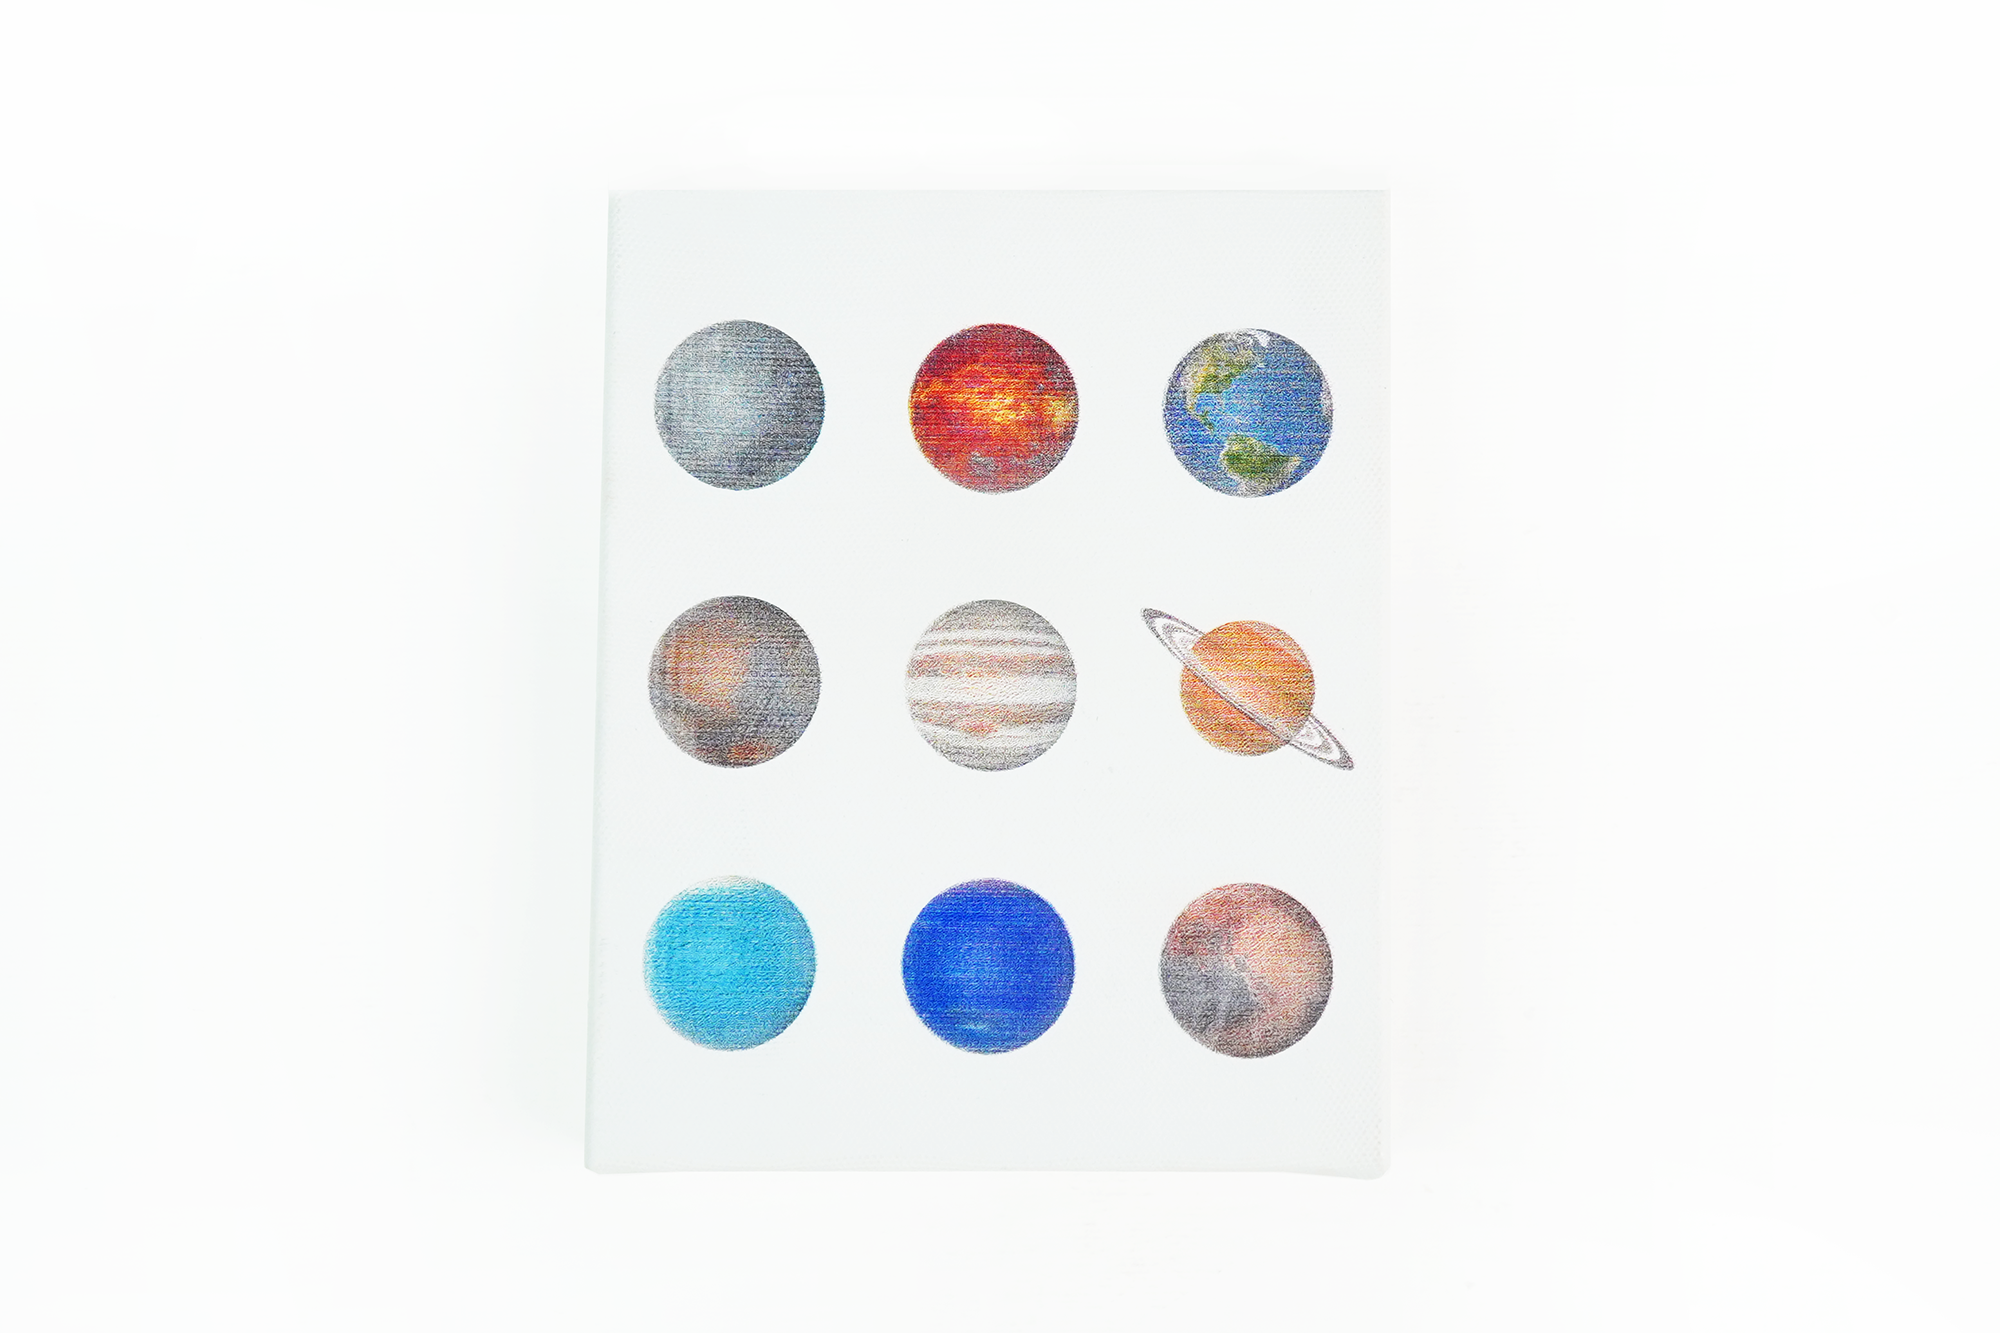
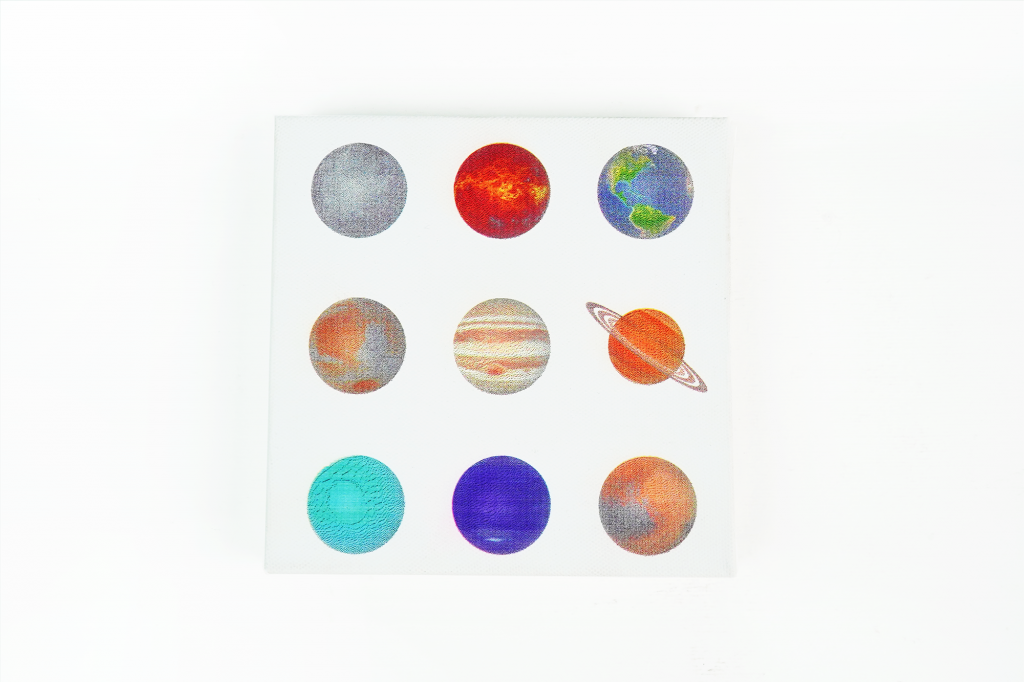
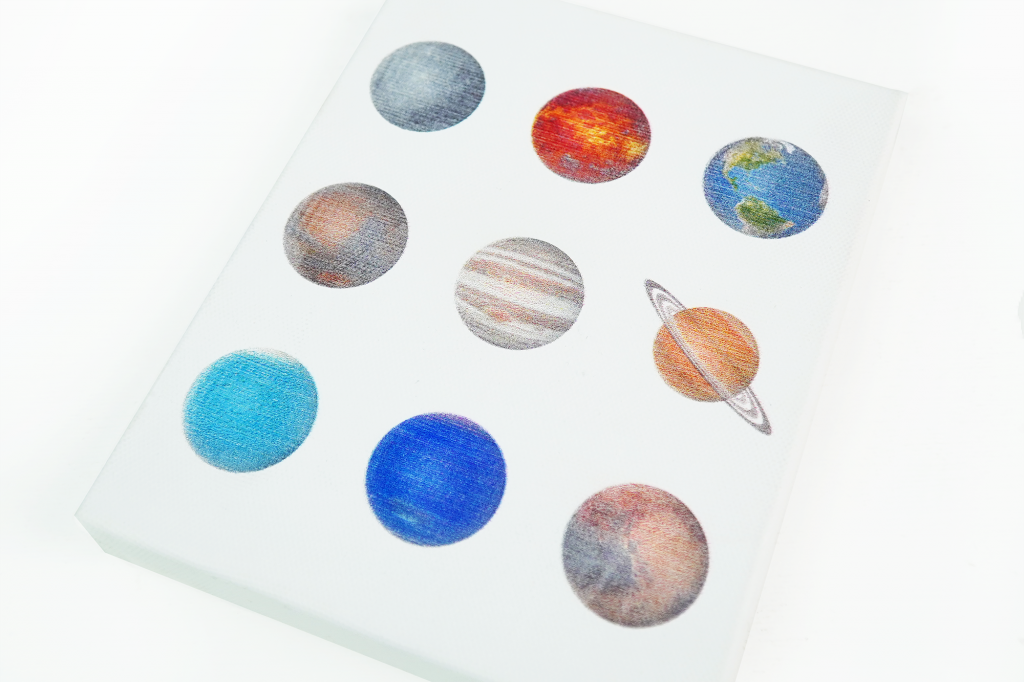
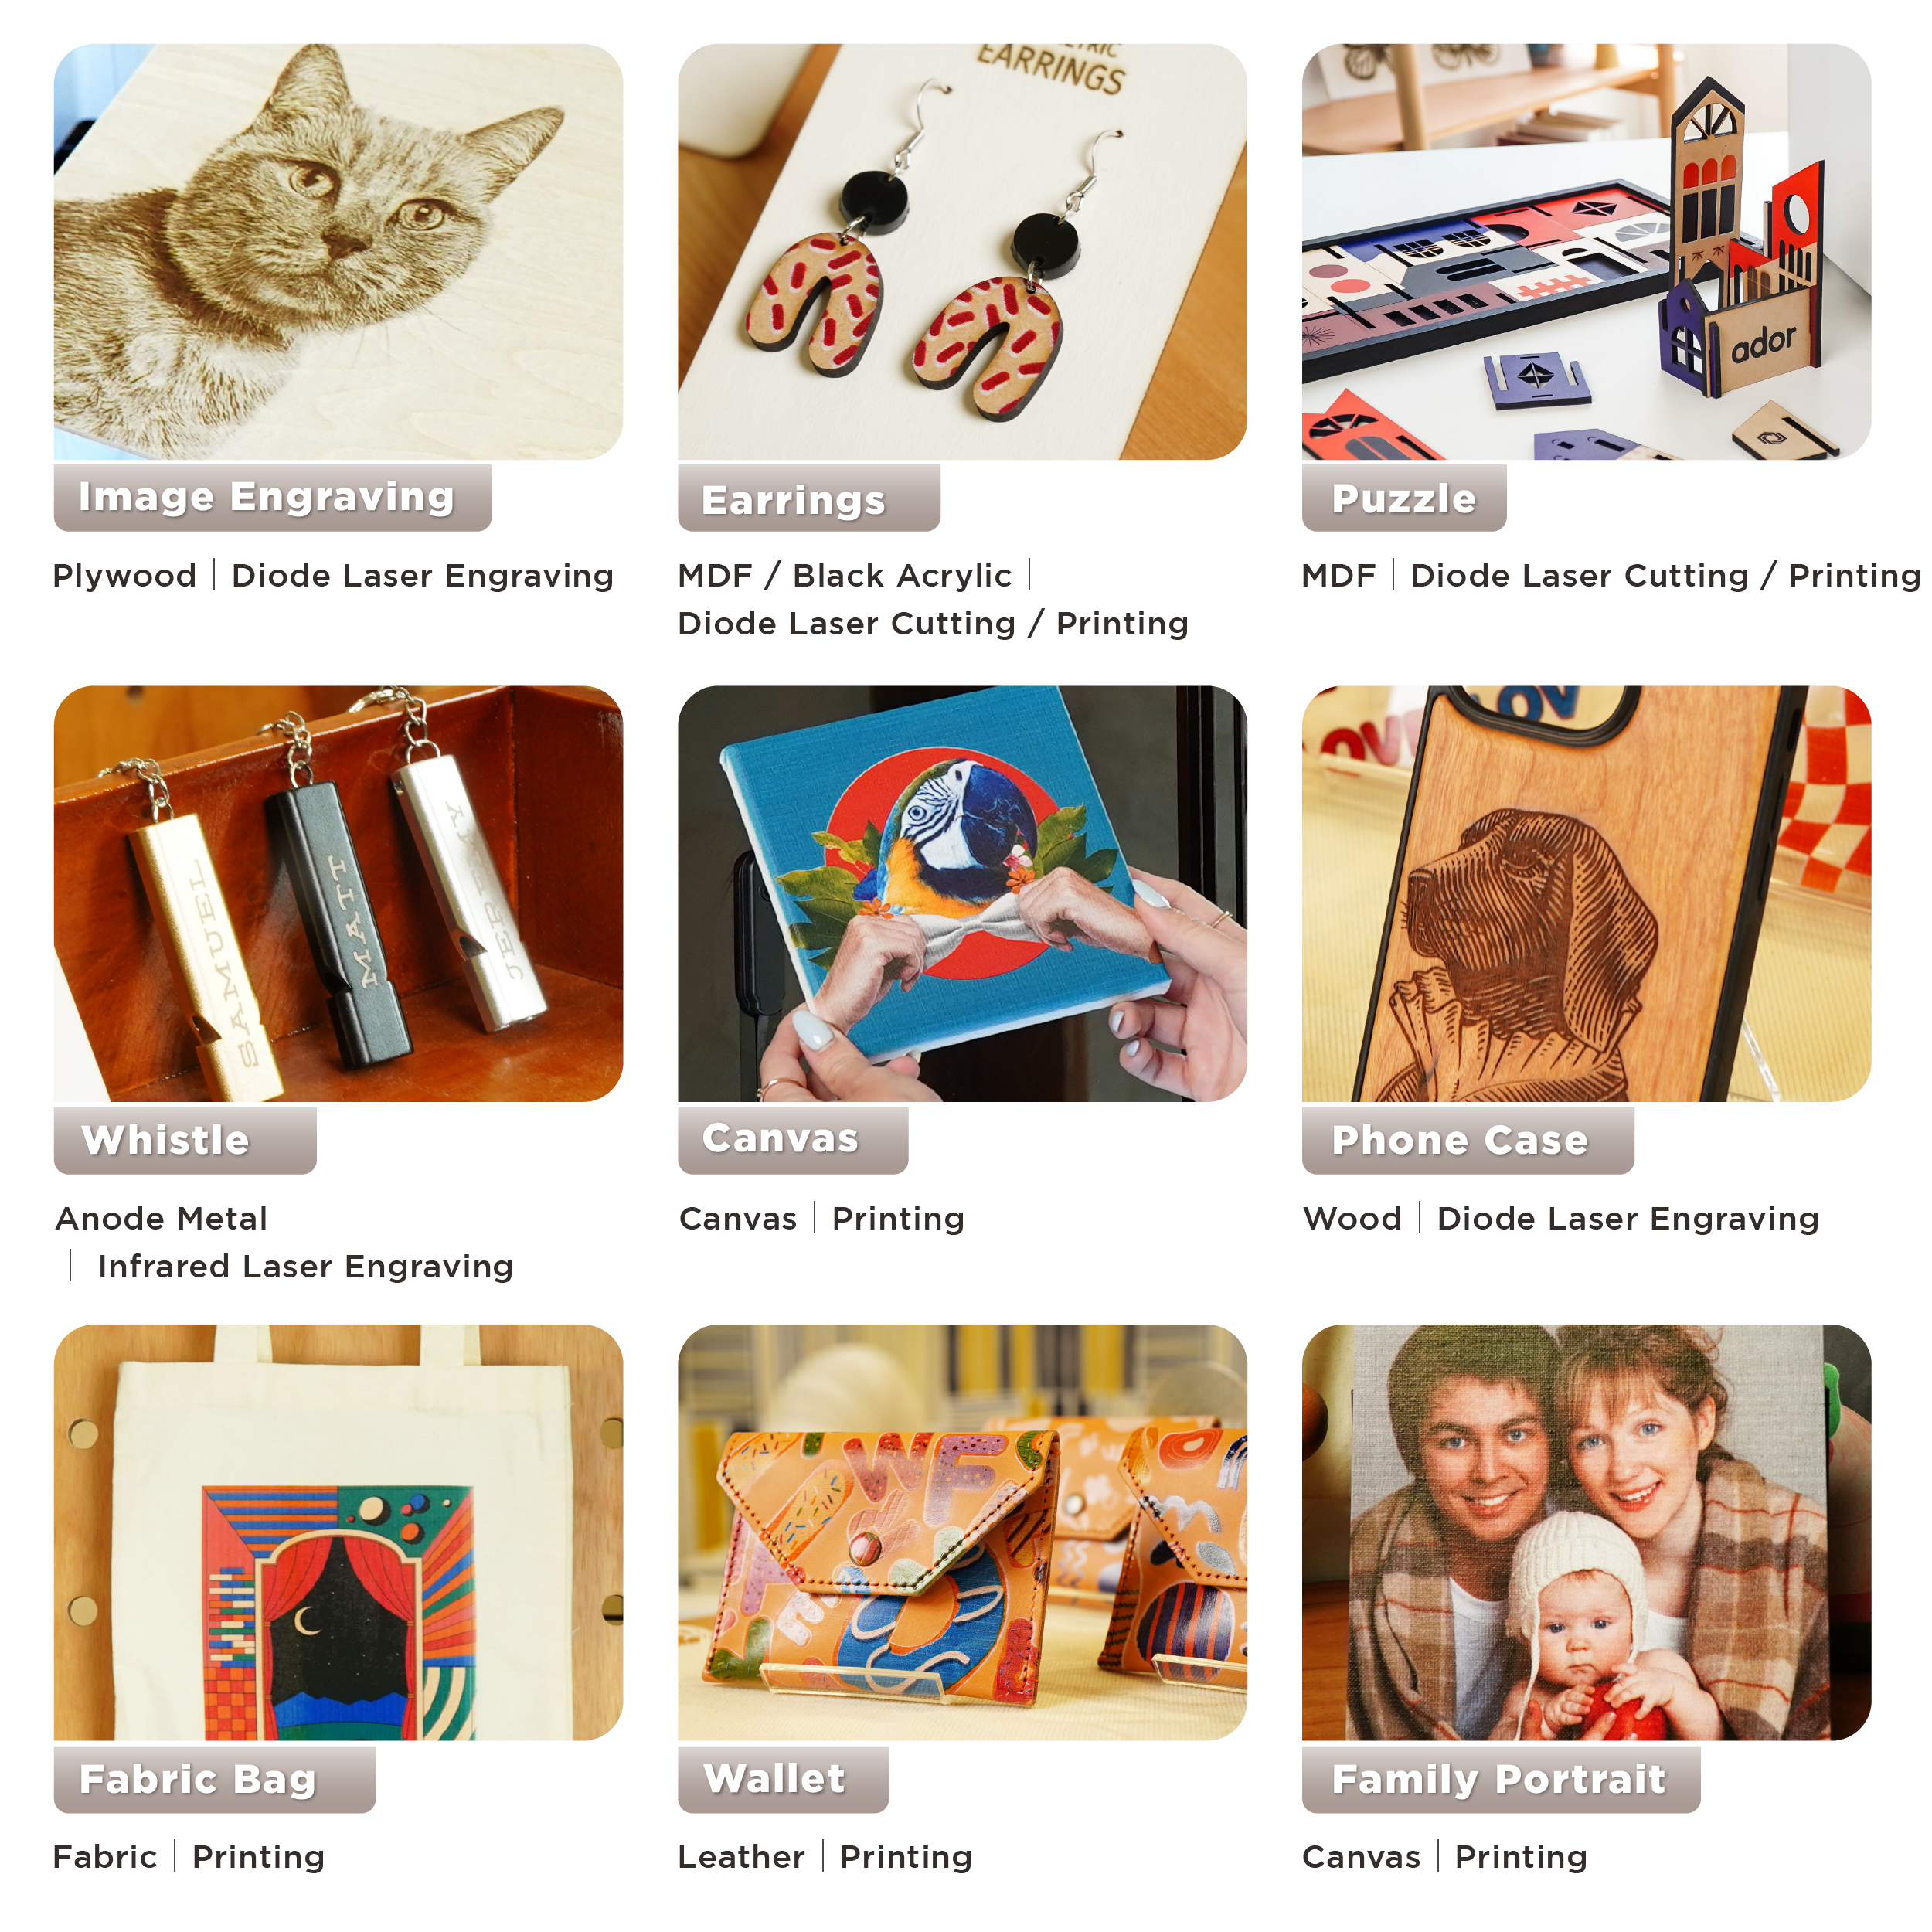
Ador is equipped with three high-quality interchangeable modules: a diode laser, an infrared laser and a printing module. This versatility allows creators to not only cut and engrave a wide range of materials, but also add vibrant colors to their designs, elevating the level of craftsmanship and innovation.
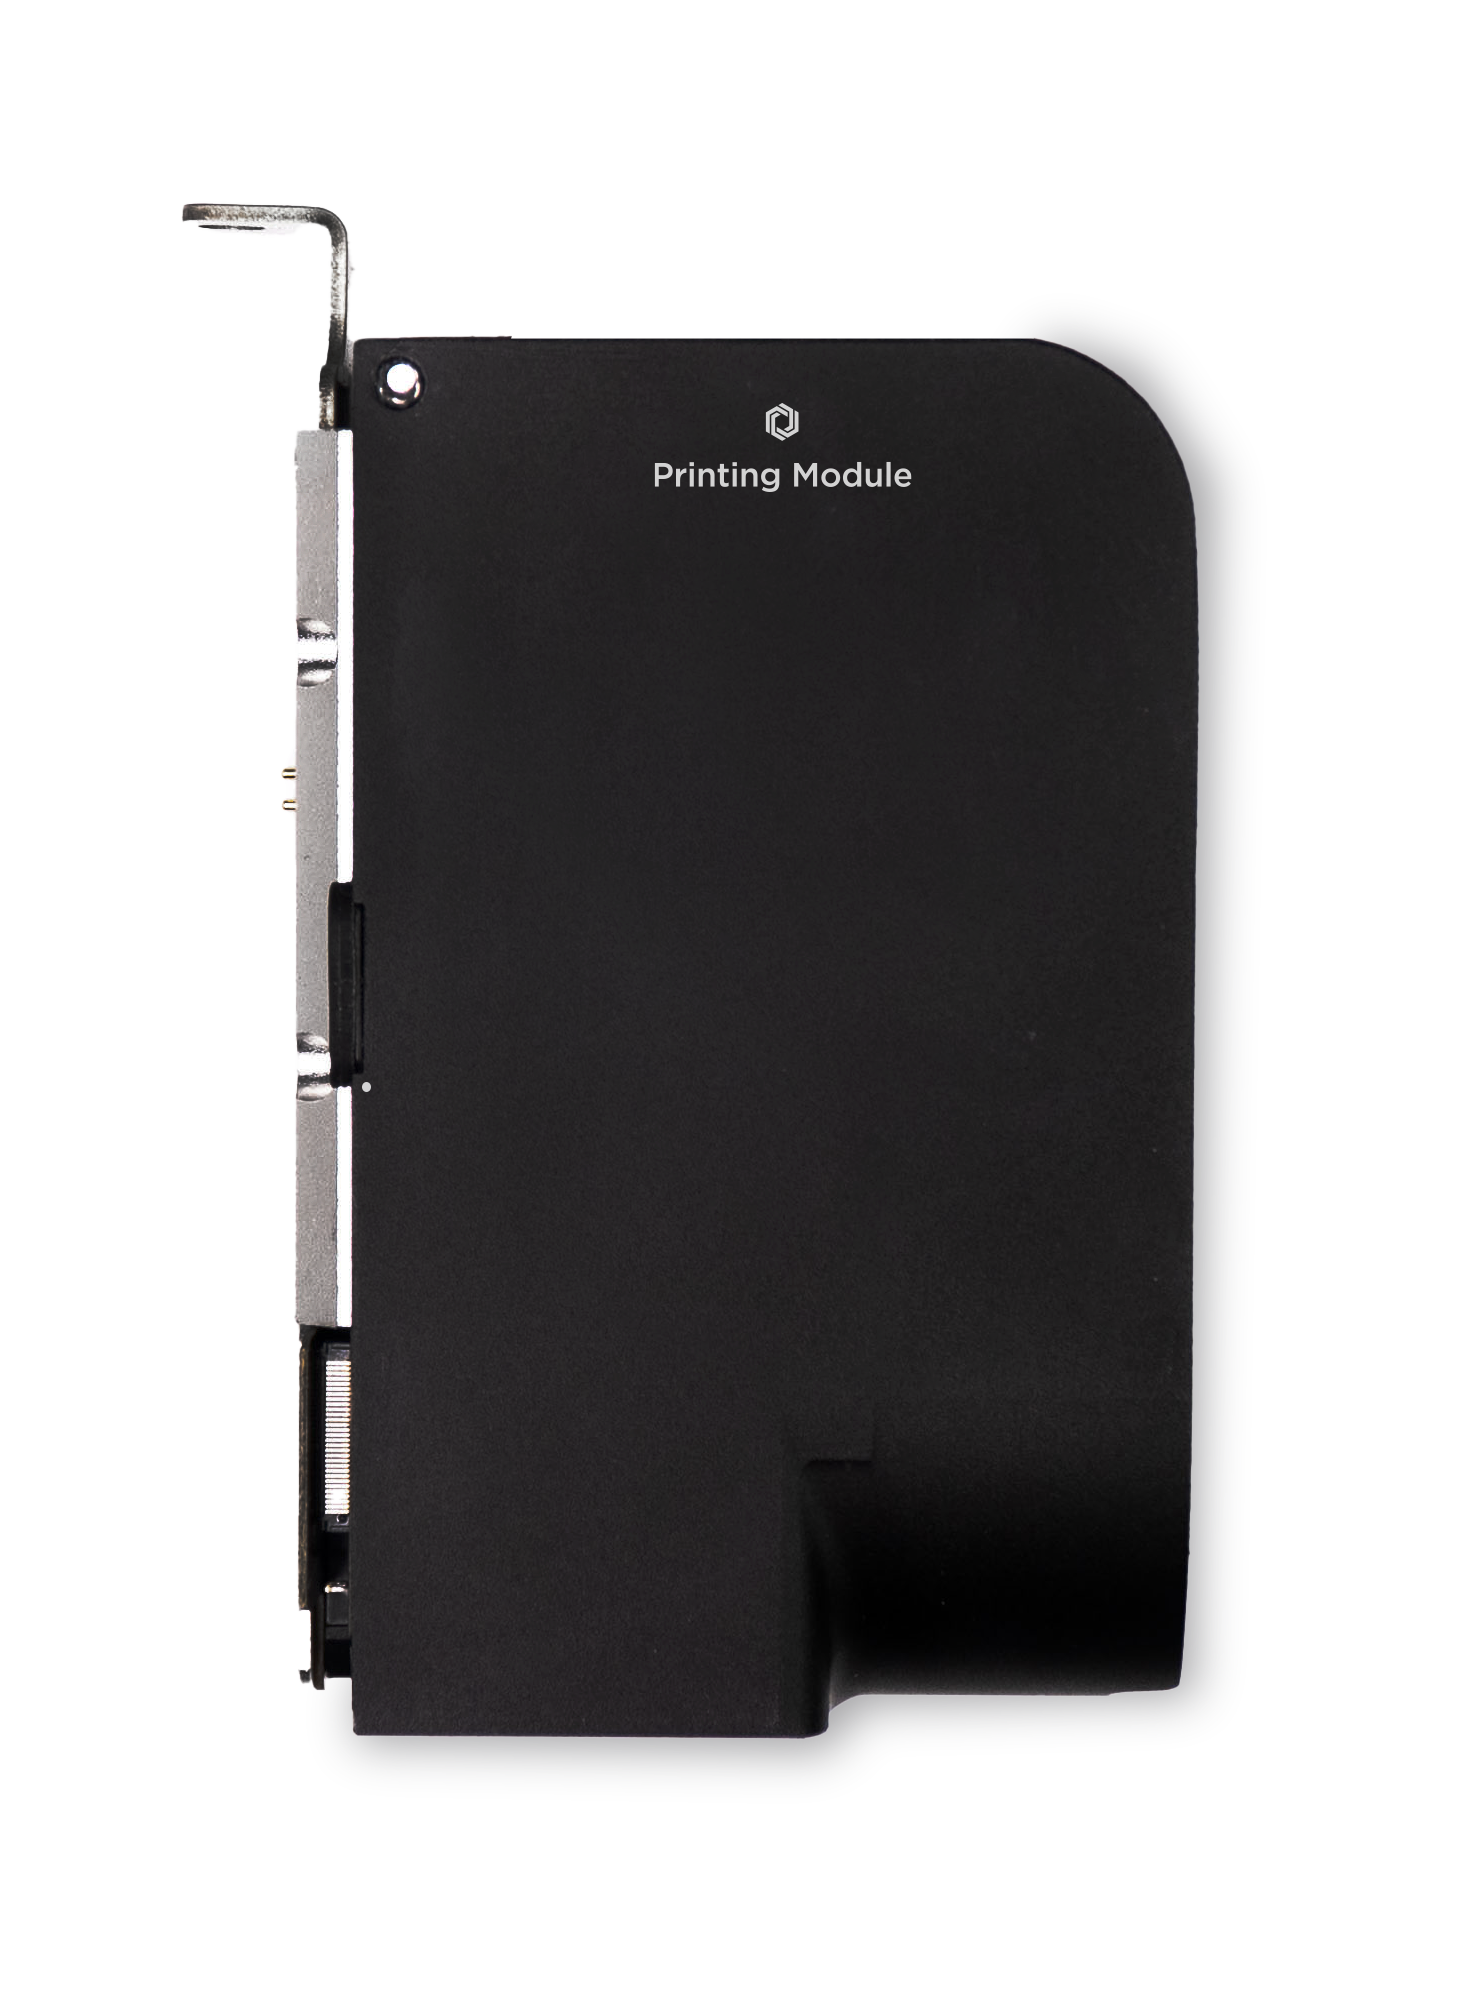
Since craftsmen already have a good understanding of laser cutting and engraving techniques, our focus will shift to Ador's printing module, which has garnered considerable interest. Join us as we explore the capabilities of this printing module, demonstrating its capabilities and the impressive results it achieves on various materials.

Module printing add-on

Using color mixing technology, we go from simple single-color printing to producing vibrant multi-color effects, enhancing the vibrancy of your creations.

What type of ink is used for the Ador printing module?

Ador uses Eco Solvent ink, with CMYK in four colors. This ink is versatile and suitable for printing on a wide range of materials such as wood, bamboo, cardboard, fabric and canvas, among others. Applying a primer is essential for porous surfaces to ensure proper ink adhesion.

Beam Studio

The designated software for Ador is our reliable Beam Studio , which has been updated to accommodate Ador's new print feature. Beam Studio now offers improved functionality, allowing users to change both parameters and ink settings for the Print module. It allows for precise adjustment of ink output tailored to specific design files and also allows direct editing of gradients and sharpness within Beam Studio, aligning them to your individual preferences.

Printing on canvas

To illustrate how the printing module works, we will take the canvas as a practical example. This will walk you through the process and help you understand how the print form works. Follow these steps to get a clearer view of how it works.

Step 1: Position the material and autofocus

Ador features a large workspace measuring 430mm x 300mm, with a depth of 30mm, providing ample space to expand your creative reach. Make sure your materials do not exceed these dimensions. Also, for lighter materials, it is advisable to use paper tape for stabilization to prevent them from being moved by the air flow from the air assist during the operation of the print module. Next, double-click to automatically focus on the material.

Step 2: Preview your camera

Ador features an 8MP high-resolution camera, allowing you to quickly preview your materials with just one click. After previewing the materials, place your image on top of them. The print module will then print precisely over the area where you placed the image.

Step 3: Setting parameters

After previewing the material, you have the option to fine-tune the desired ink yield. You can also split the image into the four CMYK layers and edit the gradient and curves using Beam Studio's sidebar. After making these changes, simply click "Start" to transmit the file to your machine.

Step 4: Change ink

The Ador comes with single ink cartridges in cyan, magenta, yellow, and black. For color prints, simply replace the cartridge as needed. Additionally, Beam Studio will alert you with a pop-up notification to remind you when it's time to change inks.

Simple creation in 4 steps

Complete your artwork effortlessly in just four simple steps to bring your custom project to life with vibrancy.

Print on multiple flat surfaces

Make your work stand out

Ador specializes in printing on materials with flat surfaces, managing thicknesses up to 3 mm with precision and ease.
*Uneven surfaces may come into contact with the print head.

Play with colors in your creations

After laser cutting, Ador allows you to infuse vibrant colors into your masterpiece.
Single color
Mixed color
Gradient color

What Ador can do

Explore the endless possibilities with Ador

Back to blog