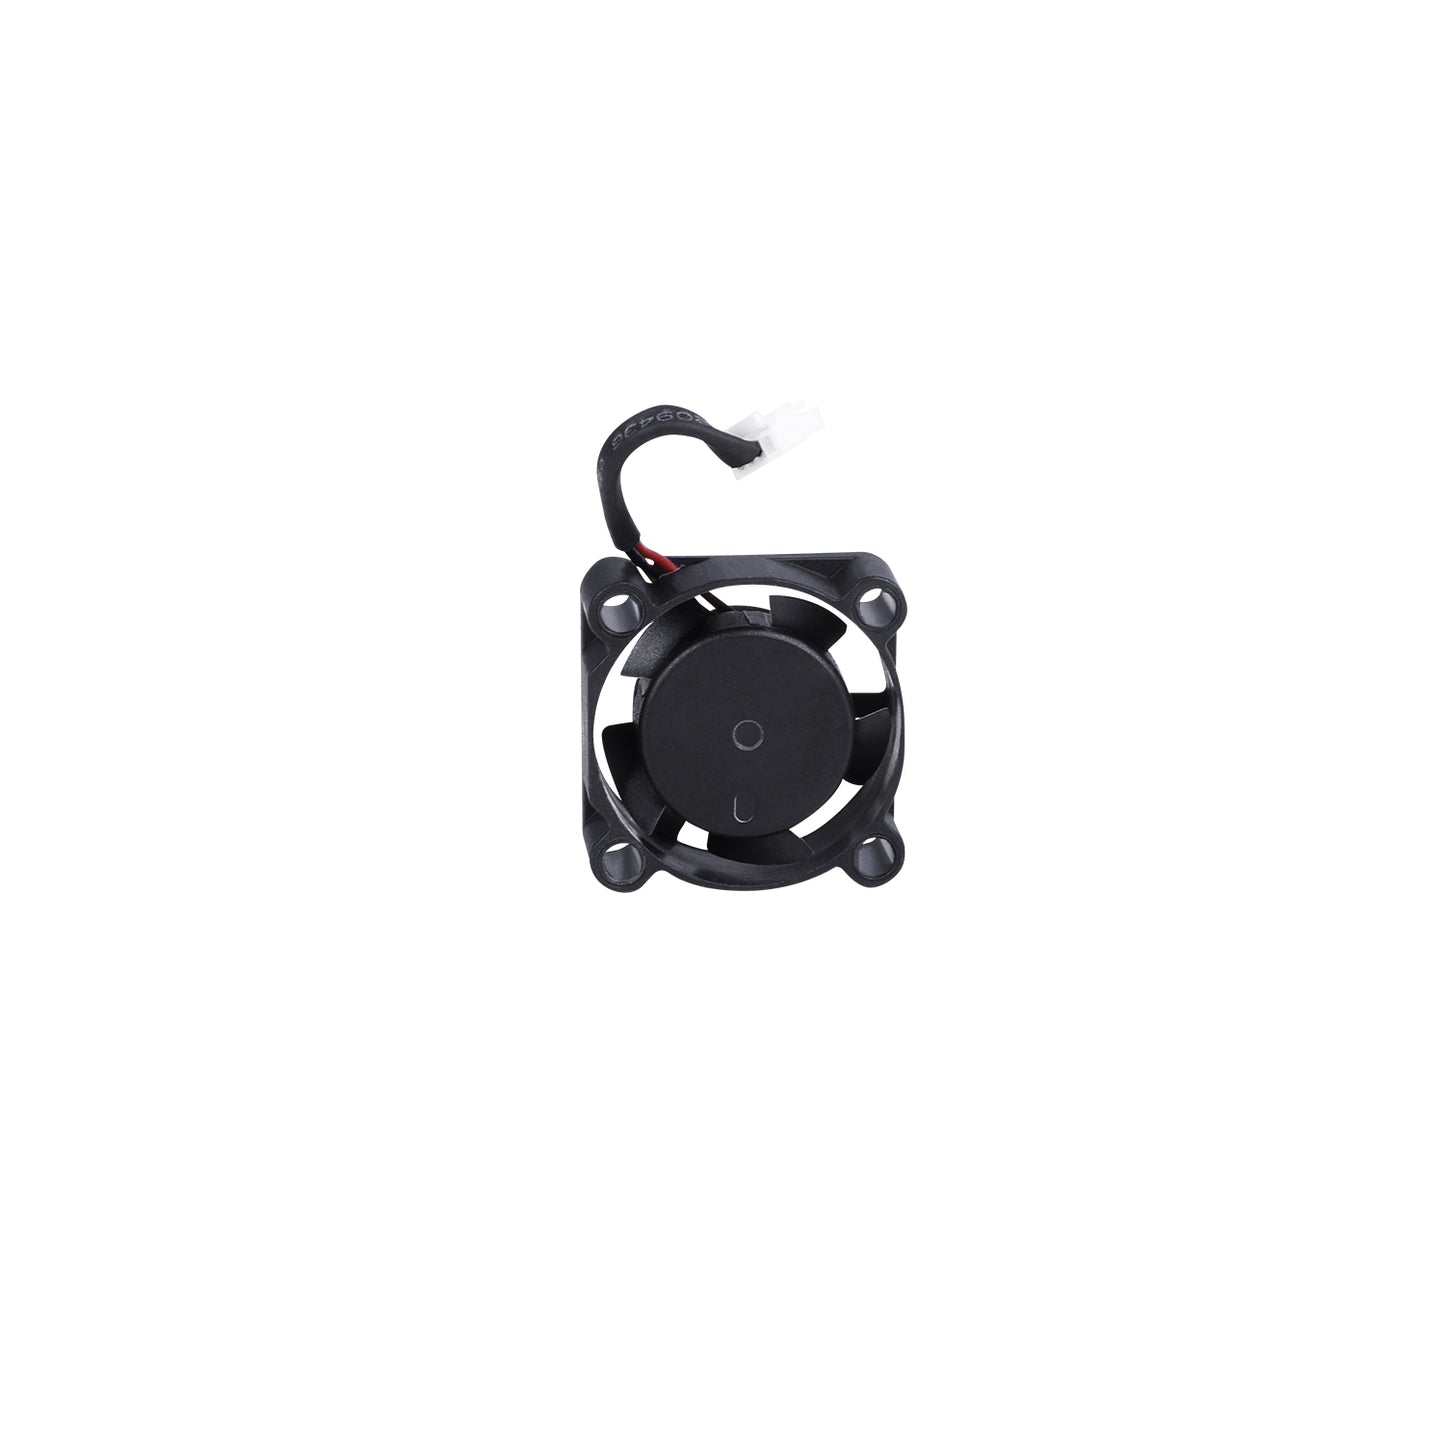
The Creality Hi heat break axial fan operates at 24V, has a 2510 form factor, and a speed of 13,000 RPM. It includes a 30mm cable and is designed to provide efficient cooling and ensure stable printing performance. Compatible with Creality Hi.
Creality Hi Hotend Fan Replacement
Introduction
This guide will walk you through the process of disassembling the tool head and replacing the hotend/heat break axial fan.
Important Notes
- Strong yellow glue: The connectors on the extruder board are secured with very strong yellow glue. You may need to carefully cut or gently wiggle the connectors to release them. Avoid forcing the connector, as this could damage both the extruder board and the cable.
Tools needed
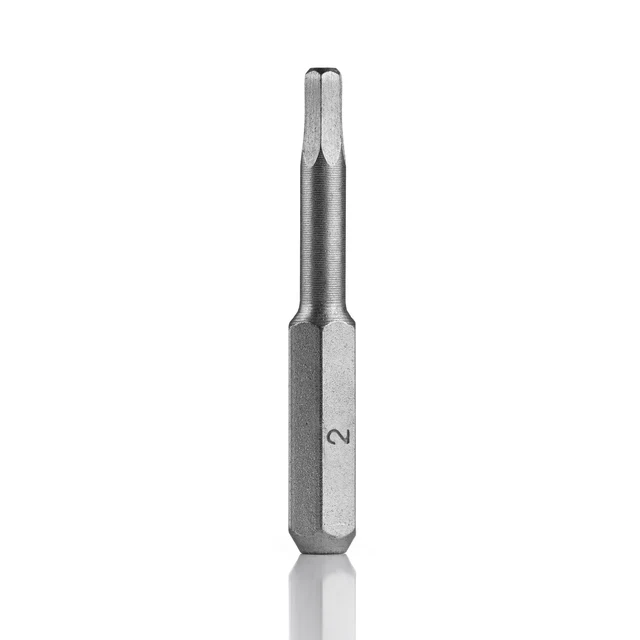
2mm Hex Wrench
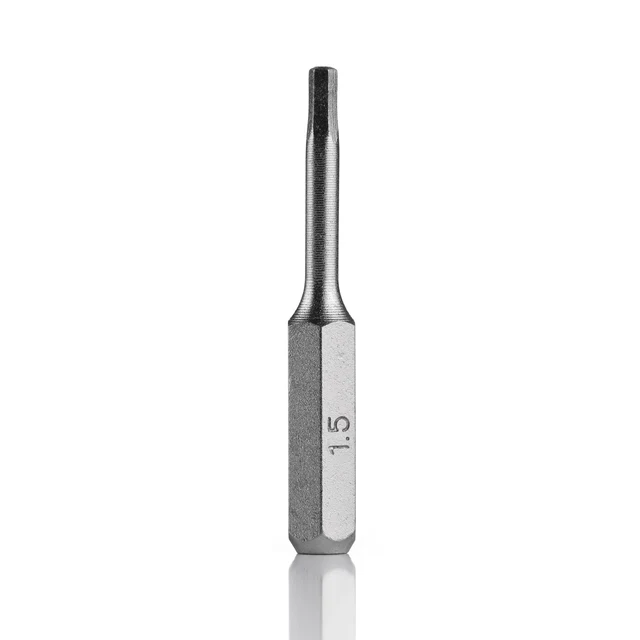
1.5mm Hex Wrench
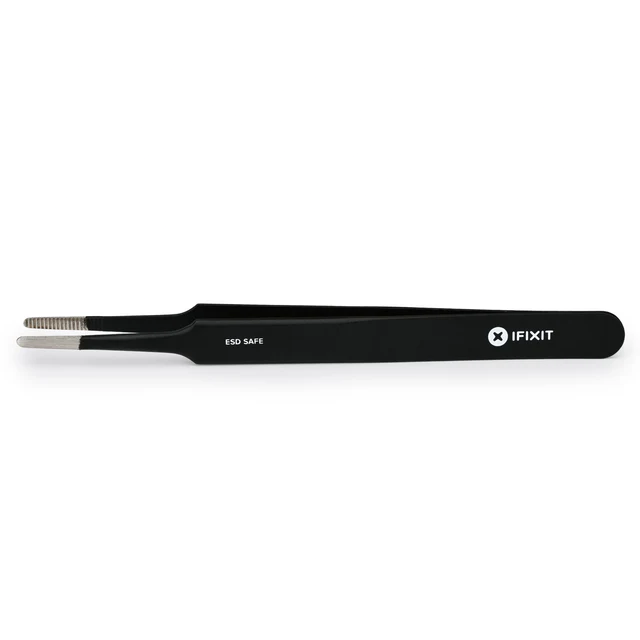
Precision Tweezers (for easier connector removal)
____________________________________________________________________________________
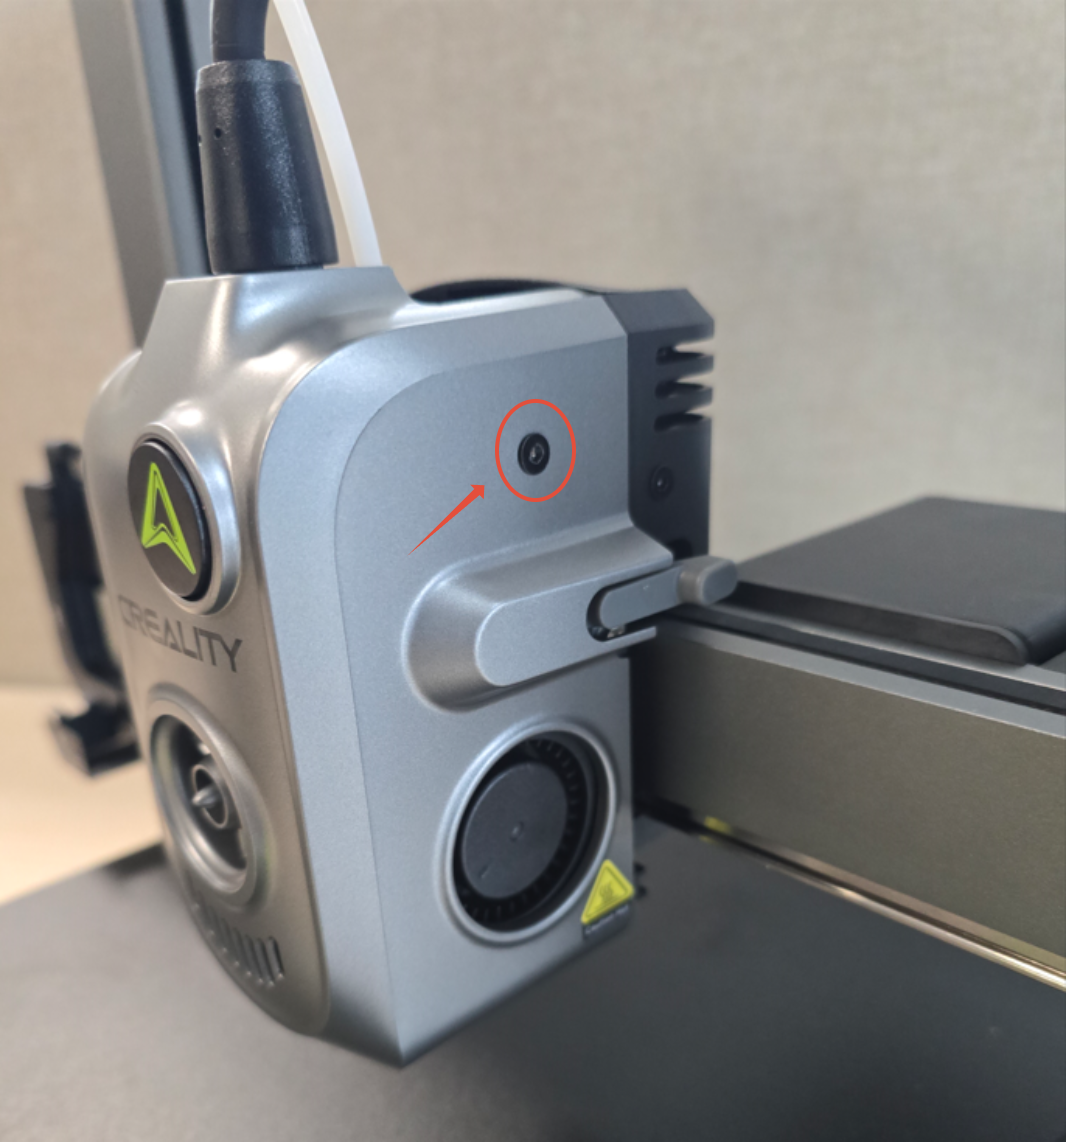
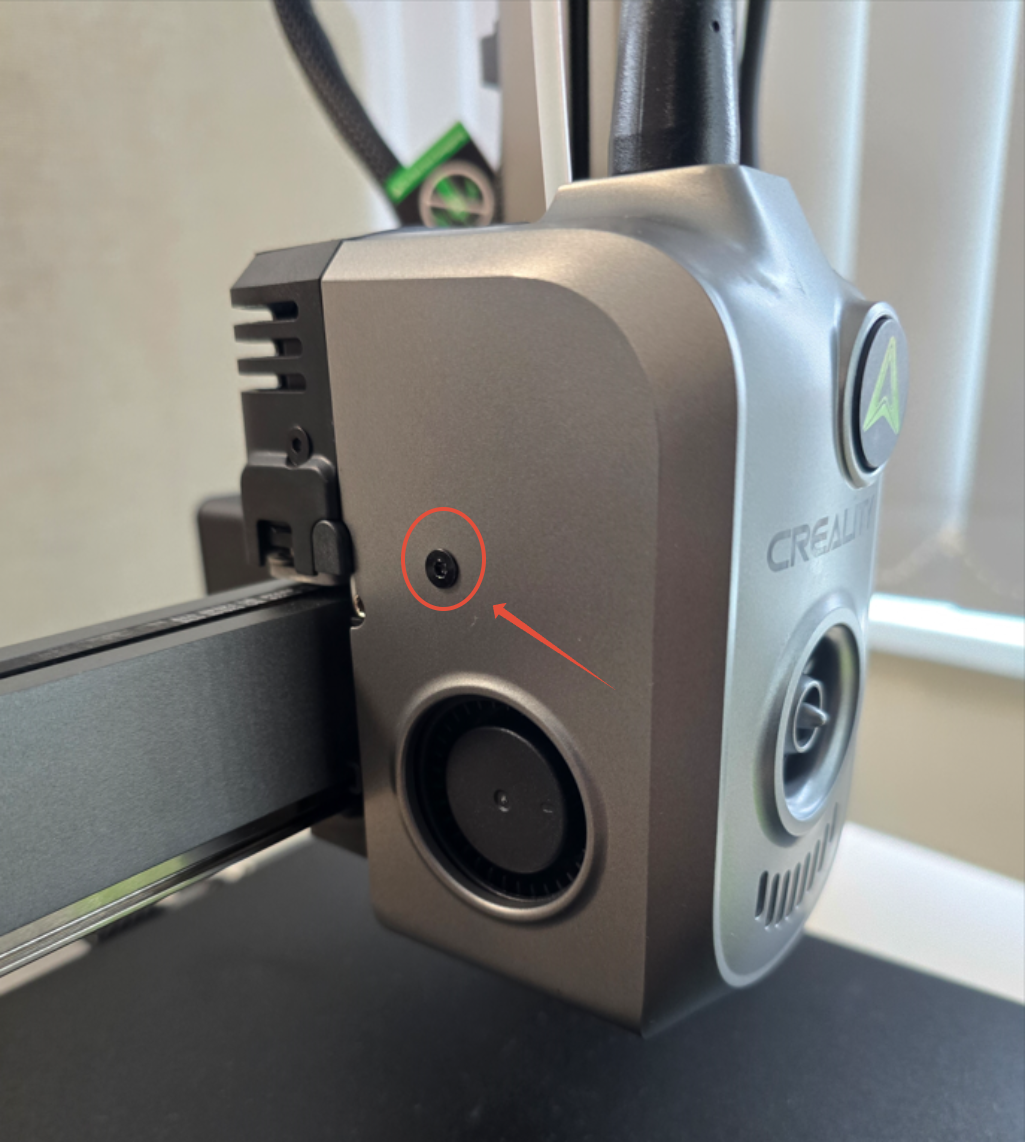
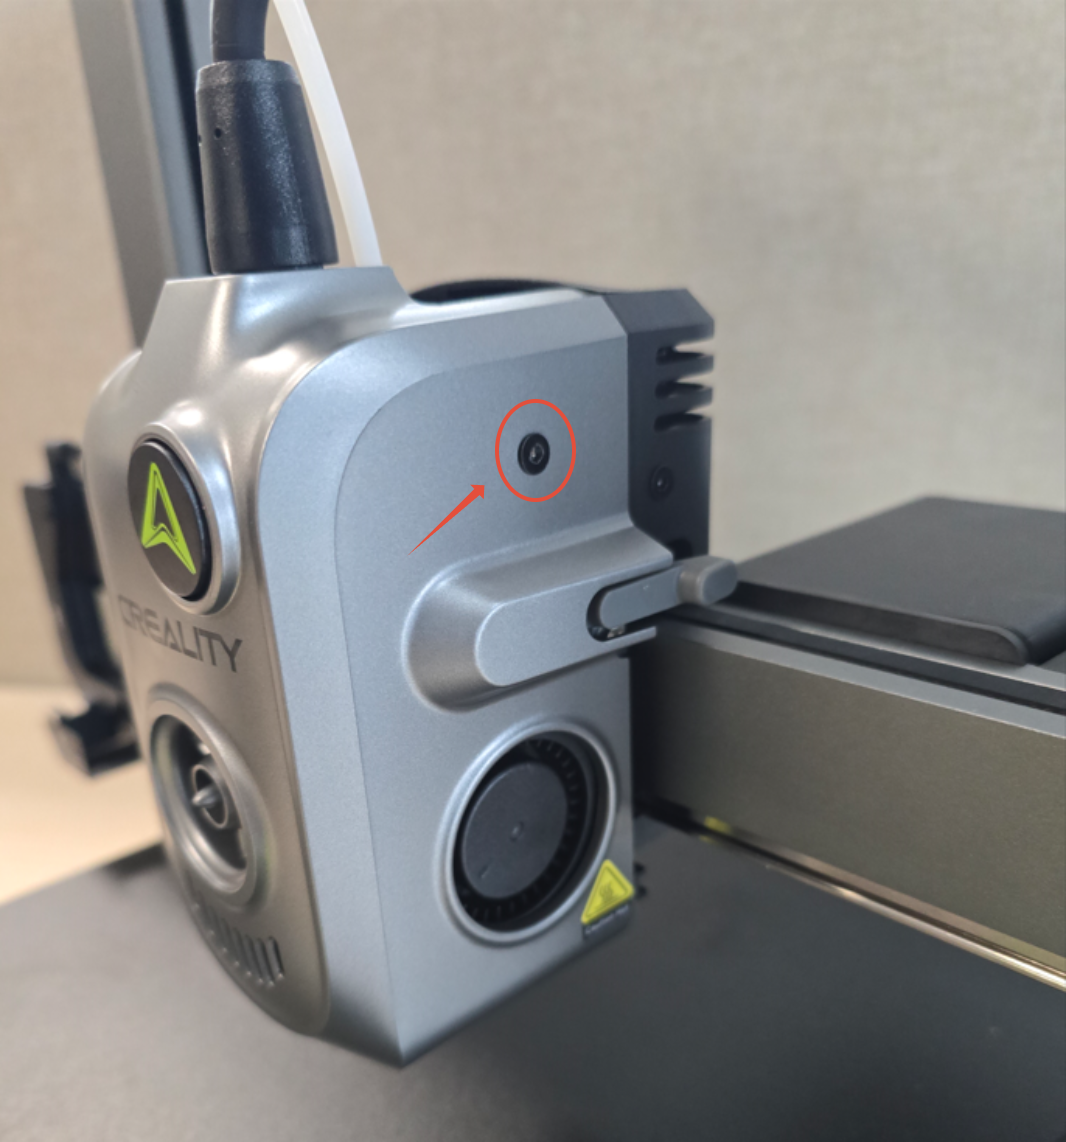
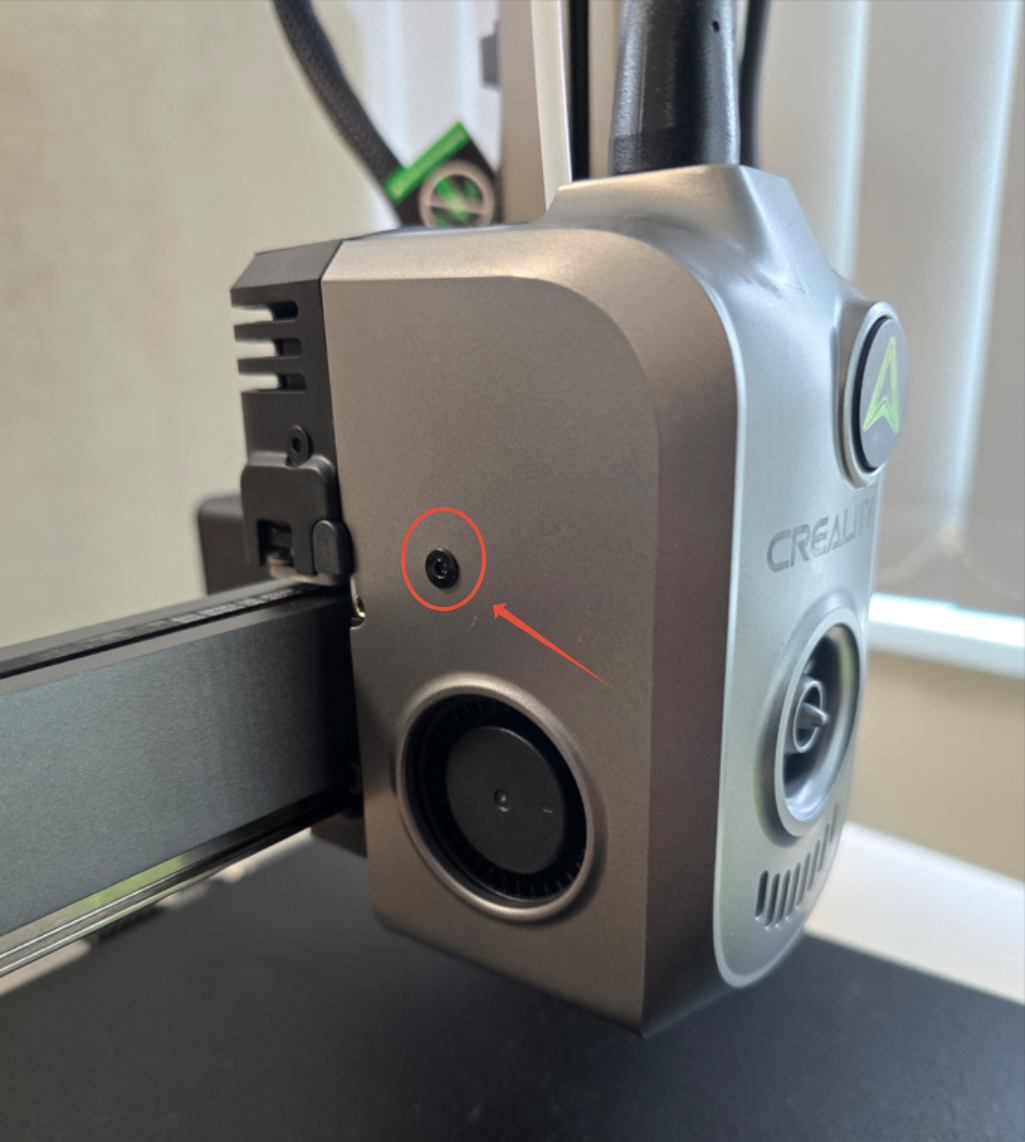
Step 1. Unscrew the 2 Screws holding the Front Tool Head Cover.
Use a 2mm Hex wrench to remove the screws holding the front cover.
____________________________________________________________________________________
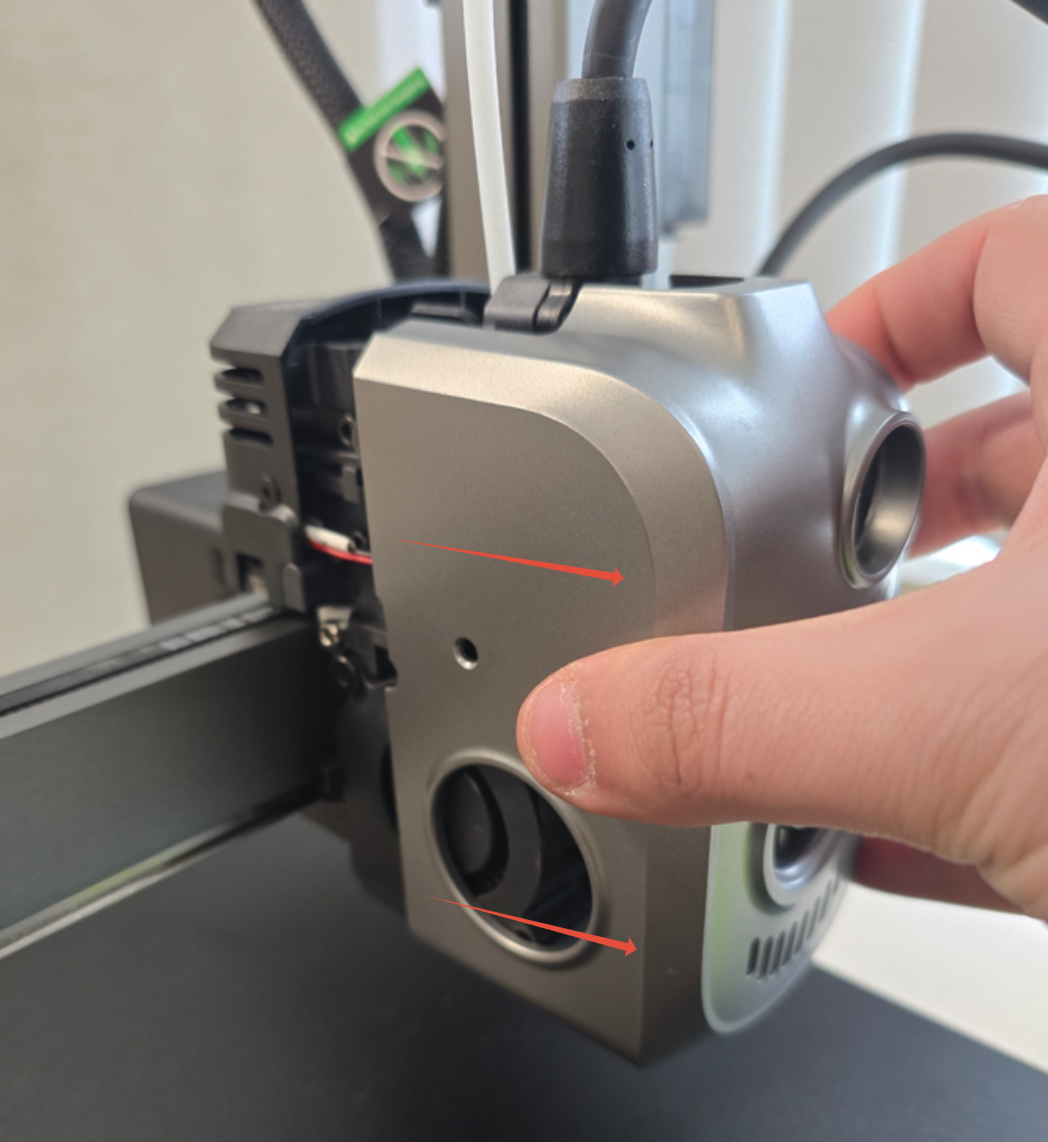
Step 2. Remove the Front Tool Head Cover.
Pull the tool head cover straight toward you to easily slide it off.
Reference Photo:
____________________________________________________________________________________
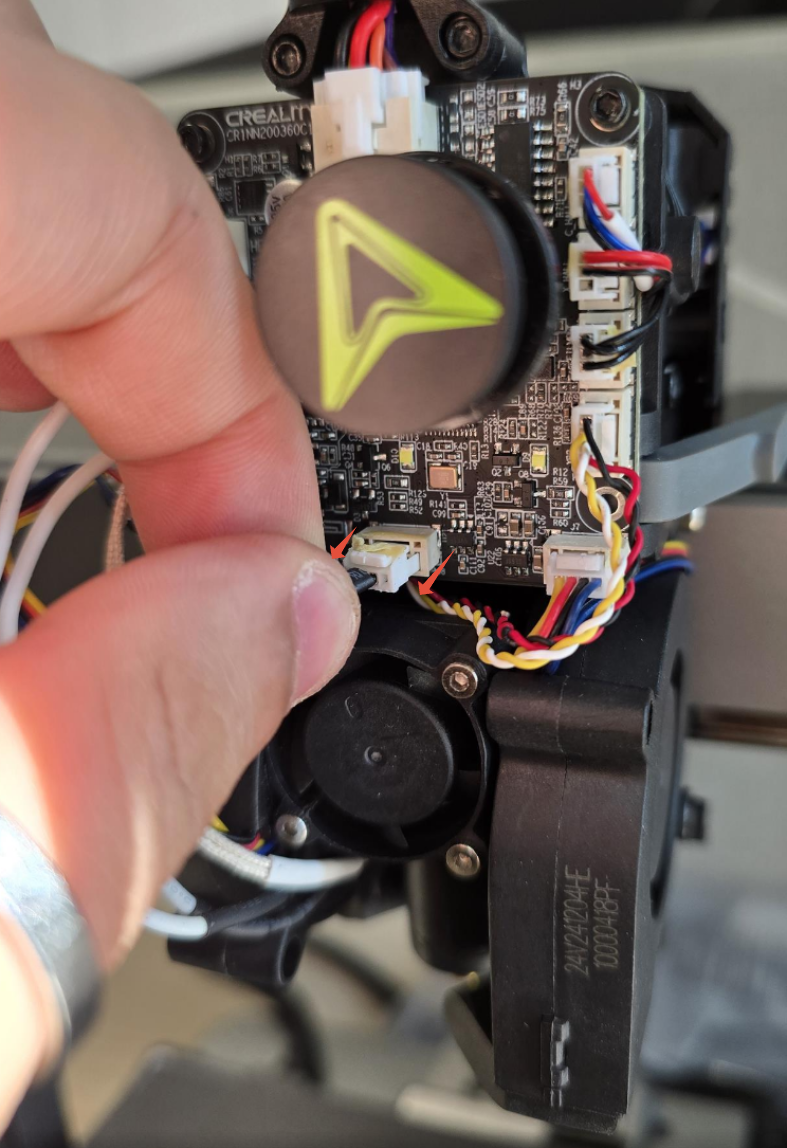
Step 3. Unplug the Hotend Fan cable from the Extruder Board.
Depress the latch, then gently wiggle and pull the connector to unplug it.
Note: If there is excessive adhesive on the connector, you may need to cut or gently wiggle it to loosen the connection.
____________________________________________________________________________________
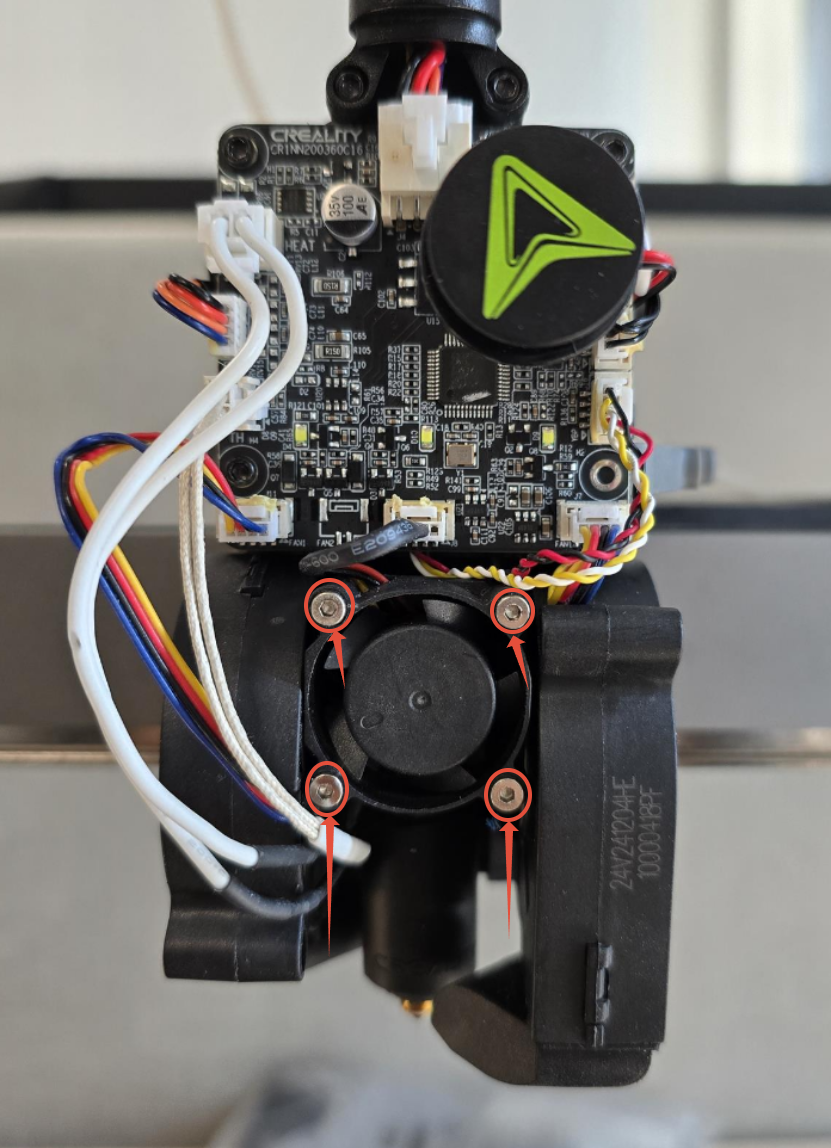
Step 4. Unscrew the 4 hotend fan screw securing it to the heat sink.
Use a 1.5mm Hex wrench to remove the screws holding the hotend.
____________________________________________________________________________________
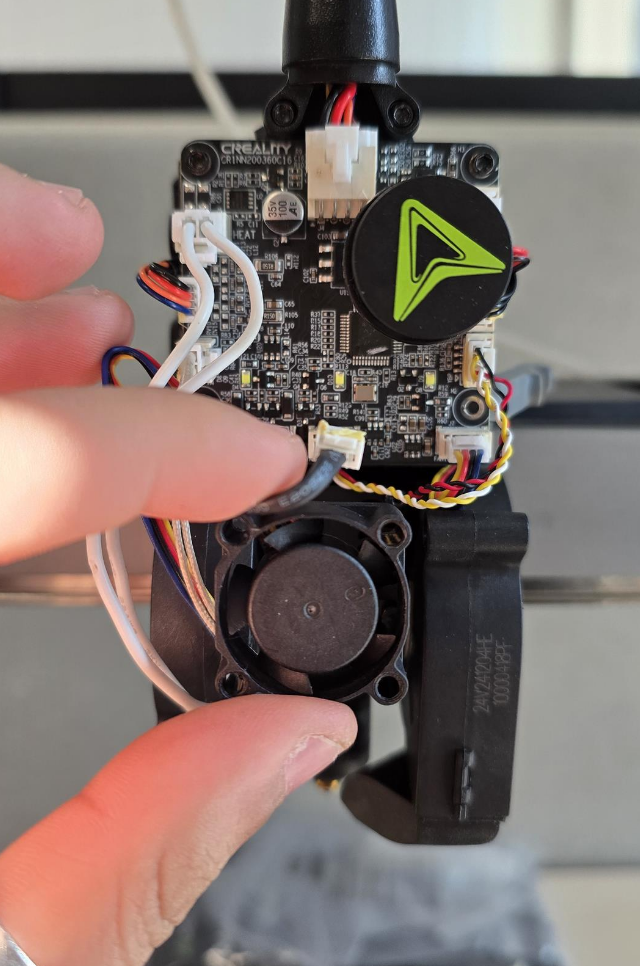
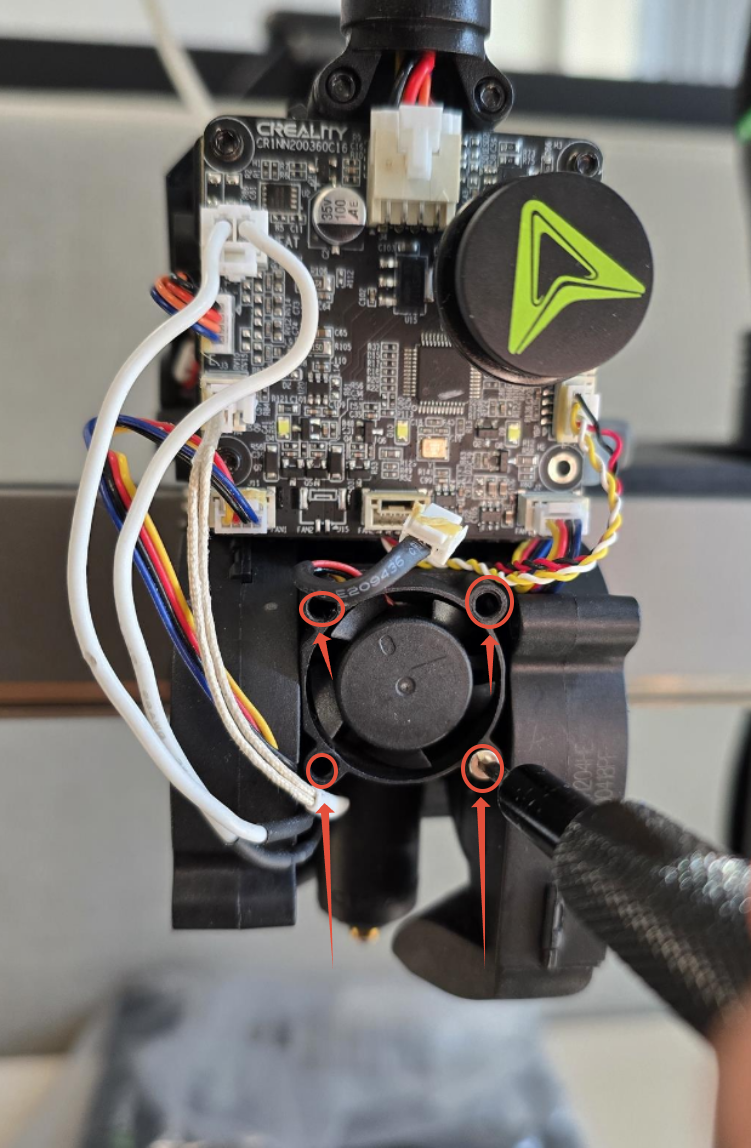
Step 5. Replace the Hotend Fan and Secure it to the Heat Sink.
Use a 1.5mm Hex wrench to secure the screws to the heat sink.
____________________________________________________________________________________
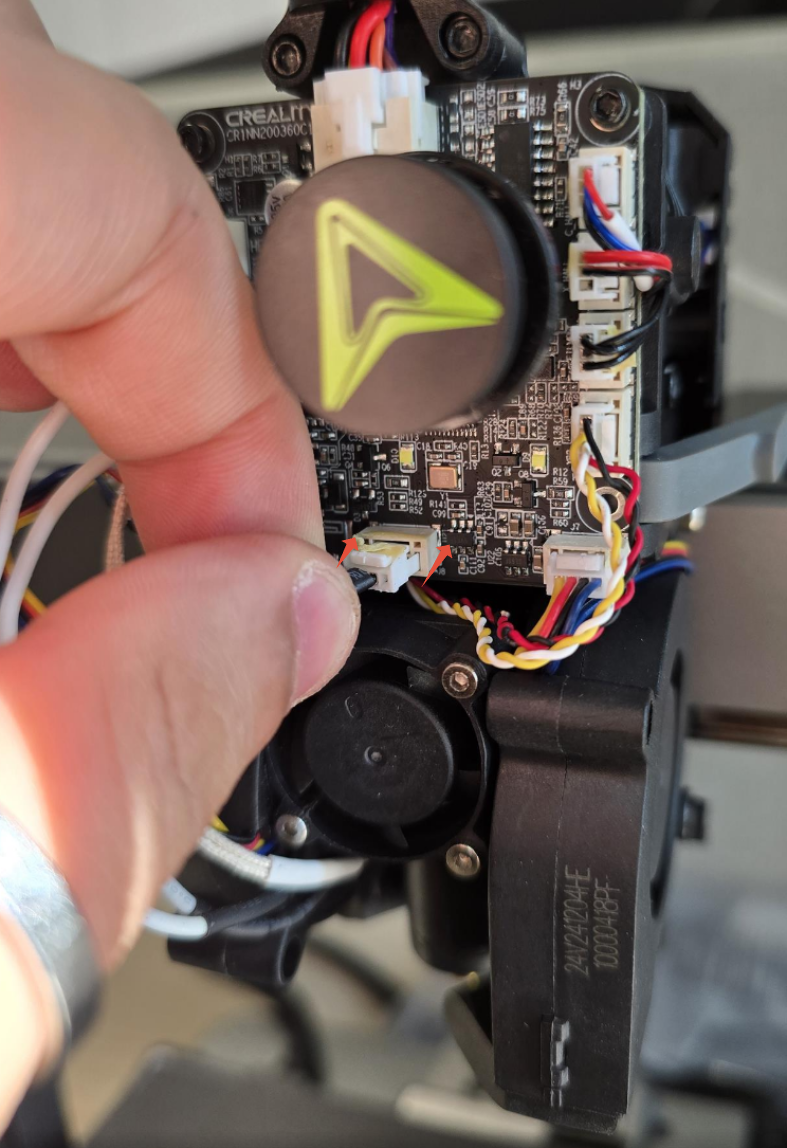
Step 6. Plug in the Hotend Fan cable to the Extruder Board.
Ensure the connector is fully seated and the latch is not compressed.
____________________________________________________________________________________
Step 7. Install the Front Tool Head Cover and screw it in place.
Replace the front tool head cover and secure it with the screws.
____________________________________________________________________________________
Step 8. Turn on the machine and run Self-Test / Calibration.
Turn on the machine and run the self-test/calibration procedure. If no errors are displayed, the replacement was successful!