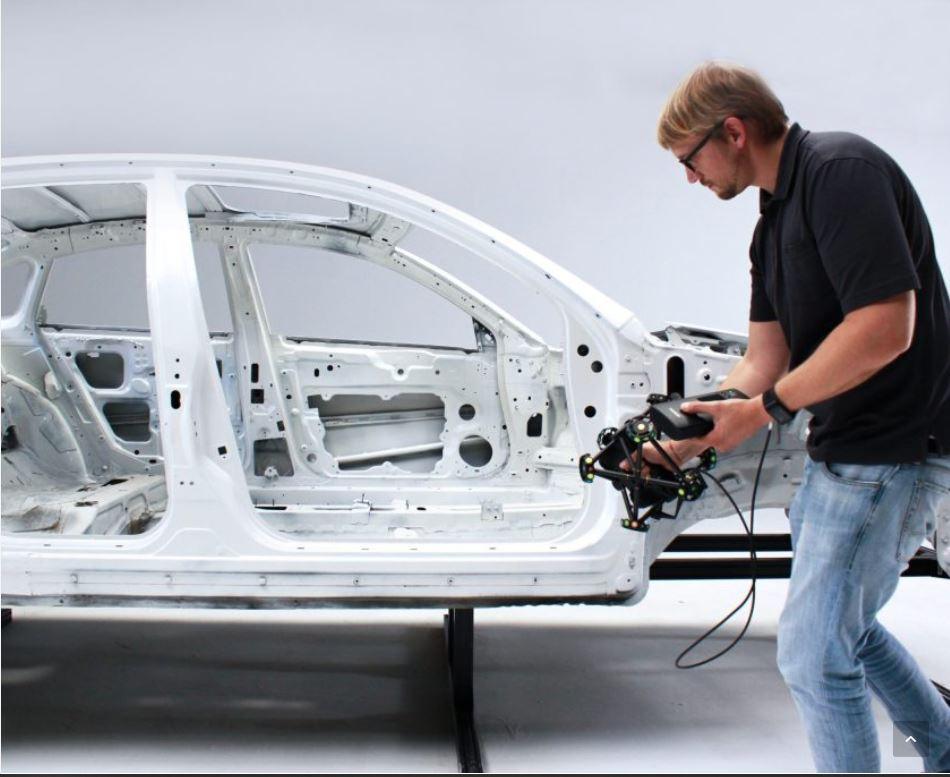
What is 3D Scanning?
3D scanning is the process of collecting data from the surface of a physical object that accurately describes the shape in terms of three-dimensional space.
Once collected, the data allows technicians, mechanics, engineers and/or hobbyists the ability to examine an object digitally, resulting in a more accurate and faster result. By digitally reproducing the object, the scan data can be used to replicate the component (reverse engineering) or for dimensional analysis of the same (inspection).
How does a 3D scanner work?
There are different types of 3D scanners, but the basic operation is almost the same. Lasers, light or sensors in the scanner detect the surface of the object to be scanned and assign point clouds, which, by copying the three-dimensional texture of the component, allow it to be recreated digitally in an extremely accurate way.

What is 3D Scanning Technology?
Some machines are built to scan incredibly large objects, while others are more compact and work well on smaller objects. Also, depending on the type of laser, light or sensor used, the level of detail and efficiency of the scan can differ.
3D scanning technology
Structured light 3D scanning technology
A searchlight's angled detection cameras analyze light patterns as they record the object to be scanned. Exact XYZ coordinates are calculated from the data and used to create digital models that are extremely faithful to the scanned object.
In a structured light sensor, the projector emits a heterodyne “fringe” pattern of light, visually resembling Zebra stripes. These streaks will change in size and direction during the very short span of data collection. Detection cameras assign XYZ coordinate values along the edges of the detected strips.
Scan data collected with a structured light scanning system is highly organized, as well as being smooth and continuous, and contains very little texturing.
Structured light 3D scanning is a common non-contact scanning method. Because structured light scanning eliminates the need for physical contact with the object, it makes workflows more efficient and delivers more accurate and faster results than contact-based scanners, such as coordinate measuring machines (CMMs). ).
However, not all structured light technology is created equal.
The color of the light used in a structured light 3D scanning tool clogs the quality of the scan data collected.
White and blue light scanners are two of the most common scanners among structured light 3D scanners. While white light 3D scanners offer advantages over CMMs, blue light scanners ensure very high quality scan results.
The reason for all this? Blue light has a narrower wavelength, making it more resistant to ambient light, resulting in very accurate and smooth scan data.

Photogrammetry 3D scanning technology
Instead of structured light or lasers, which are used in many other 3D scanning techniques, photogrammetry uses two-dimensional photographs that are grouped together in order to develop a three-dimensional dataset. Photogrammetry is inherently a very accurate measurement technique and is most often used in conjunction with an optical 3D scanning system.
Rather than a traveling scan of the object's surface, a camera instead takes photos from numerous angles and therefore needs the right software to correctly recognize common image-to-image features in order to group the multiple images.
Photogrammetry can be performed using a hand-held, high-end, portable digital camera, or using an integrated camera mounted on the end of a robot in an automated scanning cell.
The photogrammetry process produces a very accurate framework of target locations, which can then be used to connect the multiple patches of data collected via structured light scanning.

Laser triangulation 3D scanning technology
Most laser triangulation sensors involve a single laser source, which projects a laser line onto the component being scanned, and the shape of the line is observed by angle sensing cameras.
The angle between the laser source and the tracking cameras is determined through a calibration process. Since the angle between the laser source and the tracking cameras is known, the triangulation process can be calculated.
Each pixel along the length of the laser line is triangulated and evaluated as the line is shaped onto the part surface.
While laser triangulation can produce accurate scans, this technique struggles with clear, glossy surfaces.

3D scanning technology based on laser pulses
Millions of pulses are sent from the laser to the surface of the object, which are then sent back as reflections in the direction of the sensor.
A mirror rotates the laser and sensor hardware, allowing the software to collect data in 360 degrees.


 https://www.instagram.com/3digital.tech/