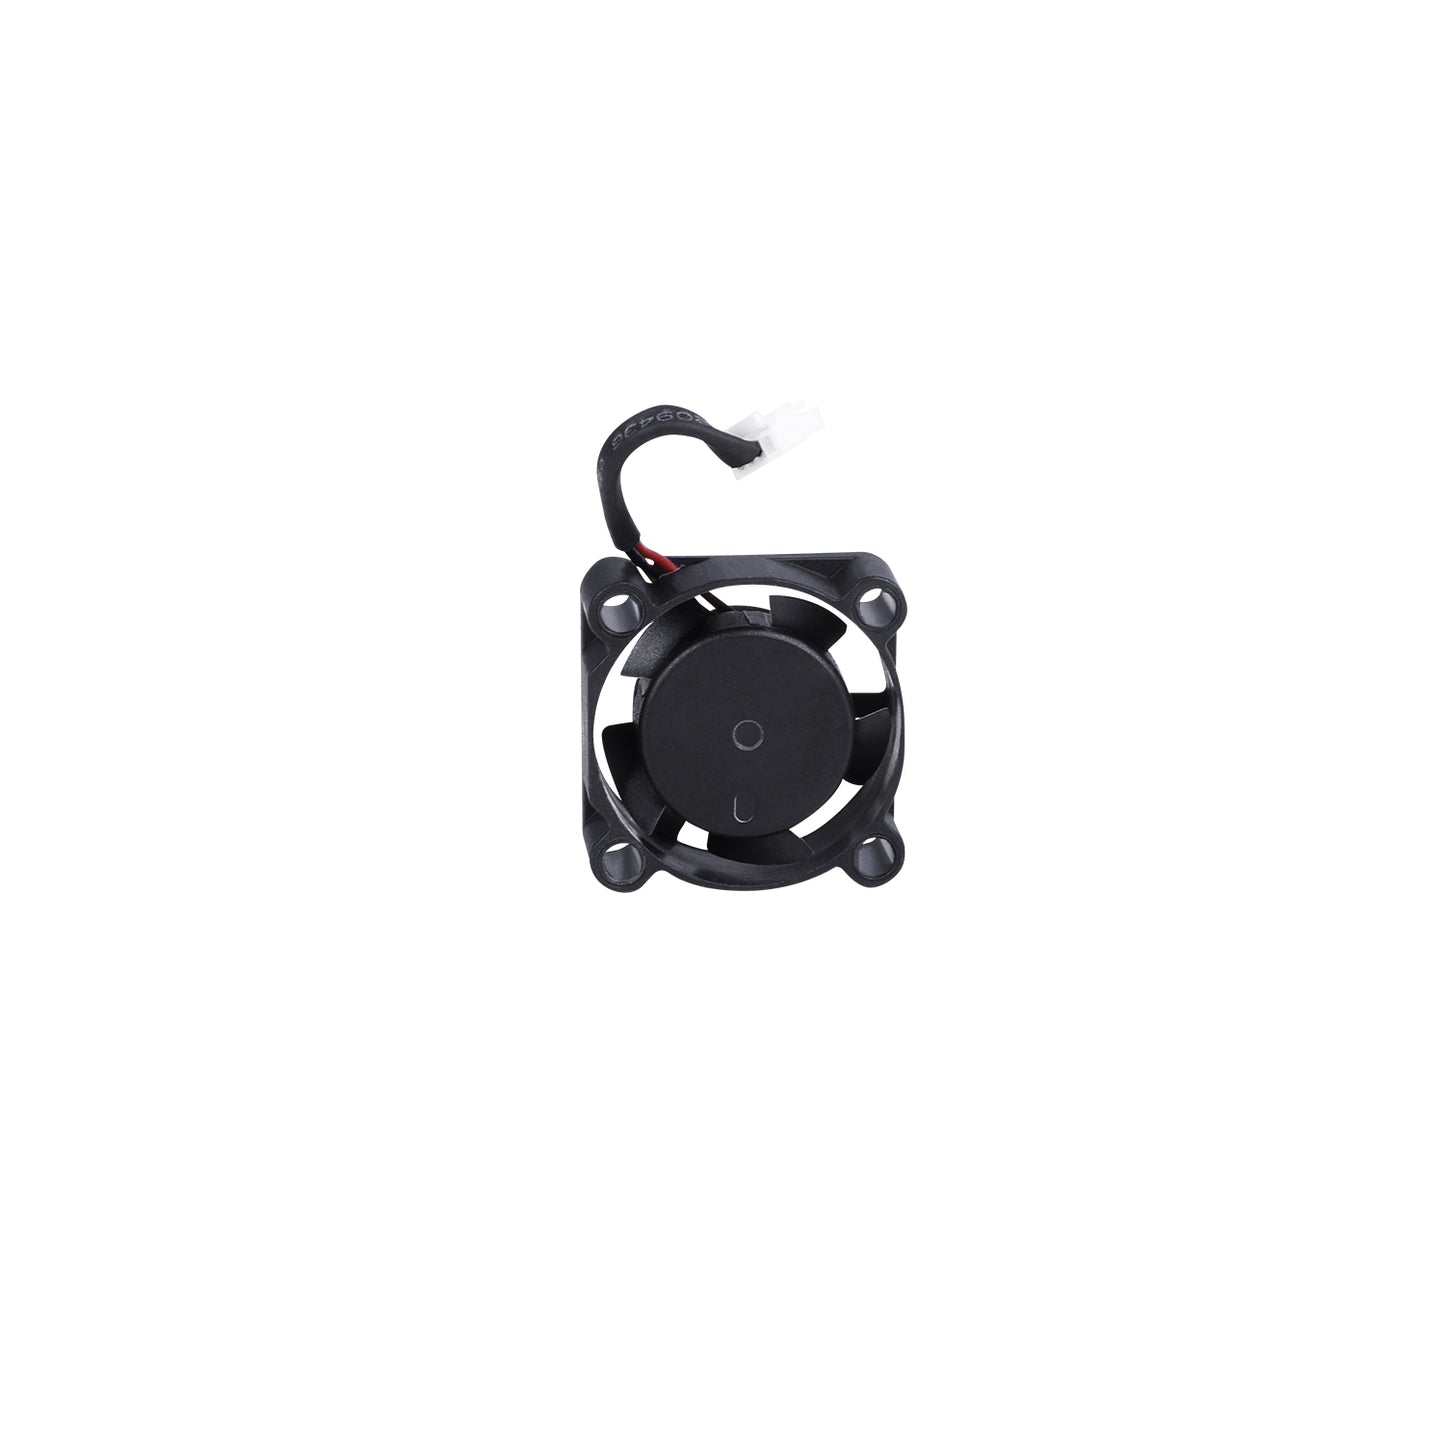
Der Axiallüfter für das Creality Hi Heatbreak läuft mit 24 V, hat das Format 2510 und eine Drehzahl von 13.000 U/min. Er enthält ein 30-mm-Kabel und wurde entwickelt, um eine effiziente Kühlung zu gewährleisten und eine stabile Druckleistung sicherzustellen. Kompatibel mit Creality Hi.
Ersatzlüfter für das Creality Hi Hotend
Einführung
Diese Anleitung führt Sie durch den Prozess der Demontage des Druckkopfes und des Austauschs des Axiallüfters für das Hotend/den Kühlkörper.
Wichtige Hinweise
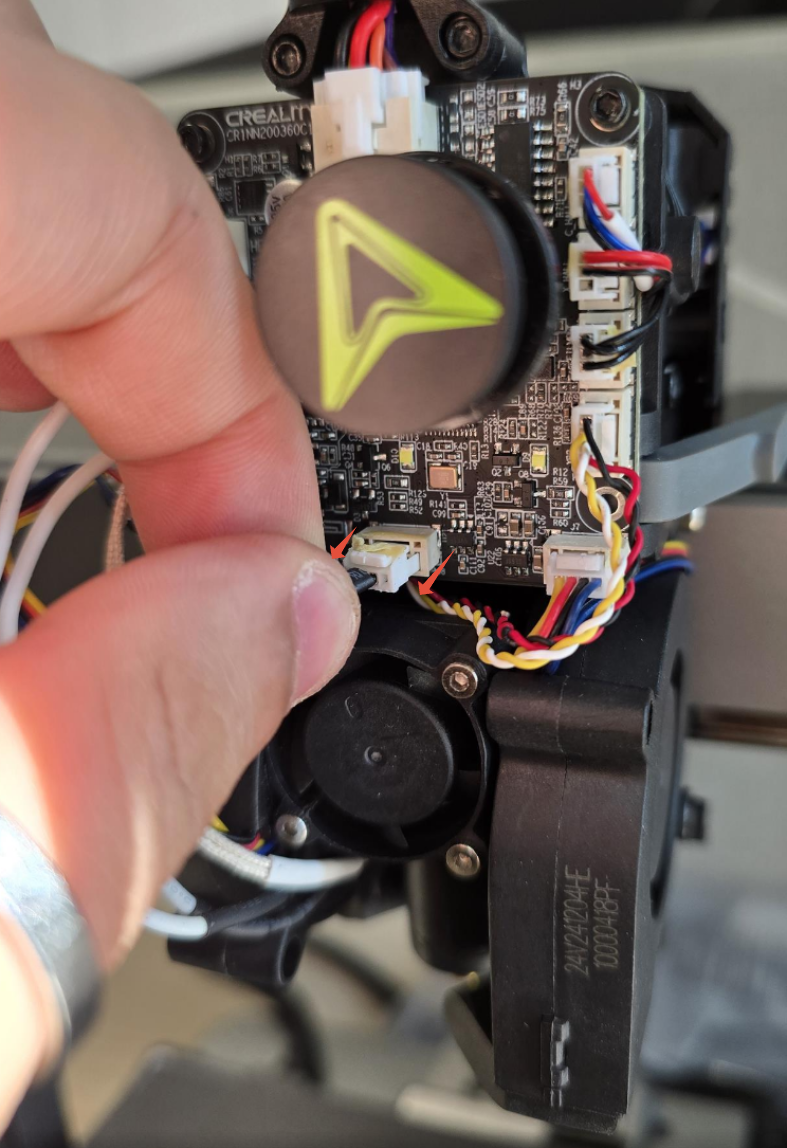
- Starker gelber Kleber: Die Anschlüsse auf der Extruder-Platine sind mit einem sehr festen gelben Kleber gesichert. Möglicherweise müssen Sie diesen vorsichtig durchschneiden oder die Stecker behutsam bewegen, um sie zu lösen. Wenden Sie keine Gewalt an, da dies sowohl die Extruder-Platine als auch das Kabel beschädigen könnte.
Benötigte Werkzeuge
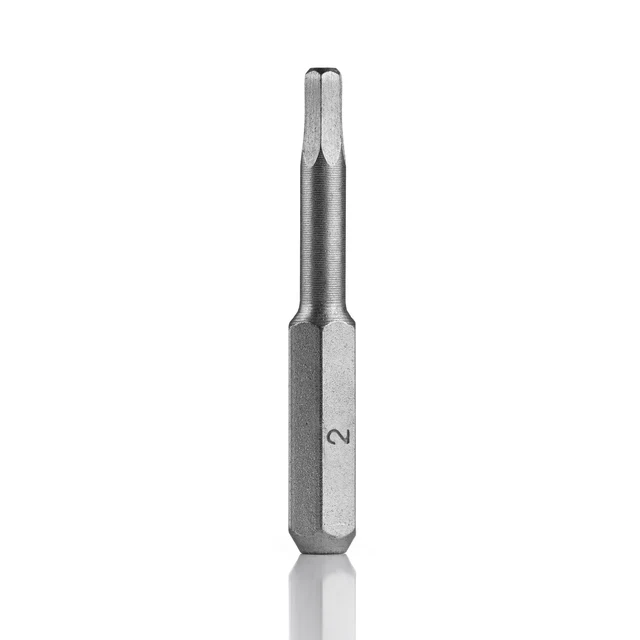
2-mm-Inbusschlüssel
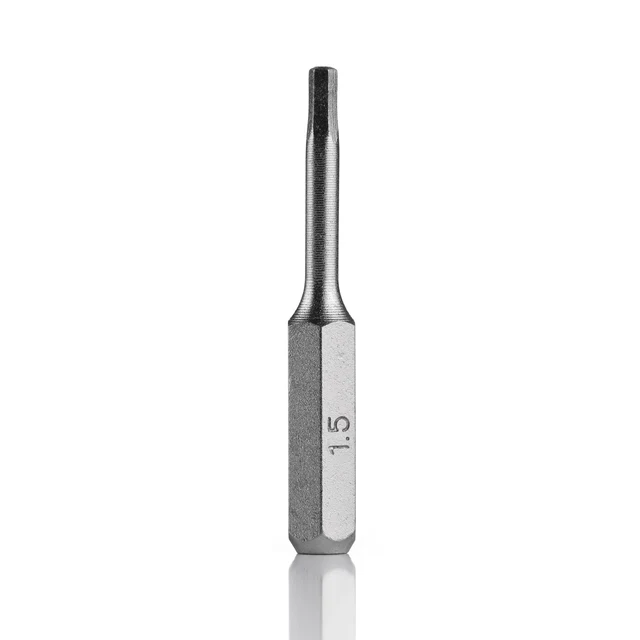
1,5-mm-Inbusschlüssel
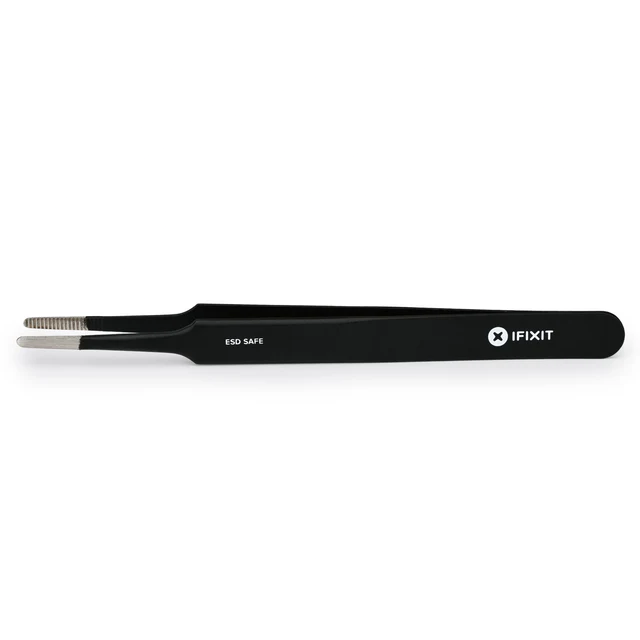
Präzisionspinzette (für eine einfachere Entfernung des Steckers)
____________________________________________________________________________________
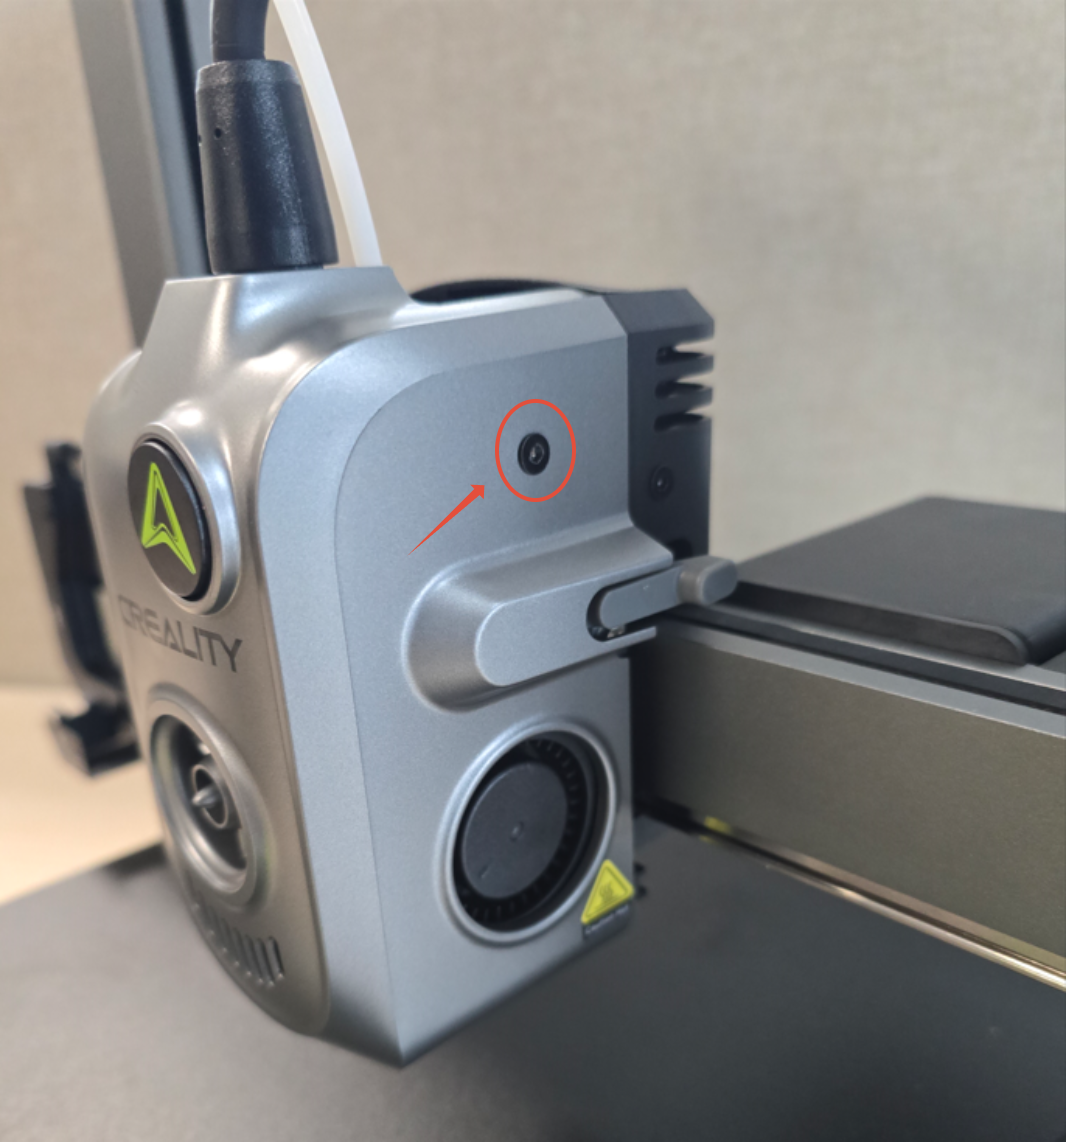
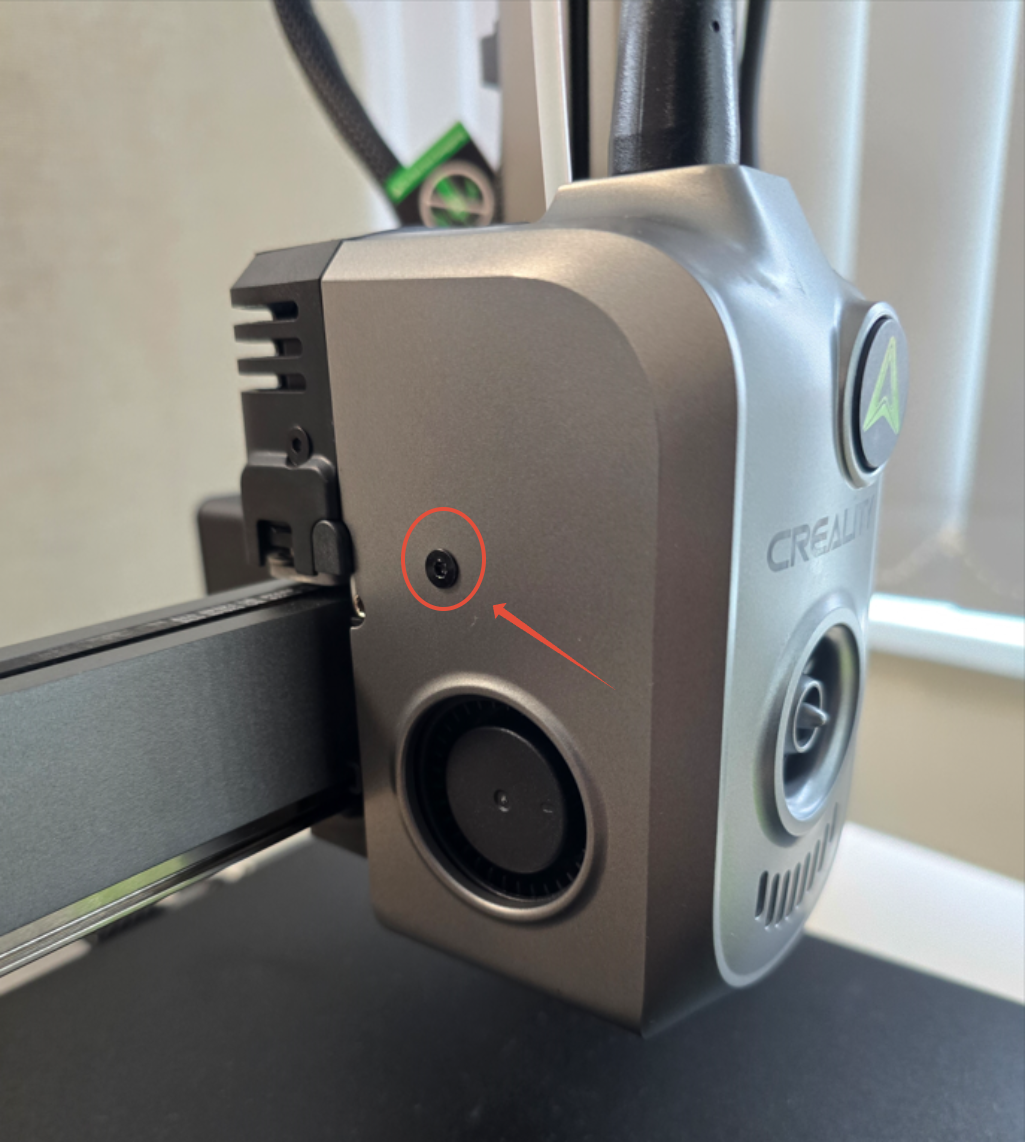
Schritt 1. Lösen Sie die 2 Schrauben, mit denen die vordere Abdeckung des Druckkopfes befestigt ist.
Verwenden Sie einen 2-mm-Inbusschlüssel, um die Schrauben der vorderen Abdeckung zu entfernen.
____________________________________________________________________________________
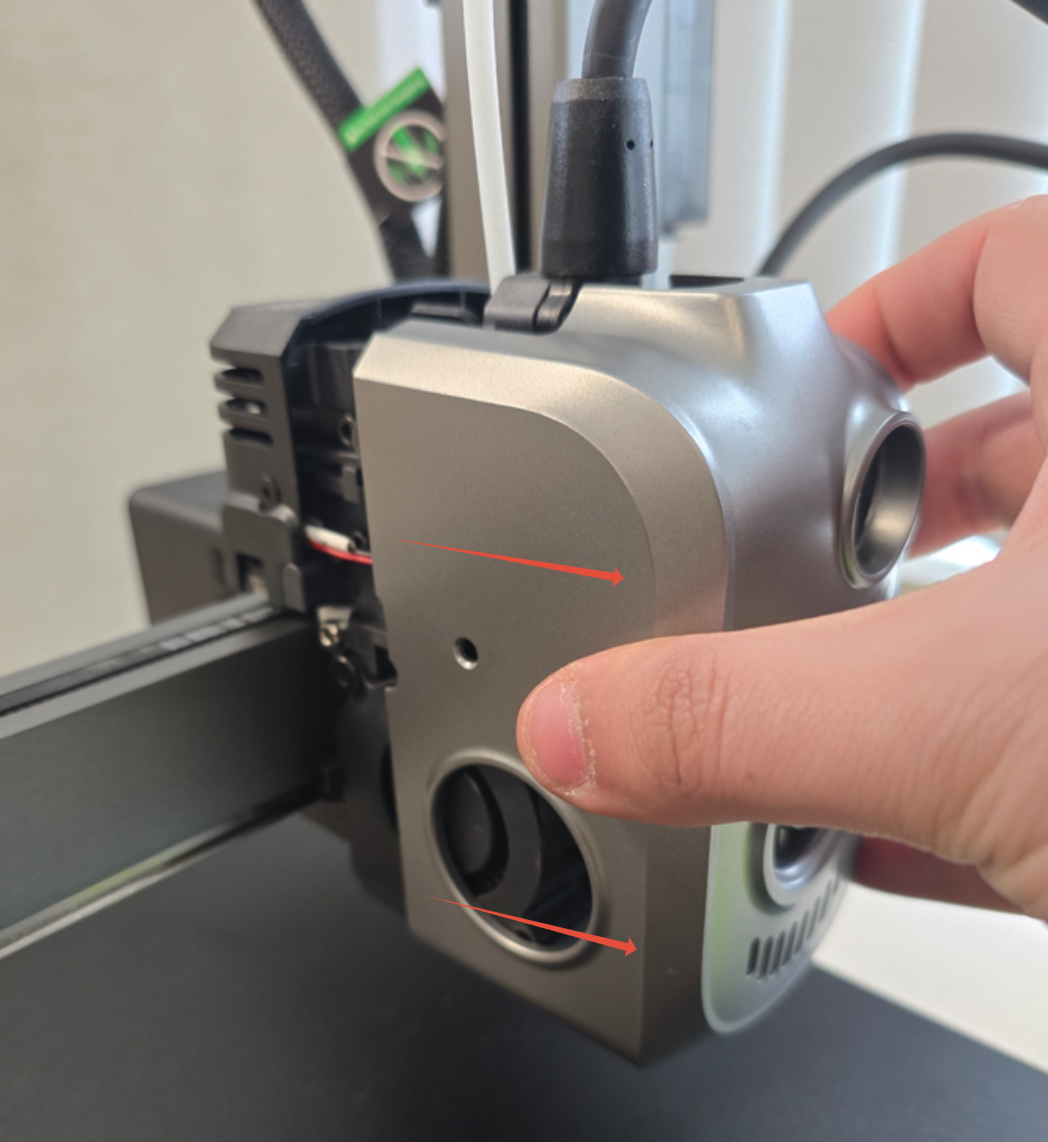
Schritt 2. Entfernen Sie die vordere Abdeckung des Druckkopfes.
Ziehen Sie die Abdeckung des Druckkopfes zu sich heran, um sie einfach abzunehmen.
Referenzbild:
____________________________________________________________________________________
Schritt 3. Ziehen Sie das Kabel des Hotend-Lüfters von der Extruder-Platine ab.
Drücken Sie auf die Verriegelung und bewegen Sie dann vorsichtig den Stecker, um ihn zu lösen.
Hinweis: Wenn sich zu viel Klebstoff am Stecker befindet, müssen Sie diesen möglicherweise vorsichtig durchschneiden oder bewegen, um die Verbindung zu lösen.
____________________________________________________________________________________
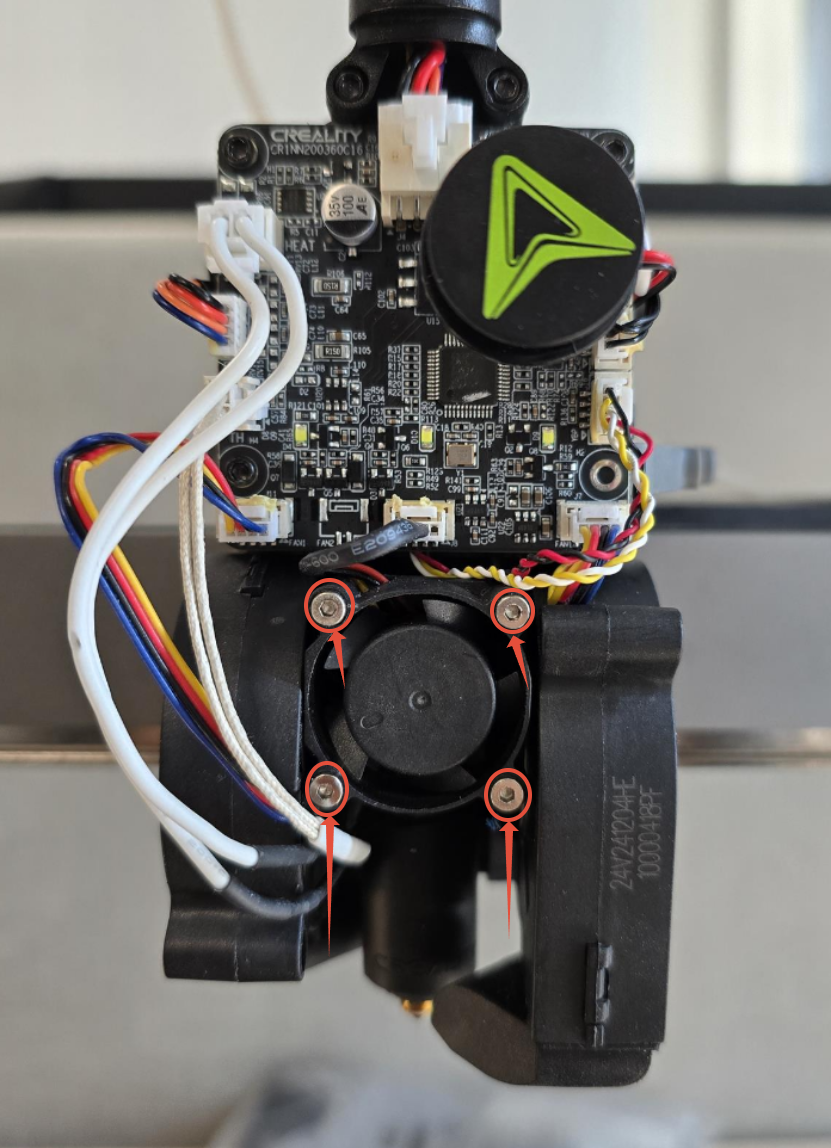
Schritt 4. Lösen Sie die 4 Schrauben des Hotend-Lüfters, die ihn am Kühlkörper befestigen.
Verwenden Sie einen 1,5-mm-Inbusschlüssel, um die Schrauben zu entfernen, die das Hotend sichern.
____________________________________________________________________________________
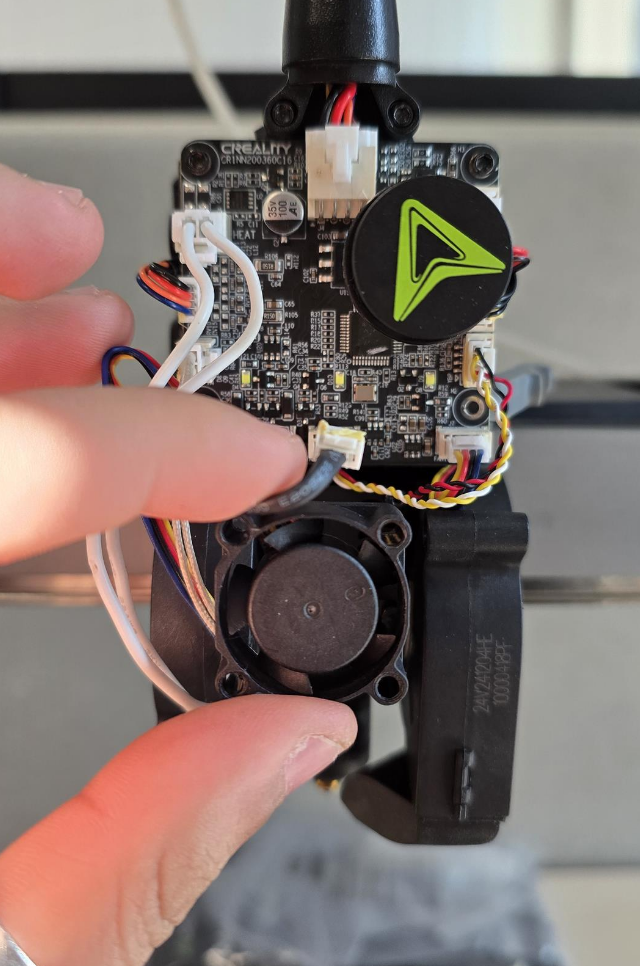
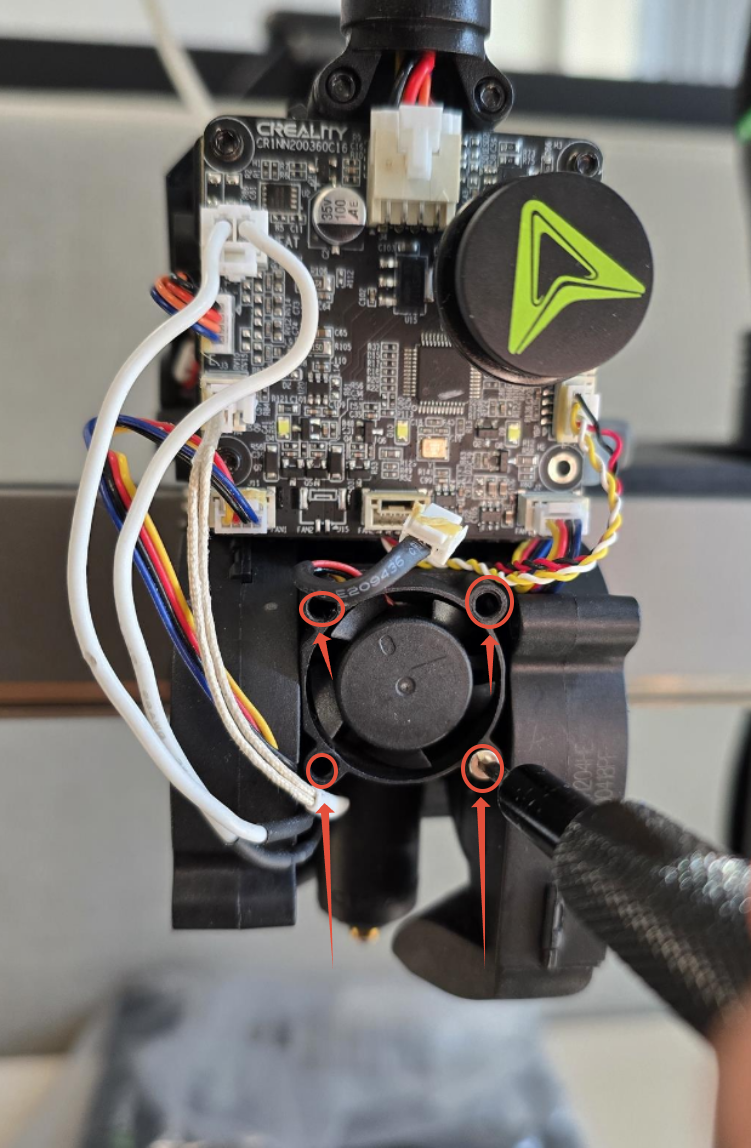
Schritt 5. Tauschen Sie den Hotend-Lüfter aus und befestigen Sie ihn am Kühlkörper.
Verwenden Sie einen 1,5-mm-Inbusschlüssel, um die Schrauben am Kühlkörper zu befestigen.
____________________________________________________________________________________
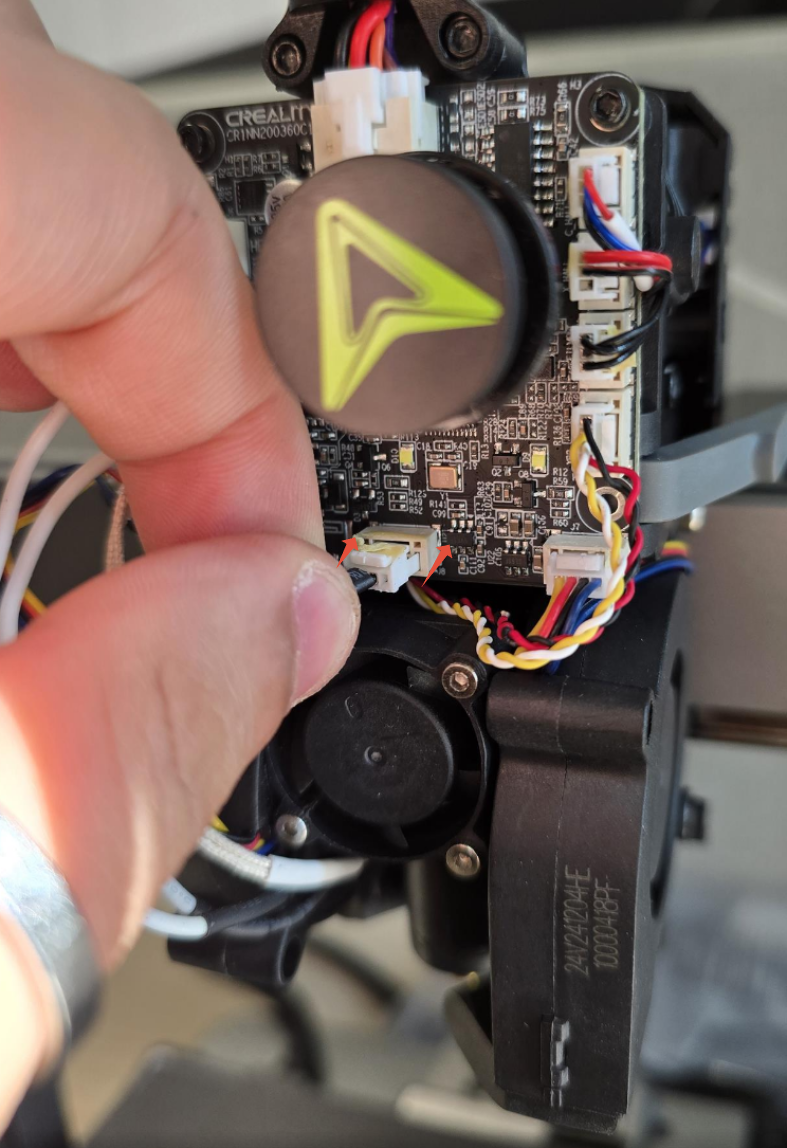
Schritt 6. Schließen Sie das Kabel des Hotend-Lüfters an die Extruder-Platine an.
Stellen Sie sicher, dass der Stecker vollständig eingesteckt ist und die Verriegelung eingerastet ist.
____________________________________________________________________________________
Schritt 7. Bringen Sie die vordere Abdeckung des Druckkopfes wieder an und schrauben Sie sie fest.
Setzen Sie die vordere Abdeckung des Druckkopfes wieder auf und sichern Sie sie mit den Schrauben.
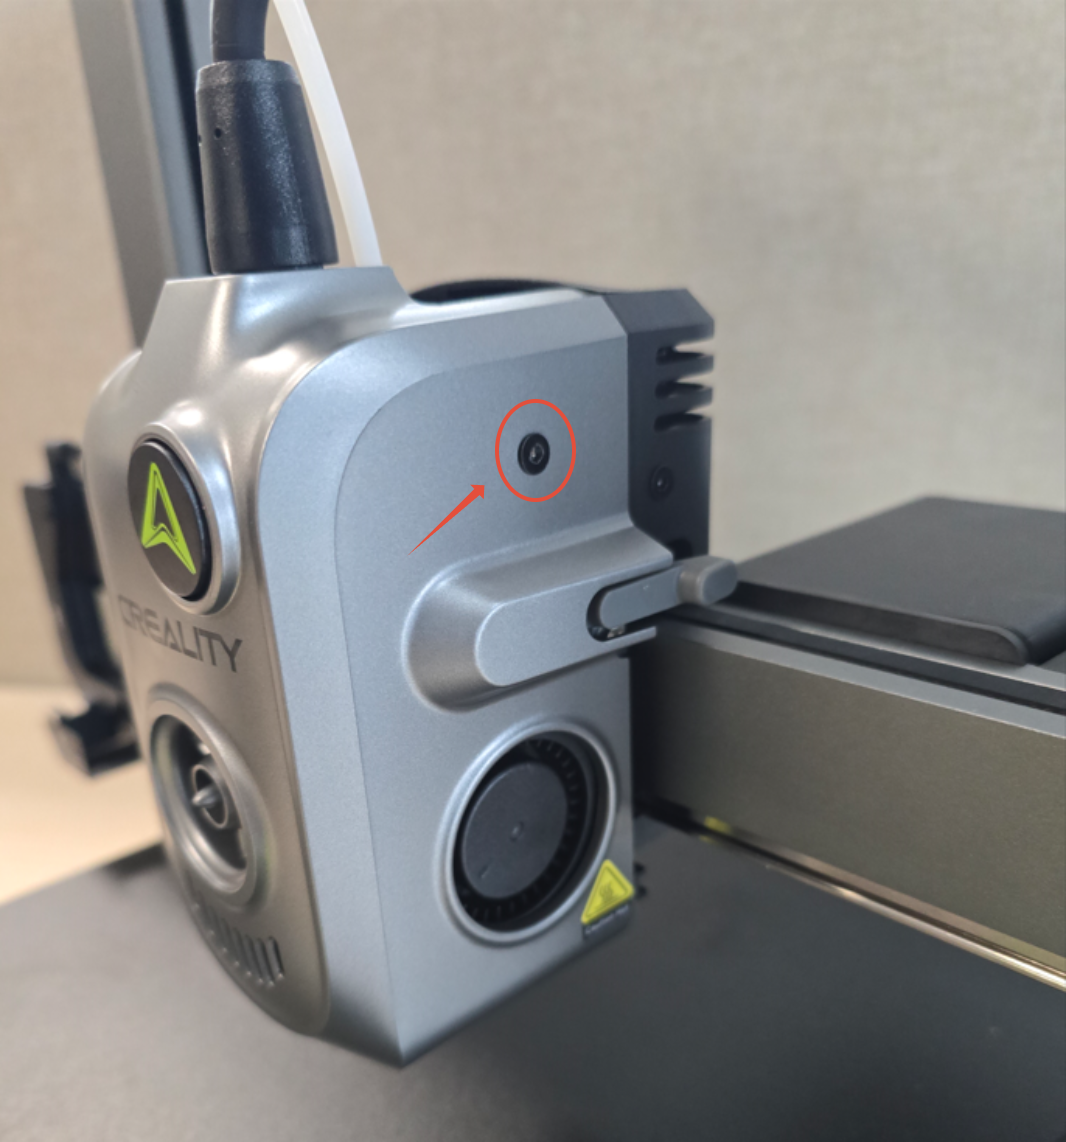
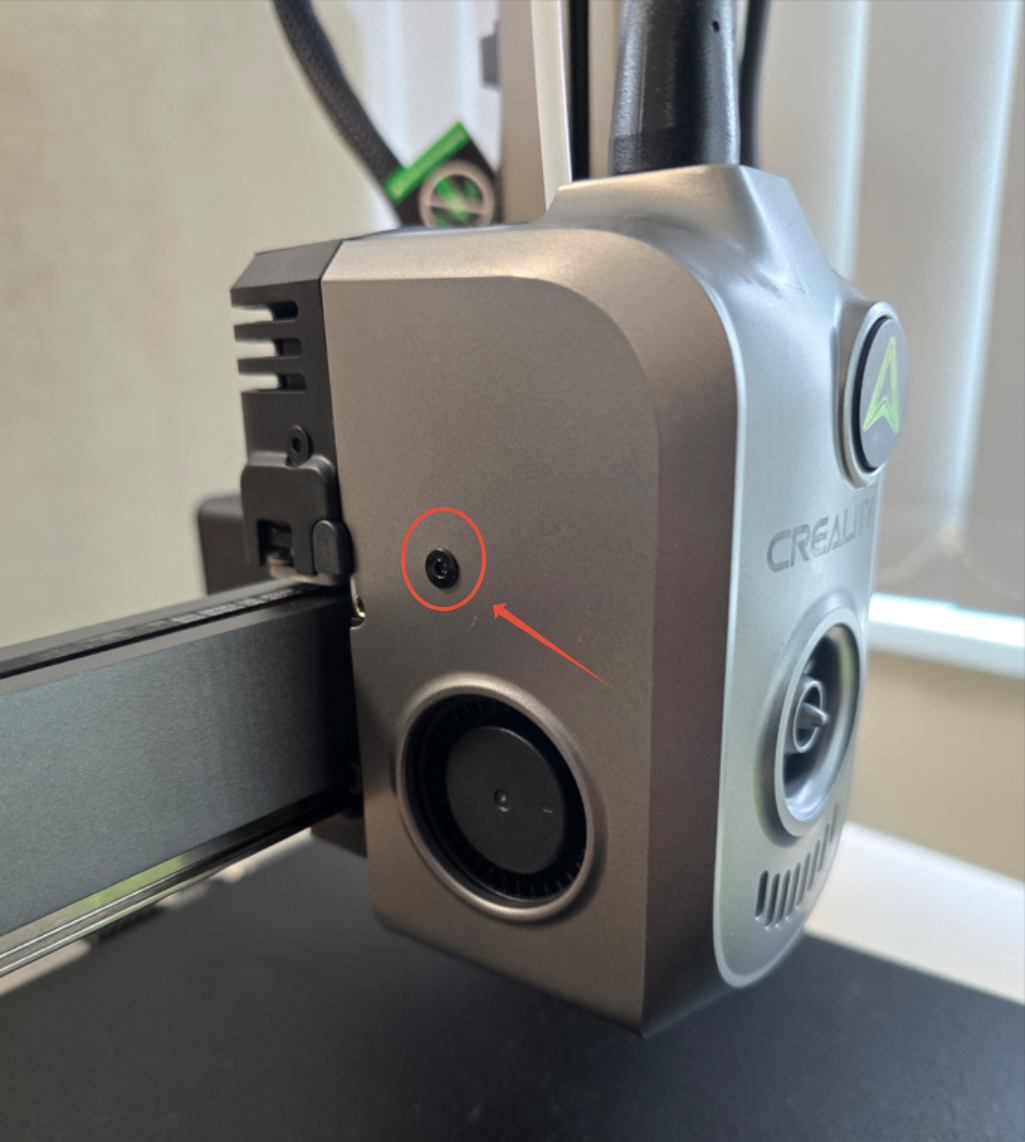
____________________________________________________________________________________
Schritt 8. Schalten Sie das Gerät ein und führen Sie den Selbsttest/die Kalibrierung durch.
Schalten Sie das Gerät ein und führen Sie den Selbsttest bzw. die Kalibrierung aus. Wenn keine Fehlermeldungen angezeigt werden, war der Austausch erfolgreich!